Step into Spring with 15% off today - your seasonal refresh starts here. T&Cs Apply
Design your next
Dream Room
Sign in or create a Graham & Brown account to add products to your wish list and get started on transforming your space.


.jpg?crop=3:4&width=900&quality=85&auto=webp)

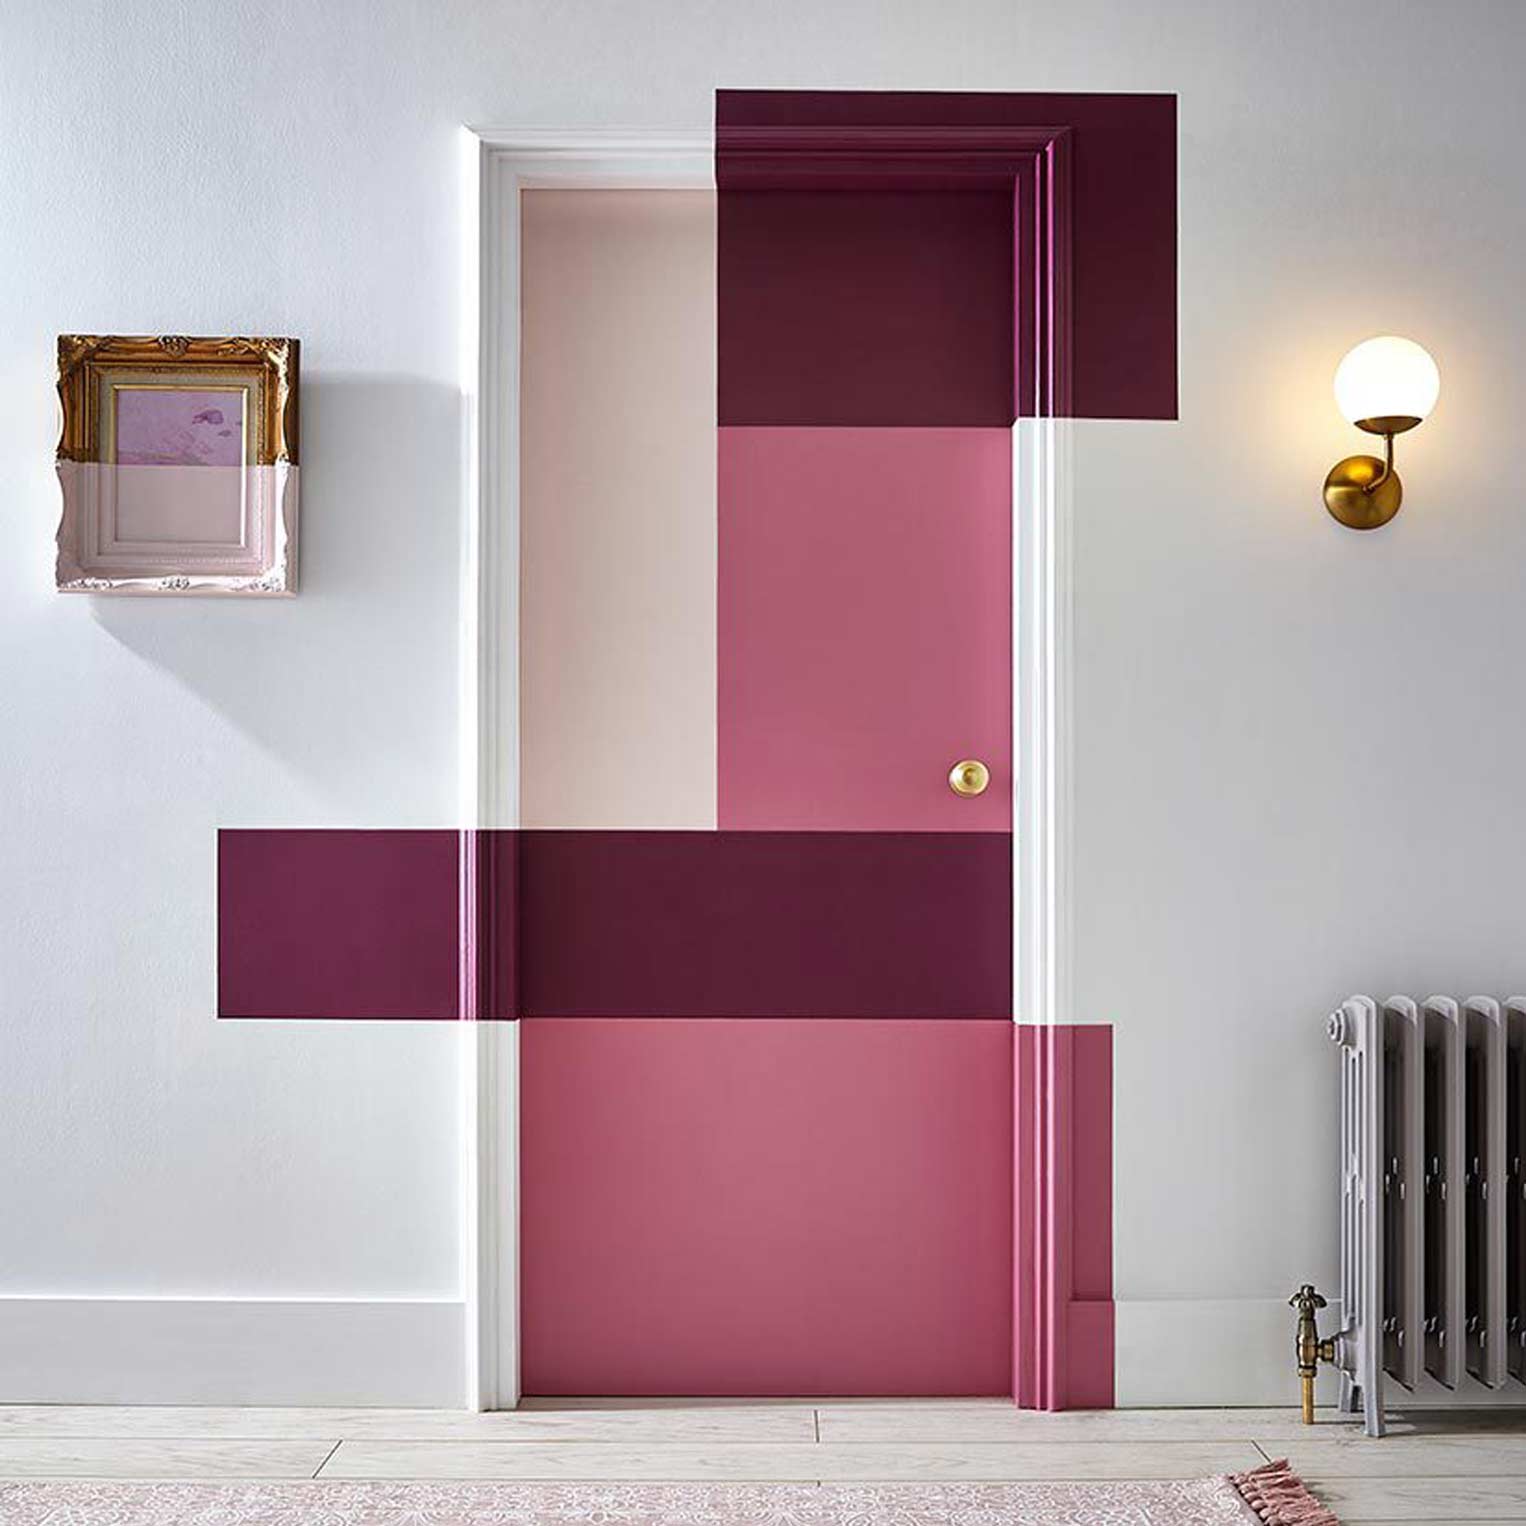
How to successfully achieve painted stripes on a wall.
There are few motifs as clean, easy on the eyes and infinitely variable as the classic stripe. Perhaps this is why they remain a firm favourite in both the fashion and interiors world - even as design and colour trends evolve, we always love a good stripe!
If you're thinking about injecting some intrigue into a room, stripes is a brilliant way to do so and a relatively easy task. Here we talk you through step by step to successfully achieving that timeless look.
Before you buy your paint, first decide on the look you want to create. A few questions to ask yourself are:
Vertical stripes can make ceilings look higher, while horizontal stripes can open out a room and give the illusion of more space.
Are you leaning towards 2 hues of the same shade or creating contrast with a bigger difference in colour?
Think about how many stripes you'd like to see over the full wall. You could even alternate their width rather than having them all the same thickness.
Alternating between flat matt and paints with a higher shine (eggshell or gloss, for example) is another way of setting a contrast between your stripes.
Once you have your scheme worked out, it's time to bring it to life!
It's important that the surface is prepped properly, this includes repairing any damages and ensuring the wall is fully clean and dry. Find more details on prepping your surface in our ‘How To Paint a Room' blog.
Once your wall is ready, mark off adjacent walls, any skirting boards or flooring and the ceiling with your decorating tape.
TOP TIPFor an even and durable finish, do a second coat of your base colour once the first layer is dry. If you're painting over a dark colour, this will definitely be necessary.
Allow 24 – 48 hours before moving onto the next step to ensure the paint is fully dry and won't be disturbed once you apply your stripes.
It's time to place your stripes. Measure up the wall and divide by number of stripes you've decided on, this will give you your stripe width – for horizontal stripes measure the width, for vertical ones you need to measure the height before dividing.
TOP TIPIf you want the first and last stripes to be the same colour, divide your wall by an odd number.
Start at one edge of the wall and use your pencil and measuring tape to mark the positions of your stripes at the intervals your calculation from the previous step has given you. Now repeat this on the other side of the wall to help guide your line marking.
You then need to lightly draw a straight line from one marking to the other – using a spirit level for horizontal stripes and a plumb bob & line or laser level for horizontal lines will make this step much easier!
lightly mark an “X” on the stripes you're painting in your contrasting colour for easier painting.
Place your decorating tape along your pencil lines, making sure you keep the tape on the same side of each line – we want even width stripes!
If you can, place the tape so you can just see the pencil line, this means when you paint your darker colour, it will paint over the pencil mark.
Seal the edges by running a credit card over the tape to ensure no paint can get in.
Now we get to the fun part! Use your paint brush or roller and fill in those sections you've marked with an “X”.
Make sure you paint onto your tape to get that crisp and satisfying clean line. Apply a second coat if needed.
Whilst the paint is still wet, pull off the tape at an angle carefully. You want to pull it off before your stripes are dry so that you don't remove any paint as you do so!
After this remove the tape framing the wall, tidy up your room and enjoy your masterpiece!