Get 20% off sitewide — final hours, ends tonight!* T&Cs apply

Enjoy free shipping on all orders. T&Cs apply

Community Favorites – Explore a curated edit of our bestselling designs.  Shop now
Stay cool this summer with blackout curtains & shades. Shop now
  • Wallpaper
  • Paint
  • Wall Murals
  • Curtains
  • Shades
  • Wall Art
  • Our Story
  • Inspiration

Design your next

Dream Room

Sign in or create a Graham & Brown account to add products to your wish list and get started on transforming your space.

  • Sign In
  • Sign Up
Check the status of an order

Newsletter sign-up

Stay inspired with our latest home decor trends and tips.

We'll only email you about relevant offers and product news.

Shopping with us
  • Shipping
  • Returns
  • Sample Service
  • NYC Showroom
  • Frequently Asked Questions
  • Trade Account Registration
  • Rewards
Corporate
  • Our Story
  • Press Enquiries
  • Affiliates
  • Our Sustainability Pledge
  • Terms & Conditions
Useful Links
  • At Home Magazine
  • Wallpaper
  • Custom Murals
  • Paint
  • Curtains
  • Shades
How can we help?
  • Customer Service
  • 1-800-554-0887
visa.svgmastercard.svgamericanExpress.svgpaypal.svgdiscover.svgSBID
© Graham And Brown Ltd. 2026
visa.svgmastercard.svgamericanExpress.svgpaypal.svgdiscover.svgSBID
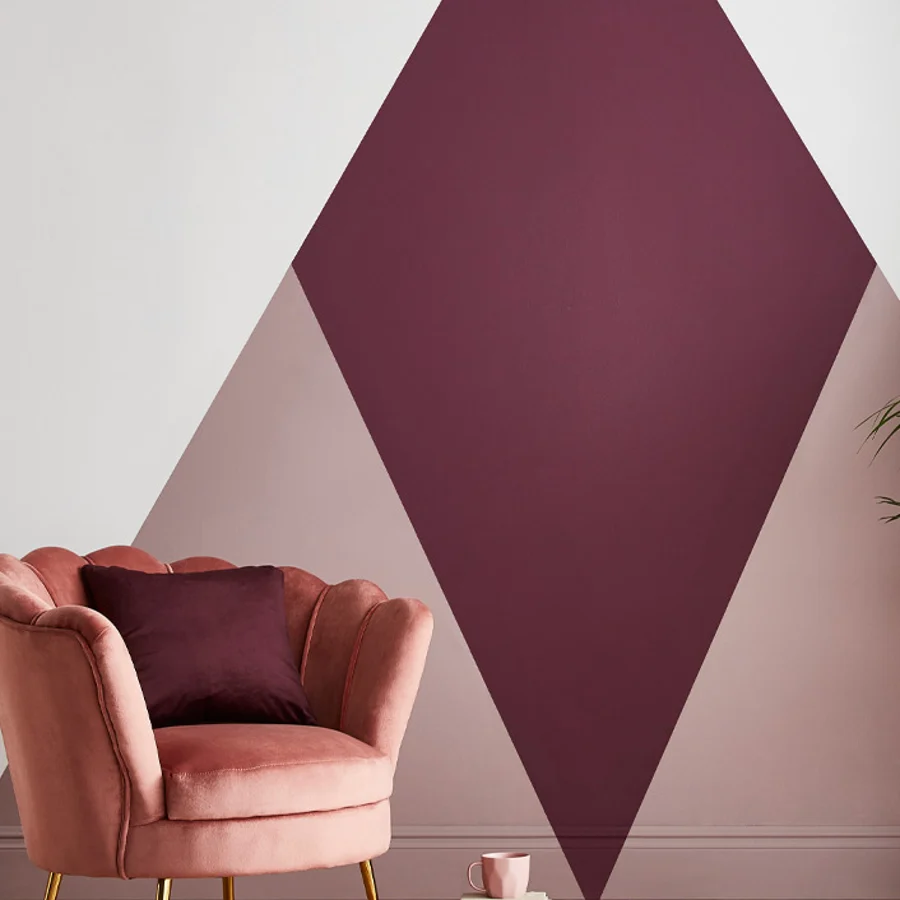
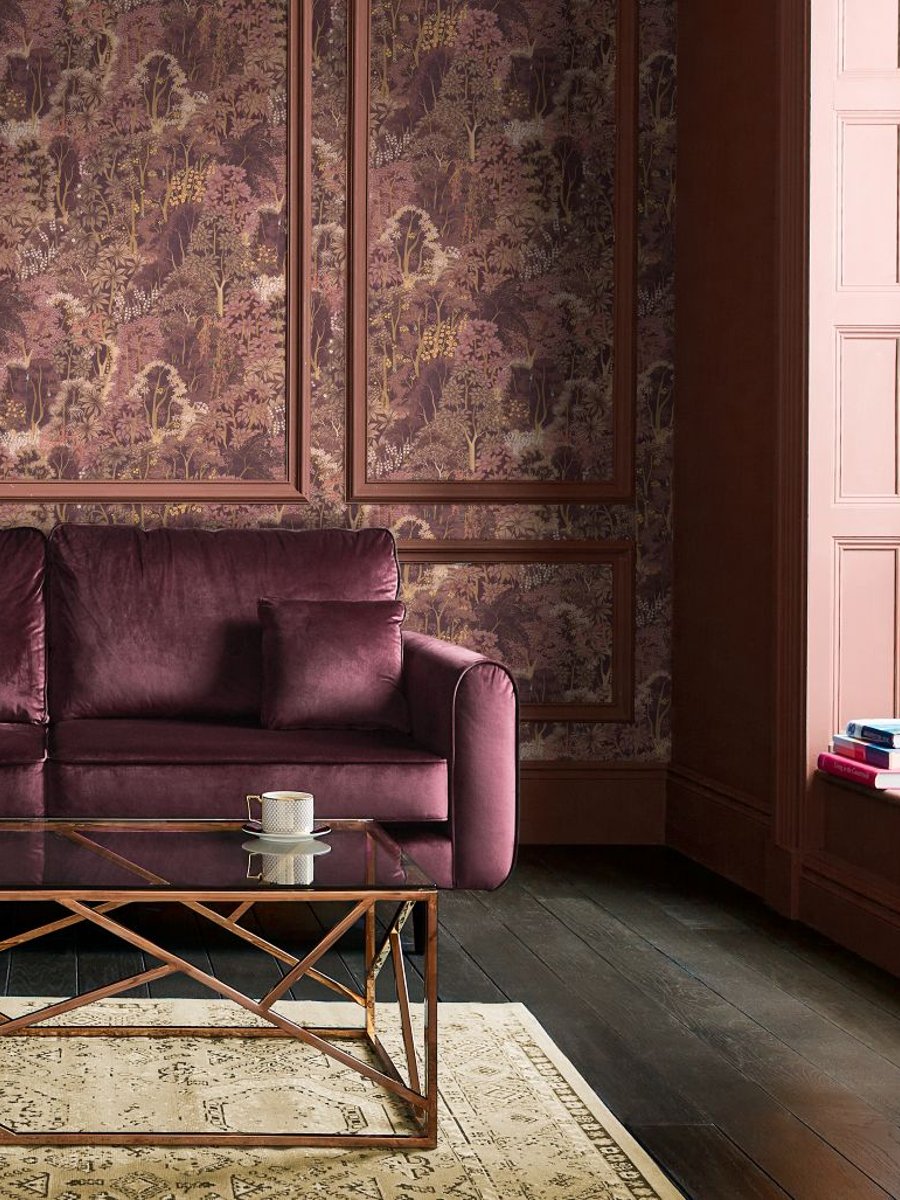
Room set featuring epoch paint in a geometric diamond shape

Home Décor, Interior Design, How to, Paint

How to Paint a Geometric Wall: A Step-by-Step Guide

07/14/2026
Words by
Poppy Ashworth
Poppy Ashworth · Product Manager / Soft Furnishings Expert

A bold, geometric design can transform even the smallest space, and there’s no better way to put your own stamp on a room. Playing with colour, shape and pattern is a real chance to express your creativity, and the results look wonderfully dramatic. Best of all, achieving that professional finish is far easier than you might expect.

In this guide we’ll take you through the essentials of painting a geometric wall ~ the kit you’ll need, how to mask a design, and how to keep your lines crisp ~ using a classic diamond as our example. The same steps can be adapted to all sorts of geometric shapes, so whether you’re brightening a living room or creating a calm, considered bedroom, let’s begin.

What you’ll need


  • Large dust sheet
  • Cloth
  • Wall filler
  • Sandpaper
  • Standing platform or step stool
  • Paint roller and brushes
  • Tape measure
  • Pencil
  • Masking tape
  • Paint
  • Hairdryer (if needed)

1. Prepare the wall

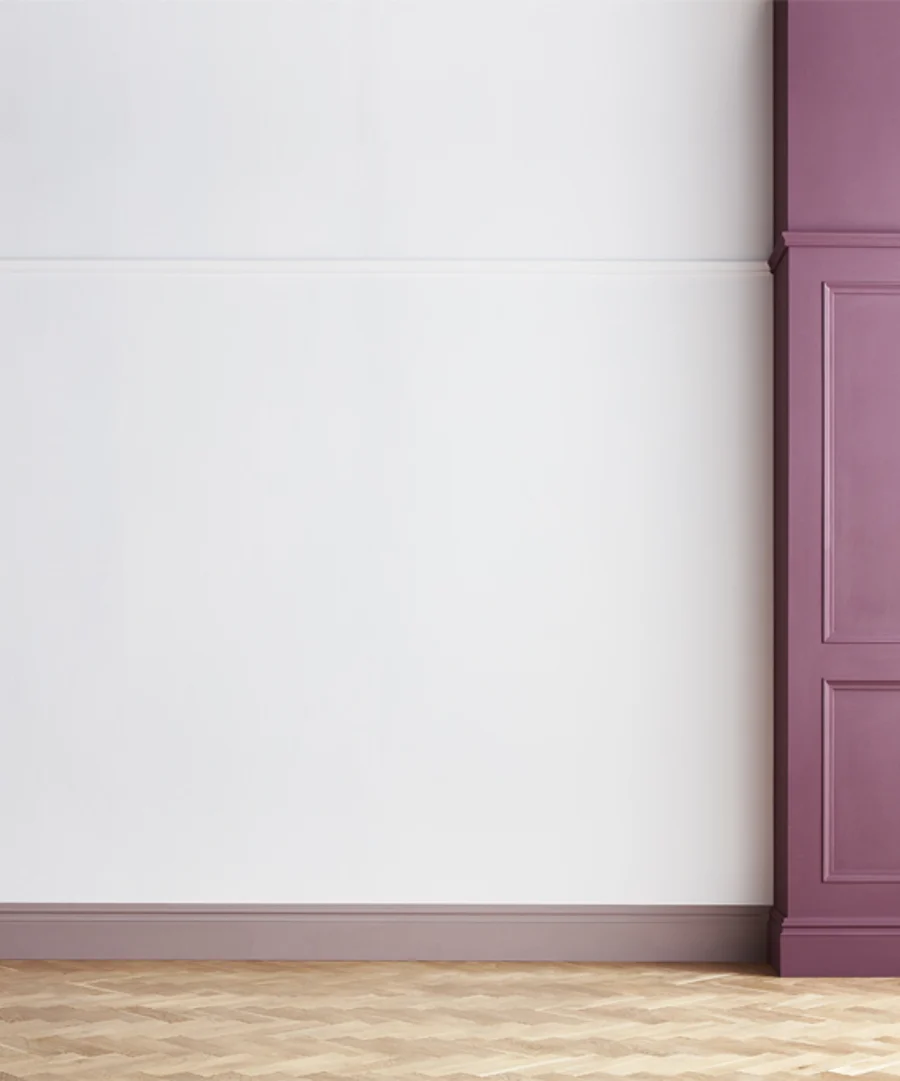
Before you pick up a brush, take the time to get your wall ready. Fill any chips or blemishes, sand them smooth, and clean away any dust or dirt. It’s an easy step to rush, but it matters more here than almost anywhere: lumps, bumps and build-up are the enemy of a crisp geometric edge, and a little care now saves disappointment later. For more on preparing your walls, our guide to painting a room is a good place to start.

blank wall to prepare for paint
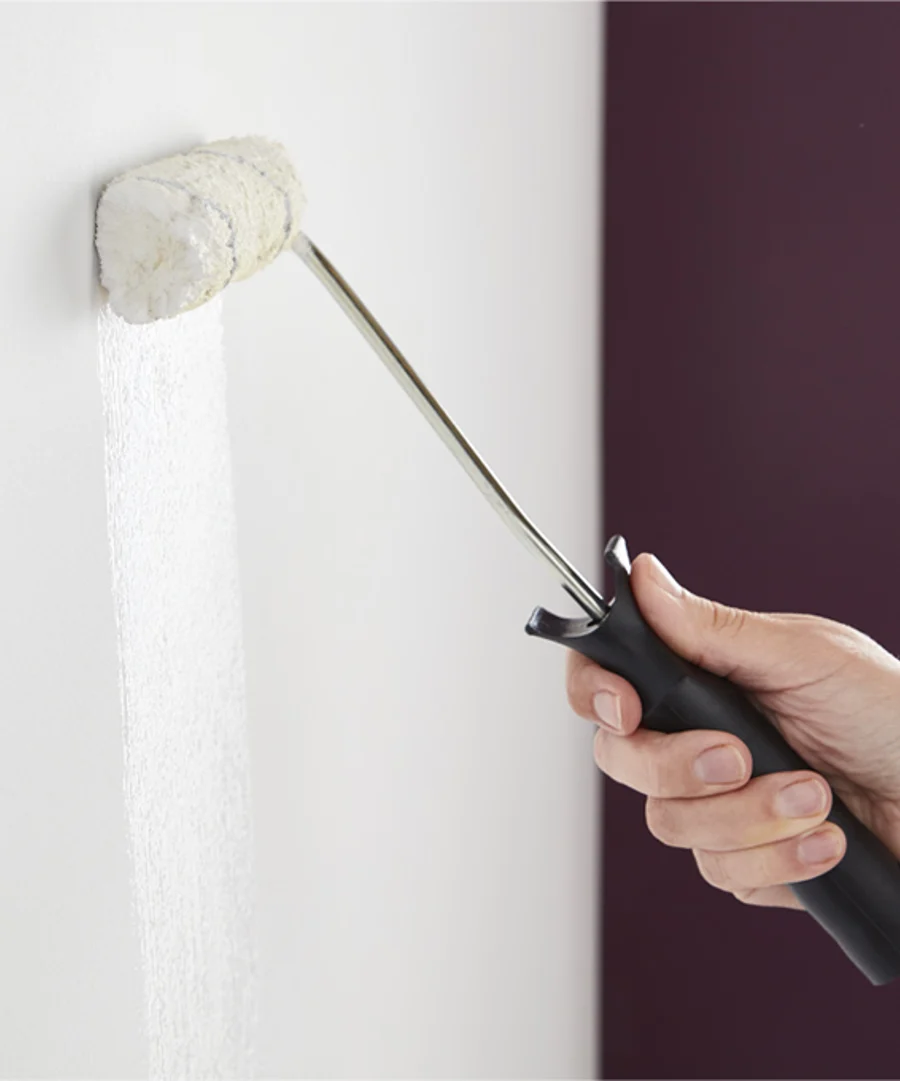
image of someone applying undercoat paint to a wall

2. Apply your undercoat

A clean, even base is what makes geometric shapes really sing. We’ve chosen Baby Powder, a soft white that gives the design a crisp backdrop ~ but if you’d prefer a neutral or a contrasting base, sketch your ideas on paper first to see how the colors sit together. There are no hard rules here; this is your chance to make something that’s entirely your own.

Stir your paint well for a few minutes, and if you need more than one tin, mix them together in a clean container so the color stays consistent. Apply your first coat, always working to a wet edge ~ aim for around a square meter at a time rather than painting all the edges first, which can leave the paint drying unevenly. Leave it four to six hours to dry, then apply a second coat.

3. Plan out your design

Let your undercoat dry fully before you start masking ~ we’d allow a good 24 hours, so the tape doesn’t lift any half-dry paint and send you back to the beginning. For the diamond design we’ve chosen, a little measuring gives you clean symmetry, and it’s more straightforward than it sounds.

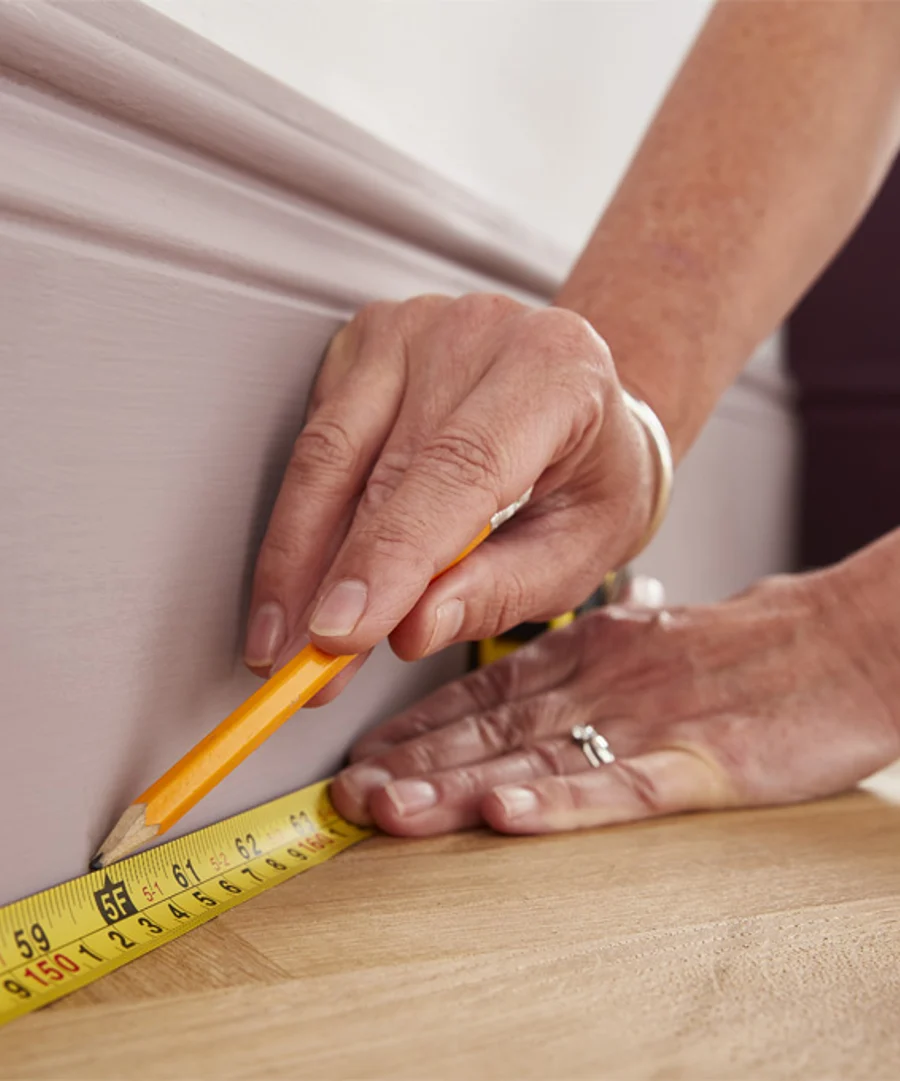
Measure your wall, or the section you’re working with, and find the centre. Mark it lightly in pencil at the top and bottom points where you’d like the diamond to peak. Then measure an equal distance either side of the bottom center to mark the outer corners, forming a large triangle. If you’d rather go freehand and asymmetric, it’s still worth sketching a plan first, even if you stray from it as you go.

someone measuring a design to paint
image of someone applying masking tape

4. Apply your masking tape

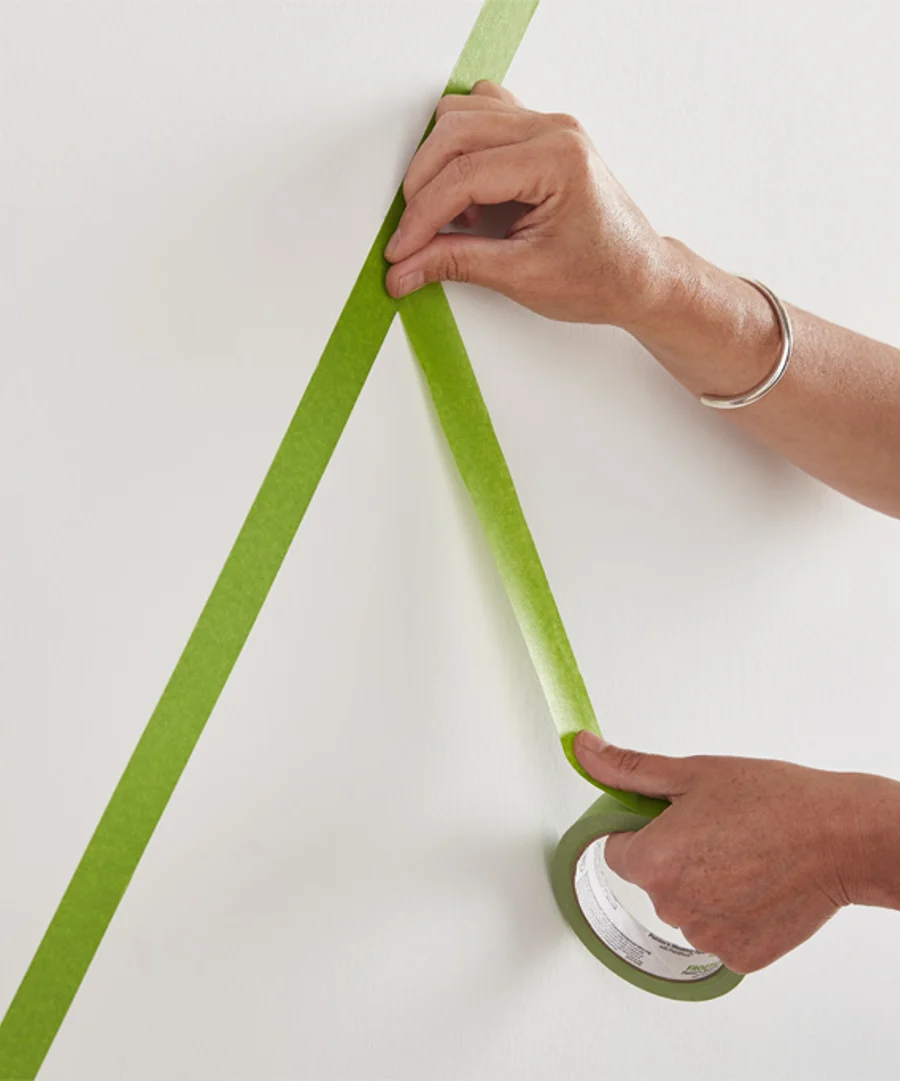
Run a strip of masking tape from each bottom corner up to your centre peak, taking your time to keep the lines straight. Here’s a detail worth knowing: once the tape is down, paint over its inner edge in your base color to seal it. It’s a simple trick that stops the next color bleeding underneath, and it’s the secret to a beautifully crisp line. Then find the midpoint height along each side of the triangle, mark it, and run two more strips from the bottom centre up to these points.

5. Paint your first shapes

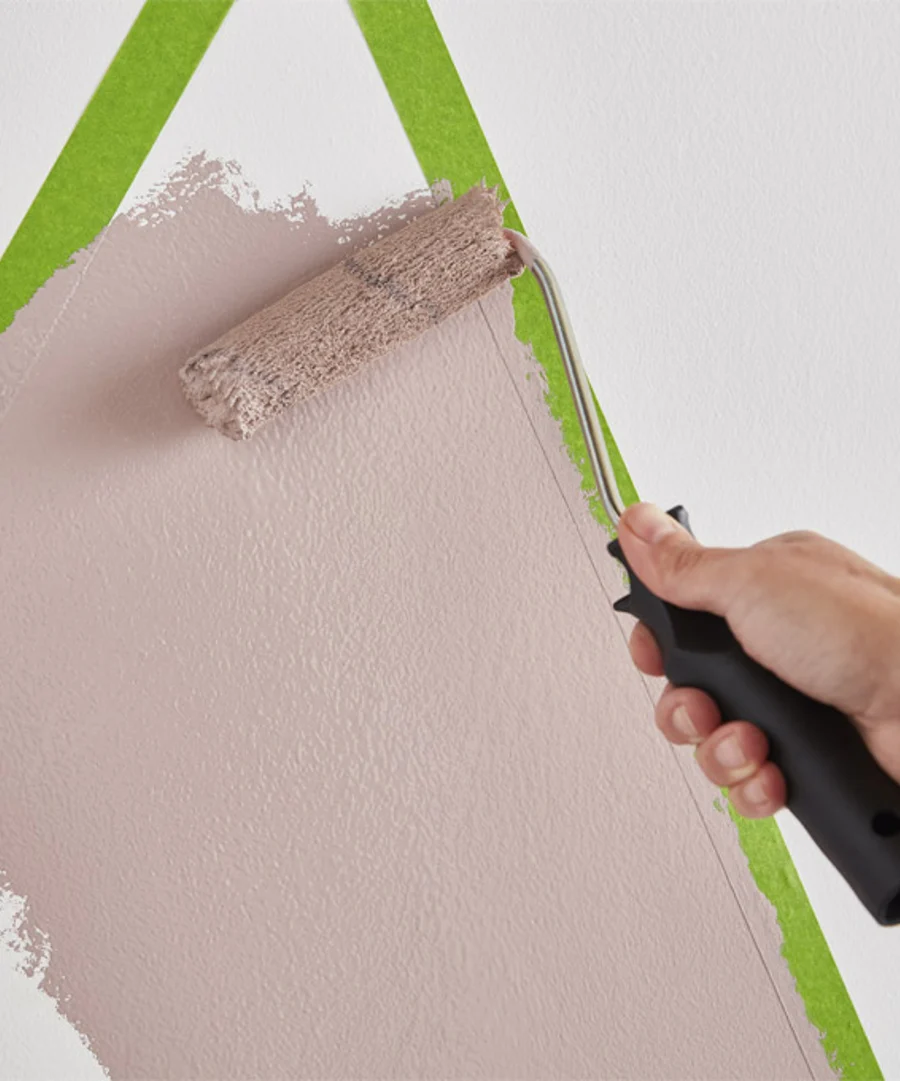
Using a roller ~ or a brush, if you prefer the control ~ fill the two lower triangles with your first color, staying just inside the taped lines. We’ve gone for Spiced Mulberry, which pairs beautifully with our main shade, Epoch: perfectly partnered, as ever. Let it dry, then add a second coat. If you’d like to keep a border between your shapes, you can skip ahead to step 8.

image of somebody painting geometric shape

6. Remove the masking tape

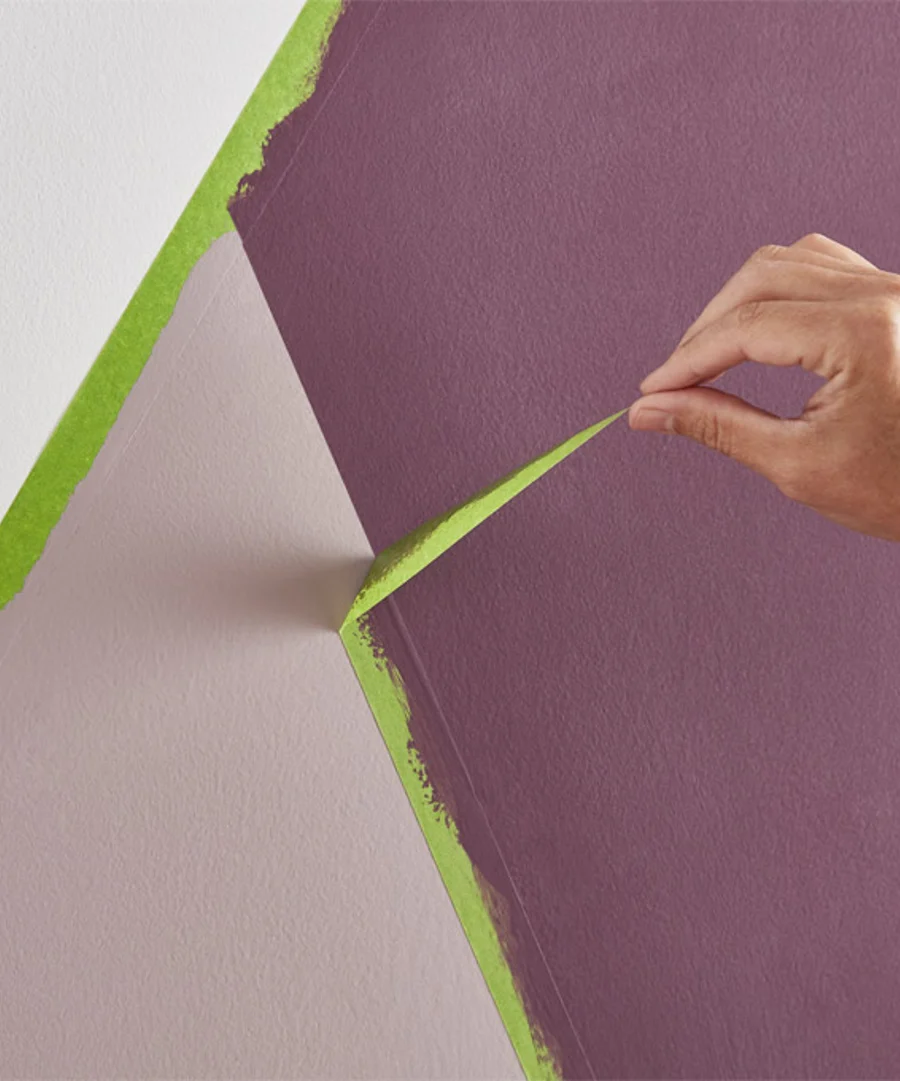
Once the paint is dry, gently peel away the tape on the inner sides of the small triangles, pulling at a 45-degree angle in one smooth motion. If it starts to lift any paint with it, warm the tape with a hairdryer, keeping it moving across the whole strip ~ the gentle heat softens the adhesive for a cleaner release.

7. Re-apply the tape

Now re-tape over your small triangles once the paint is completely dry. Lay the new strips as flush as you can along the inner edges. Getting it exactly right is fiddly, so if in doubt, leave a hair of the color outside the line rather than risk the base color showing through the gaps.

Image of somebody peeling back masking tape to reveal a geometric design

8. Paint your diamond

Just as before, apply two coats of your main color ~ Epoch, in our case ~ to the diamond in the center, allowing plenty of drying time between them. Two thinner coats will always give a better finish than one thick one, with none of the drips or runs.


9. Reveal your design


The best part: taking off the tape. Go slowly and steadily ~ this is the moment your design comes to life, and a careful hand gives you a clean, sharp finish. If any tape is reluctant to part with the wall, the hairdryer trick works here too. And that’s it: a bold, considered feature wall, made entirely by you.

Get inspired by our geometric wallpapers

We have a real soft spot for geometric design at Graham & Brown ~ it’s fresh, contemporary and endlessly adaptable, with roots running from 1930s Art Deco through 1950s retro to the sleek and modern. If you’d like a little inspiration before you sketch out your own, our geometric wallpaper collection is a lovely place to start. Here are three of our favourites to spark ideas.

Atelier Geo Slate ~ a timeless design built from squares, rectangles and triangles: start with a square, divide it into quarters, then divide each quarter into four rectangles. It’s bold, but far simpler to translate into paint than it looks. Try it in gradients of teal, or a dusky pink deepening to aubergine for real impact ~ or, for a quieter, more minimalist look, tonal greys that share a similar undertone, such as cool blue-grays or warm greys with a hint of red.

Retro Denim ~ chic and characterful, Retro Denim pairs denim blues with soft neutral browns in a curvier geometric with gentler lines. The curves take a little more concentration, so our tip is to cut a thin card template to get each one just right. It’s perfect for a full vintage look and stands up beautifully to zingier accents ~ a touch of orange or sunshine yellow really makes it sing.

Palais Sage ~ geometry isn’t all straight lines. Palais Sage shows what a simple repeat of soft ovals can do, its shapes overlaying into something more intricate. A card template helps with these curves too. We think it’s well worth the effort ~ lovely in a bedroom in soft greens or golds, and because it can be worked as a fine pinstripe geometric, it won’t overwhelm a smaller room.

Ready to begin?

However you approach it, a geometric wall is one of the most rewarding ways to bring pattern and personality into a room ~ proof that a little planning and a steady hand can go a very long way. Take your time, trust your eye, and enjoy making something that’s entirely your own.

Shop by Category

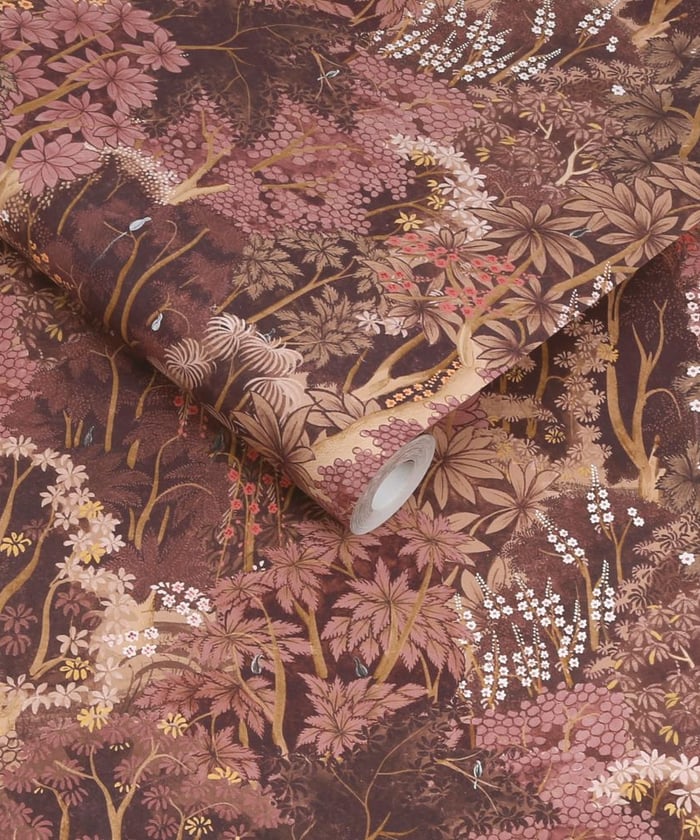
New Eden Mulberry wallpaper in a living room setting
New Eden Mulberry rollshot image

Wallpaper

Explore our thoughtfully curated selection of handcrafted wallpapers, crafted to bring style and intention to every day.

Explore more
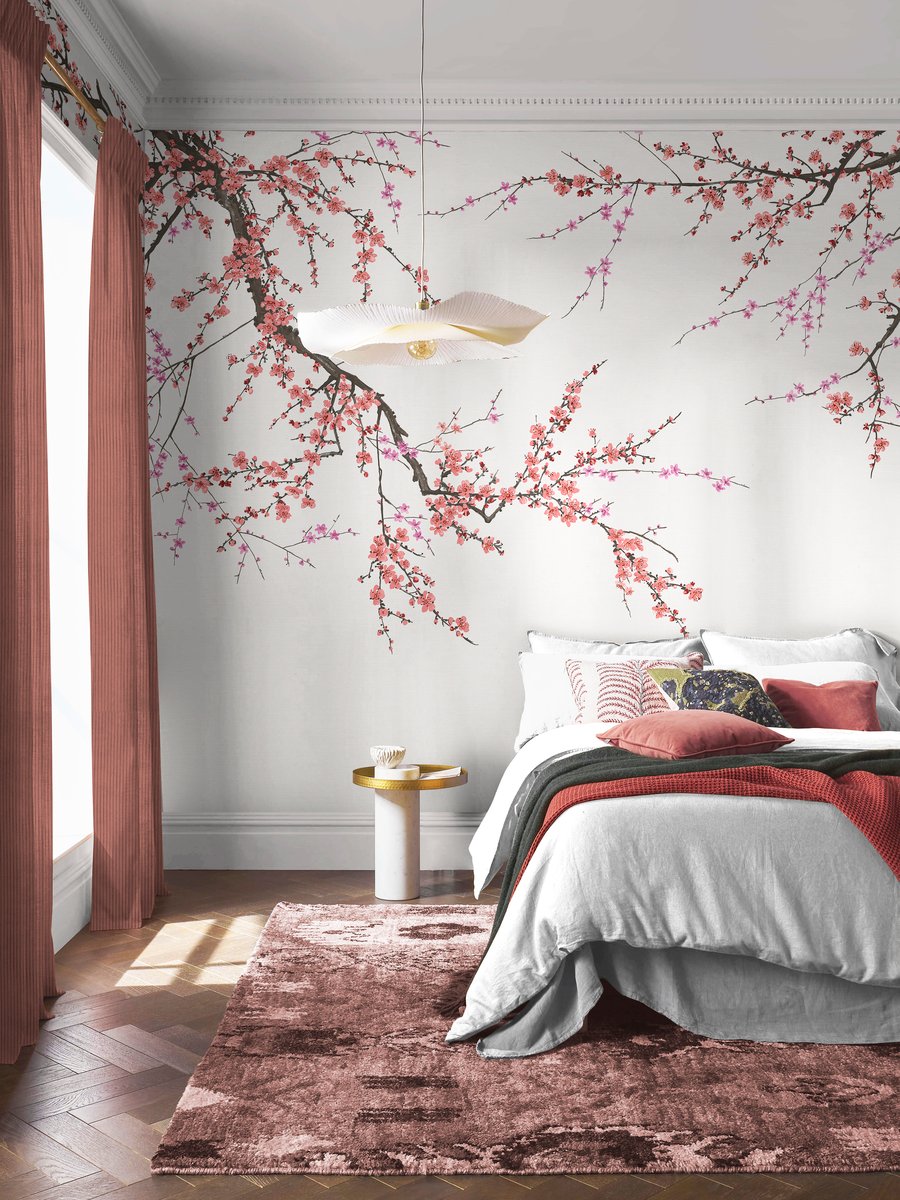
Sakura Soft Pink bespoke mural in a bedroom setting
Sakura Soft Pink mural design

Murals

Printed especially for you, our murals are fully customizable, making them the perfect fit for your home.

Explore more
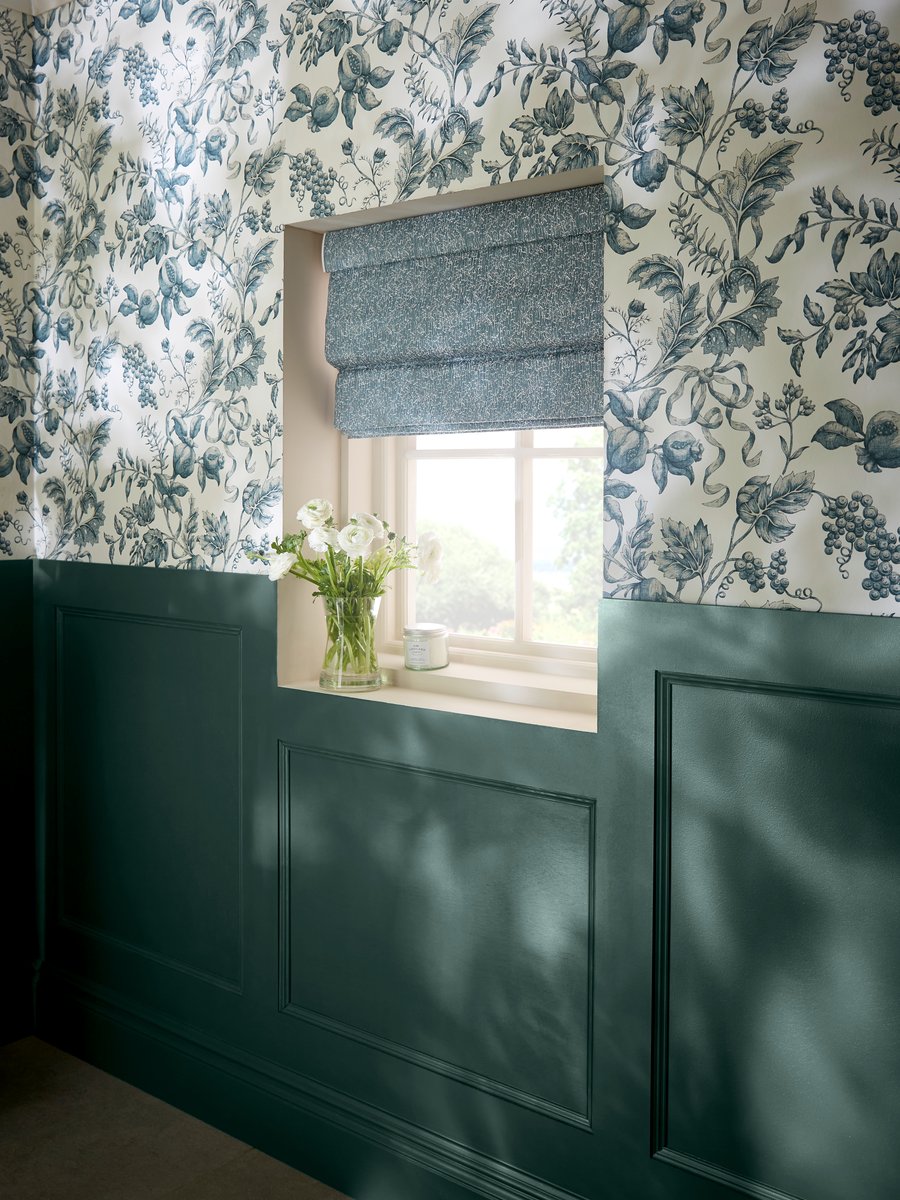
Roman Navy Wallpaper coordinated with Celeste Denim roman blind
Celeste Denim fabric scrunch

Furnishings

Transform your home with the little touches that make all the difference, crafted to help you express your personal style.

Explore more
Accrington Road paint on a chimney breast
Accrington Road paint splodge

Paint

From contemporary vibrant colours to restful complementary hues, each colour inspired by our rich heritage in design.

Explore more