Curate a coordinated look with 20% off when you buy bespoke products with paint. T&Cs Apply.
Design your next
Dream Room
Sign in or create a Graham & Brown account to add products to your wish list and get started on transforming your space.


.jpg?crop=3:4&width=900&quality=85&auto=webp)

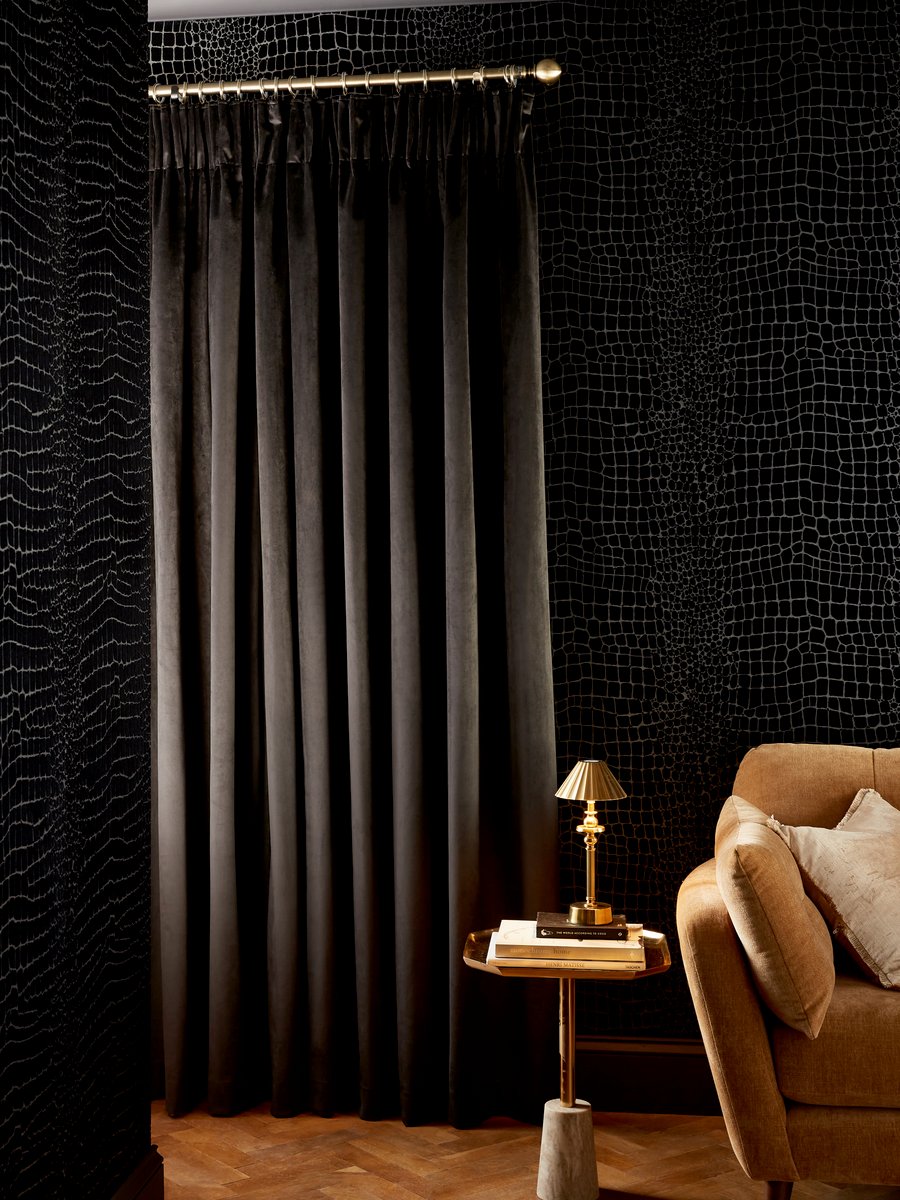
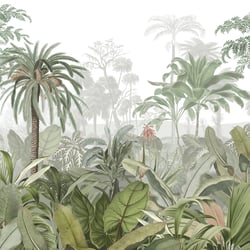
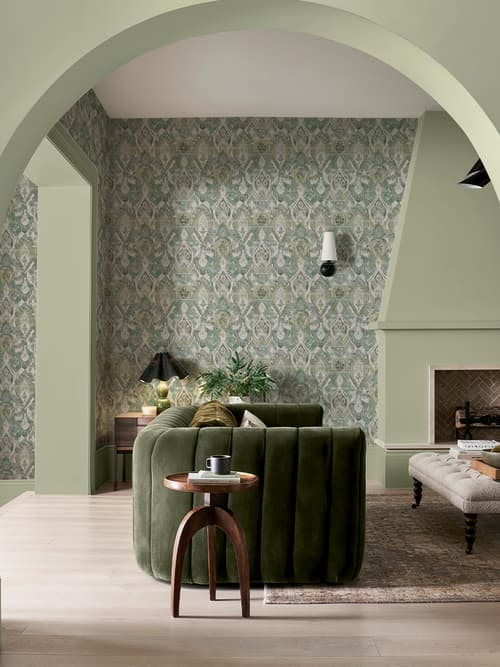
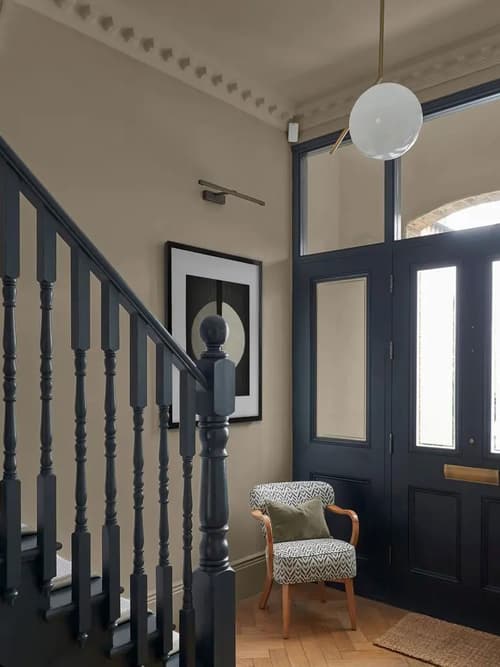
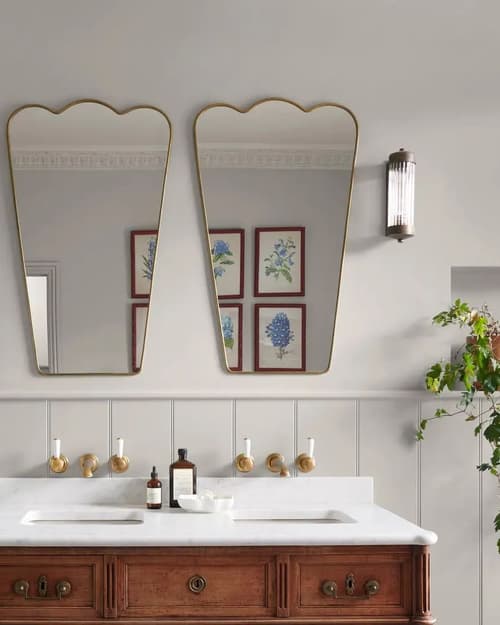
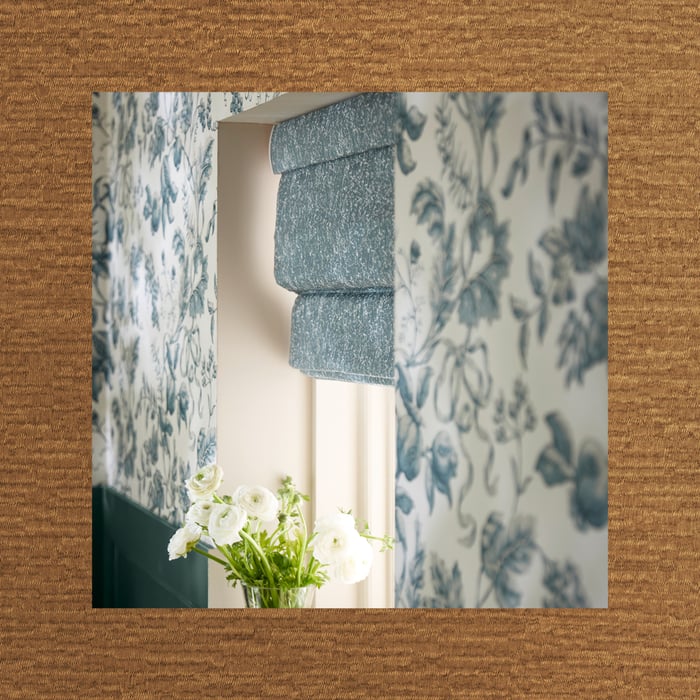
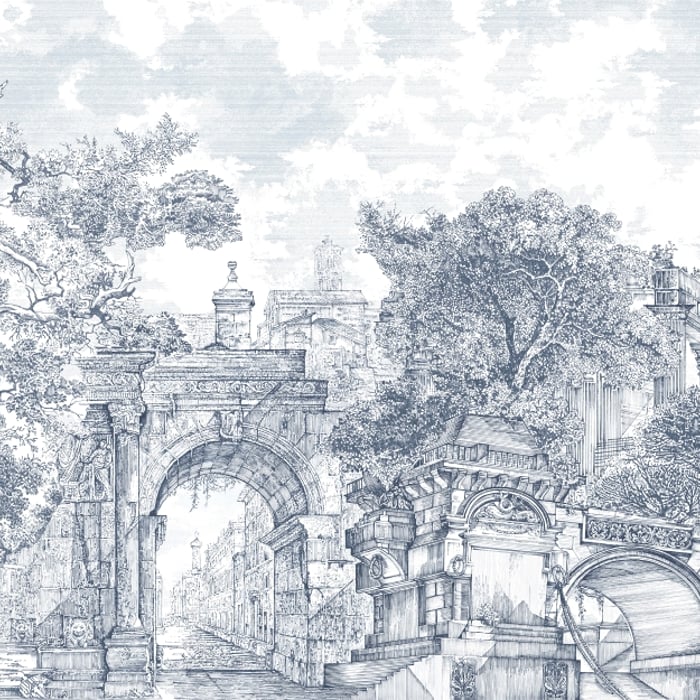
Rooted in the beauty of bygone eras yet reimagined for modern living, the Spring/Summer 2026 ‘Solstice’ Collection embraces a bohemian spirit through artistic, unconventional design.
The heritage and bohemian elements draw influence from the elegance of the Georgian and Victorian periods, blending traditional detailing with contemporary flair. The result is a considered balance of colour, pattern, and texture that fuses past and present, creating a look that feels effortlessly curated for both modern and traditional homes.

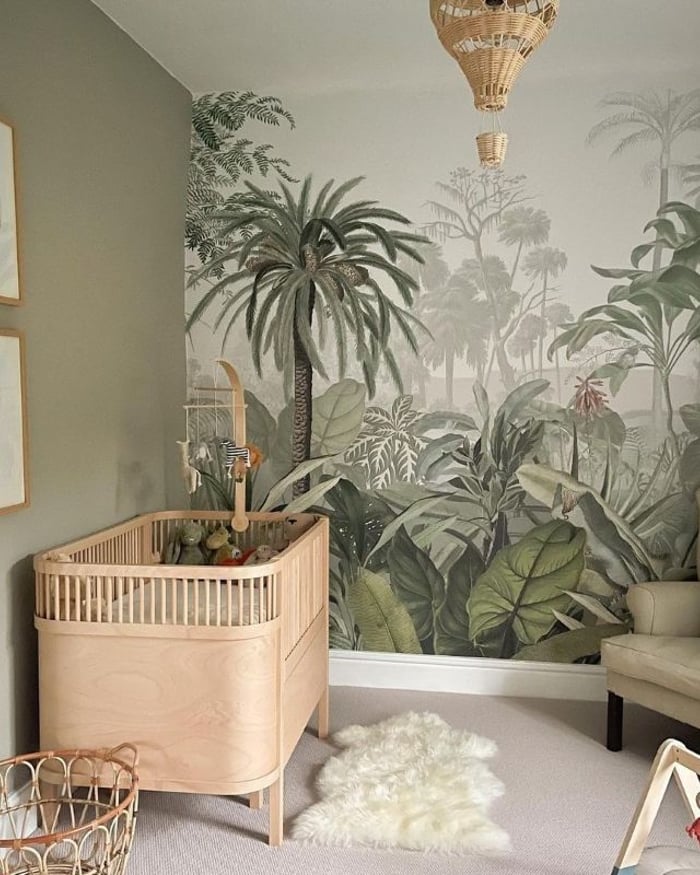
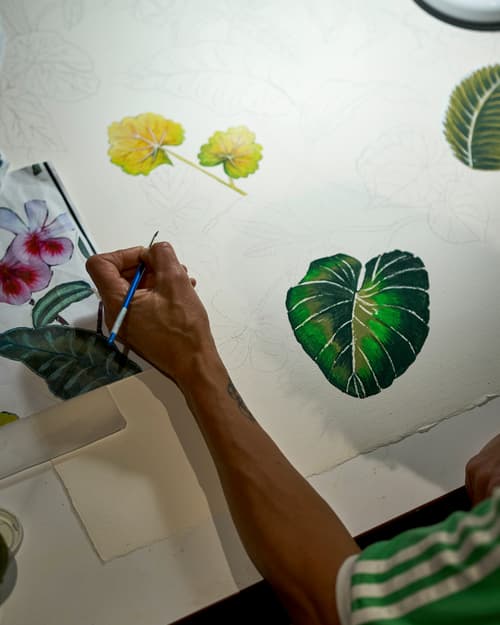
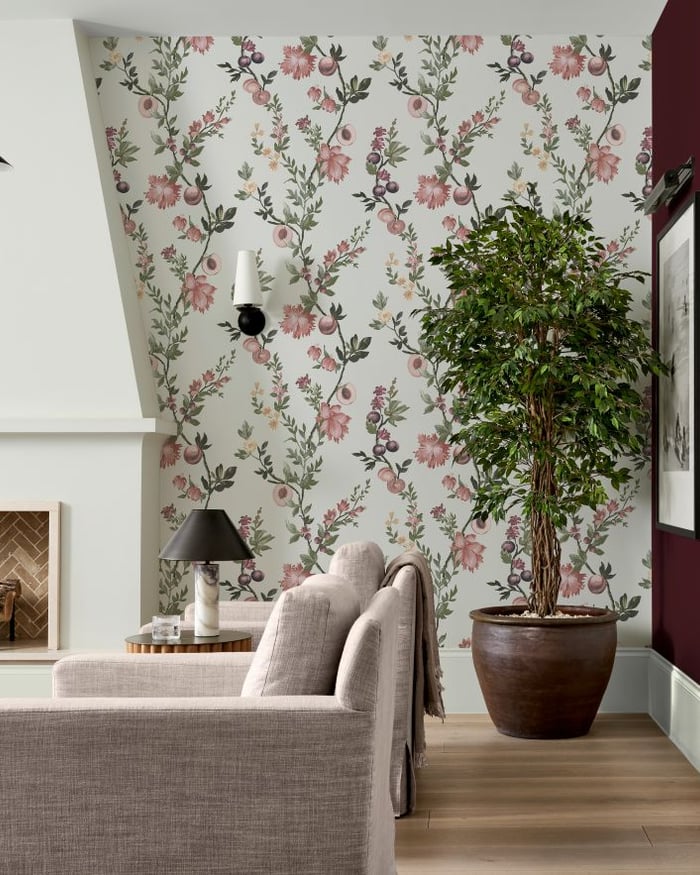
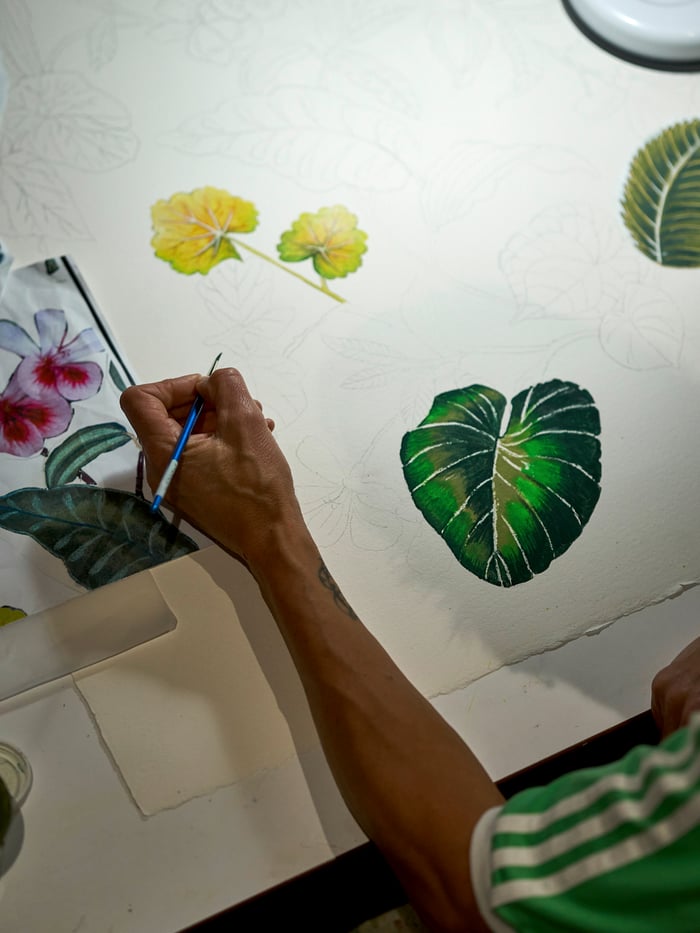
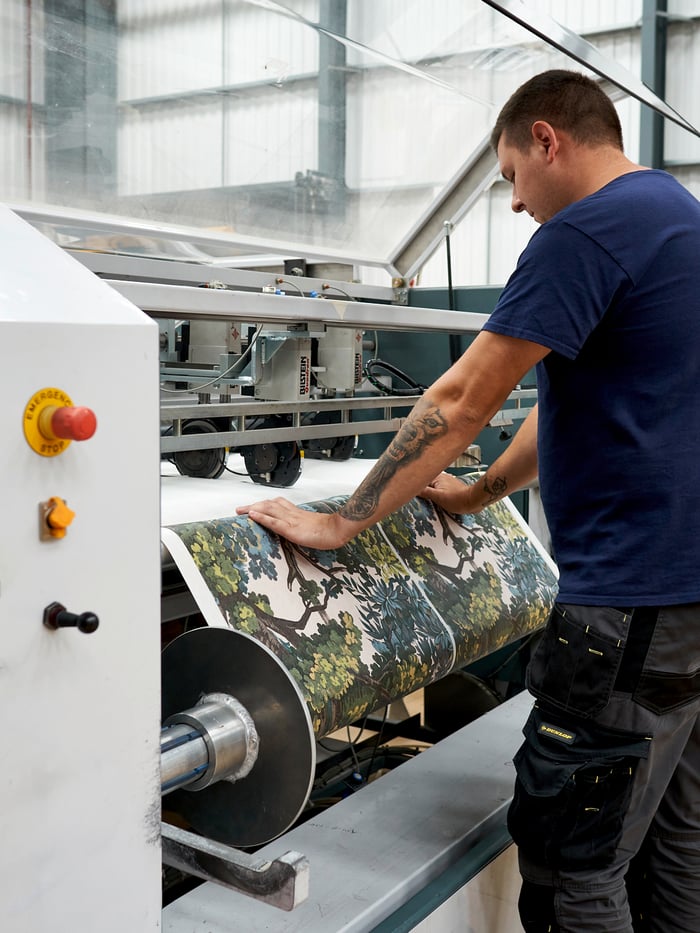
Our murals are fully customisable, making them the perfect fit for your home.
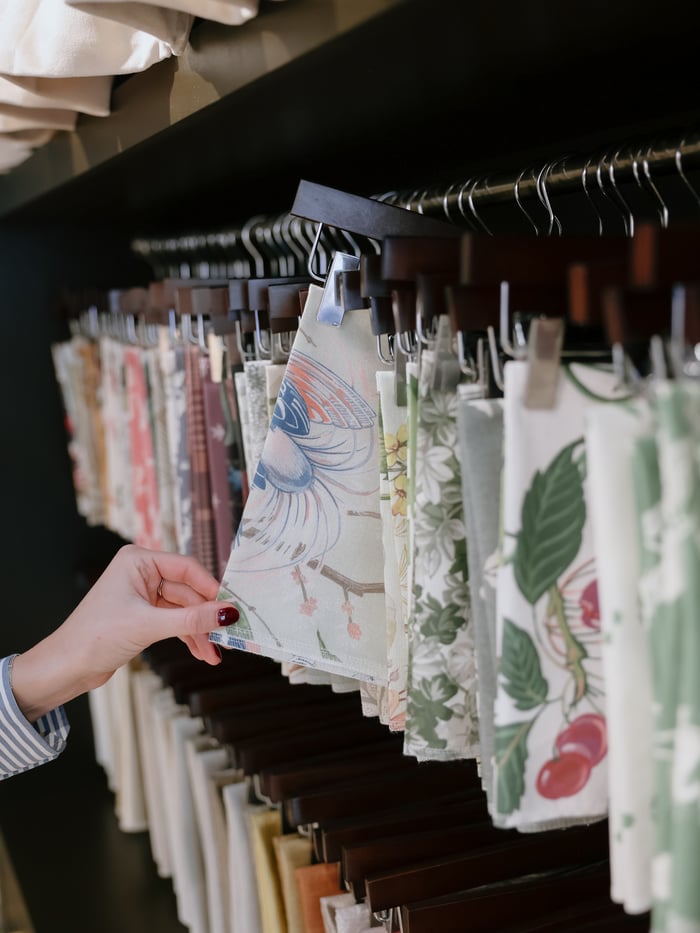
With decades of colour and design expertise behind every mural, our collection is created to help you shape a space that feels uniquely yours. From bold botanicals to timeless tapestries, each piece draws inspiration from an archive over 80 years in the making. Take your time exploring, we recommend sampling too – this is where your vision begins to come to life.

A place to come together, to find comfort, to feel inspired. That’s why we’ve dedicated eight decades to designing home décor for everyday life; defining spaces of enduring quality that tell your story.
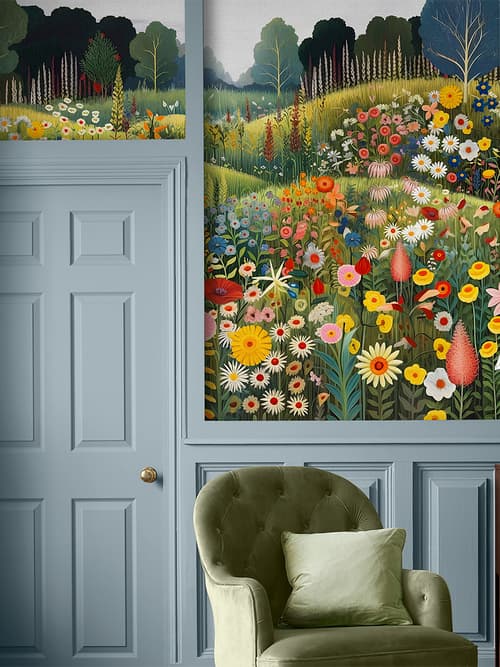
Wall Murals
Printed to order on our finest quality sustainable papers and shipped within 3 days. Our bespoke mural wallpapers are custom-made to fit your wall. Simply choose the scale, crop and position of the design.
Wall Murals
Printed to order on our finest quality sustainable papers and shipped within 3 days. Our bespoke mural wallpapers are custom-made to fit your wall. Simply choose the scale, crop and position of the design.
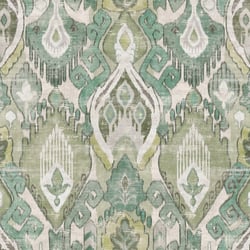
Wallpaper
At Graham & Brown, we have a huge range of over 700 wallpapers for you to choose from. View our full range to gather some inspiration or shop by colour below.
Wallpaper
At Graham & Brown, we have a huge range of over 700 wallpapers for you to choose from. View our full range to gather some inspiration or shop by colour below.

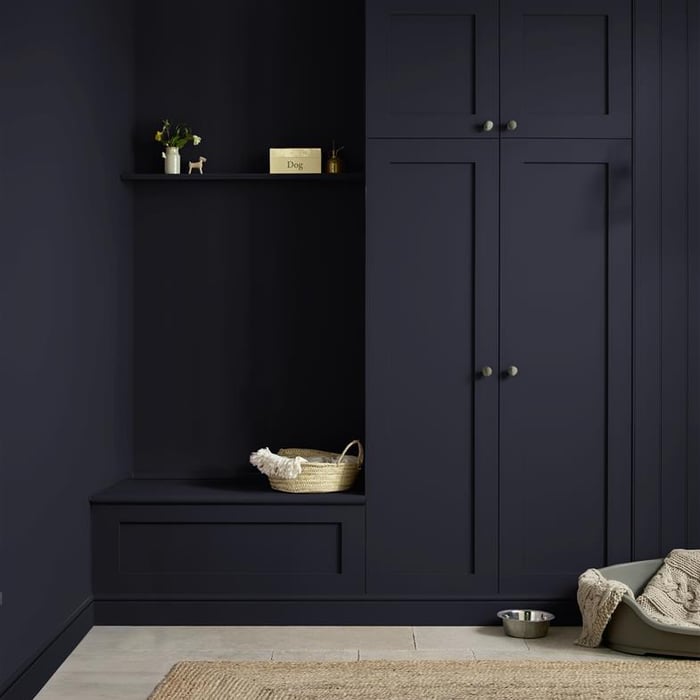
Paint
At Graham & Brown, we have a huge range of paint for you to choose from. View our full range to gather some inspiration or shop by colour below.
Paint
At Graham & Brown, we have a huge range of paint for you to choose from. View our full range to gather some inspiration or shop by colour below.
Step inside for exclusive offers, tailored perks, and the chance to get a free interiors consultation at our London Showroom. T&C's apply.
Find Out More
Join the Graham & Brown community
Our Story

A Creative Legacy
A Devotion to Craftsmanship
An Ambitious Mindset
A Committed Service
At Graham & Brown, every design is a testament to our enduring devotion — eighty years of crafting inspiration and comfort for homes around the world. Discover the story behind our thoughtfulness and generations of creative passion. Photography by @clairebingham_design
Let's bring your vision to life with curated inspiration moodboards. The perfect method to craft and visualise your dream space, piecing together colours, textures, and designs that fit your own unique style.
Step 1

The initial starting point to set the tone of the room’s palette.

Make it your own
Create your own moodboard, just like how we create at our design studio
Step 2

Find patterns and materials that speak to your personal style, perfectly pairing it with our paint options.
Step 3

Complete your room with a made to measure hand designed wall mural, bringing it to life with a final touch.
Committed Service


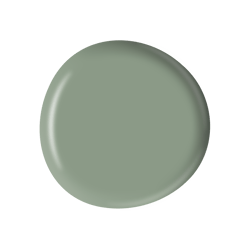
An exciting new chapter has begun as six new shades join our colour collection, each one a considered hue chosen by our design studio to complement our timeless palette while tapping into current and upcoming trends.
Shop New Colours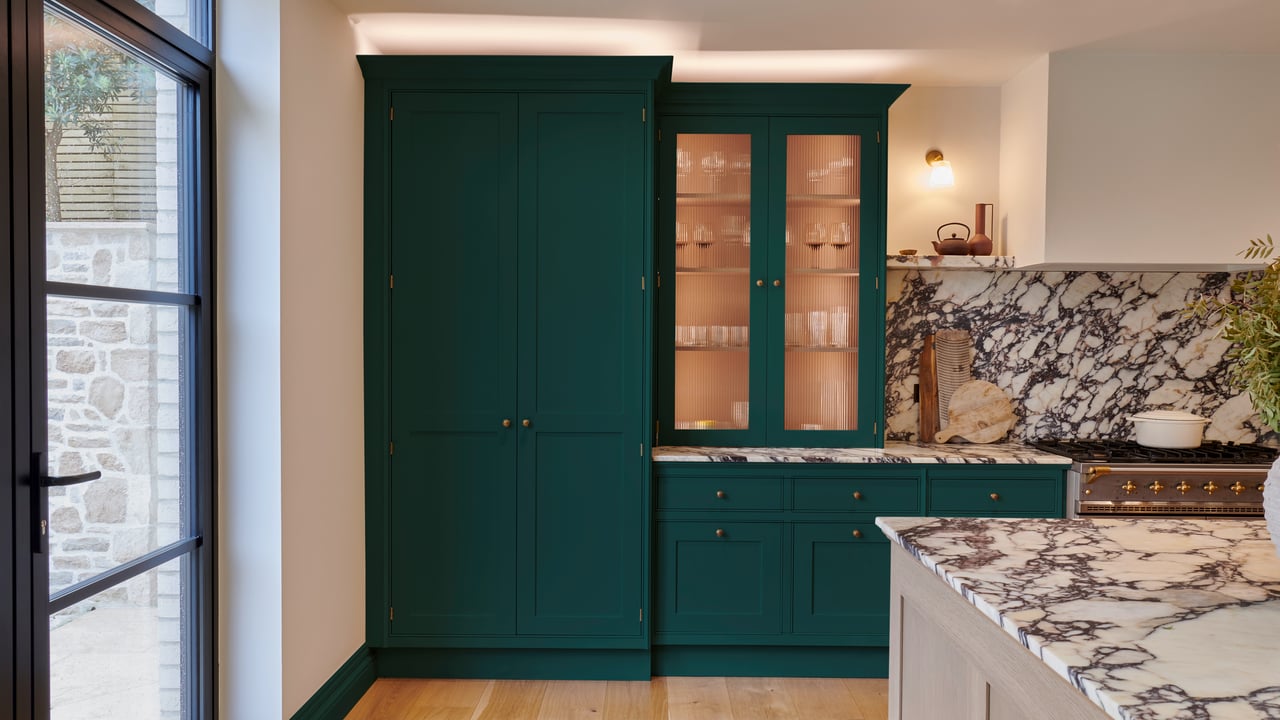
Introducing 6 new paint colours
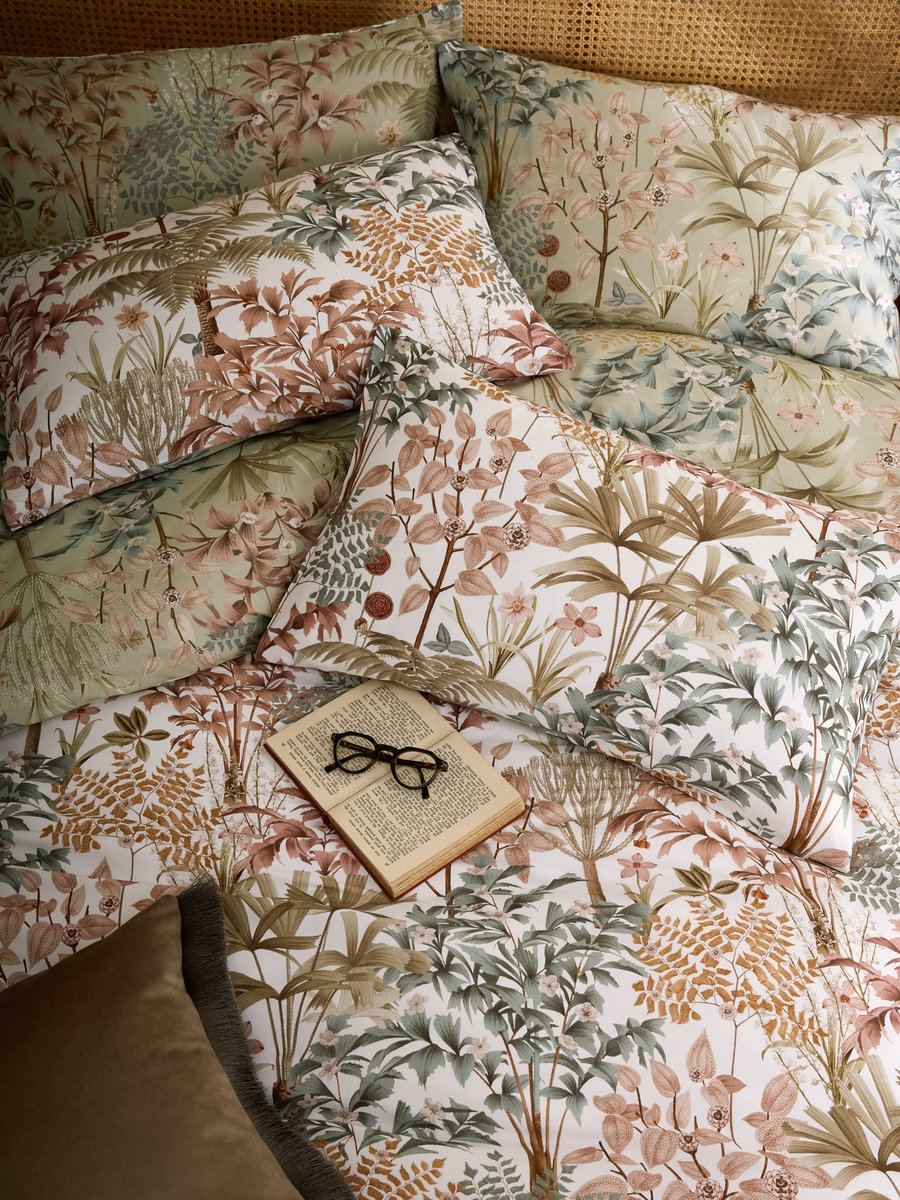
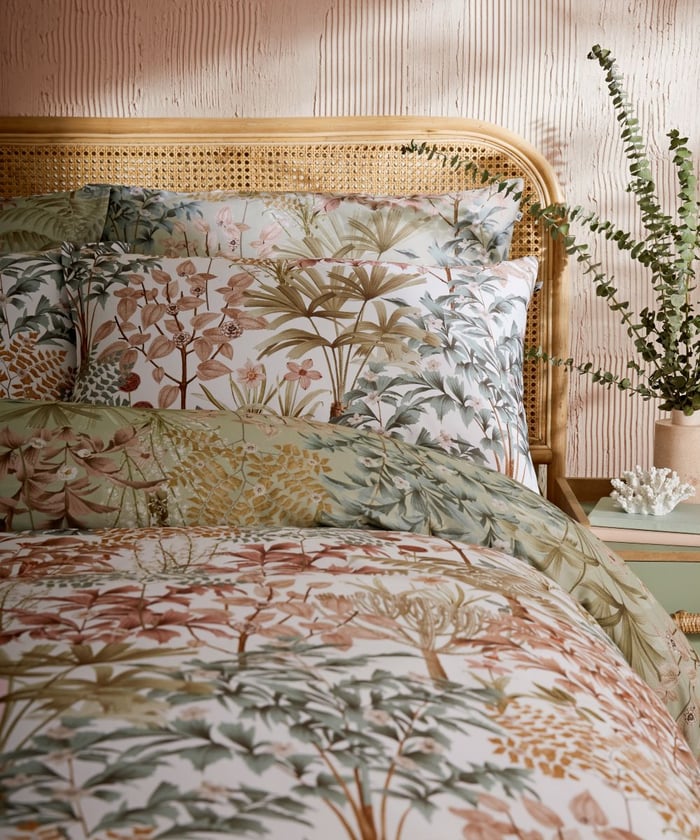
Add colour, texture and personality to your walls with our range of art or pile up the cosiness with our range of cushions.