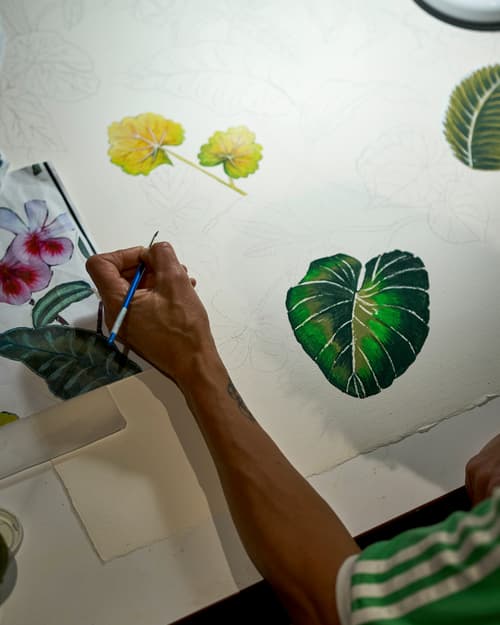
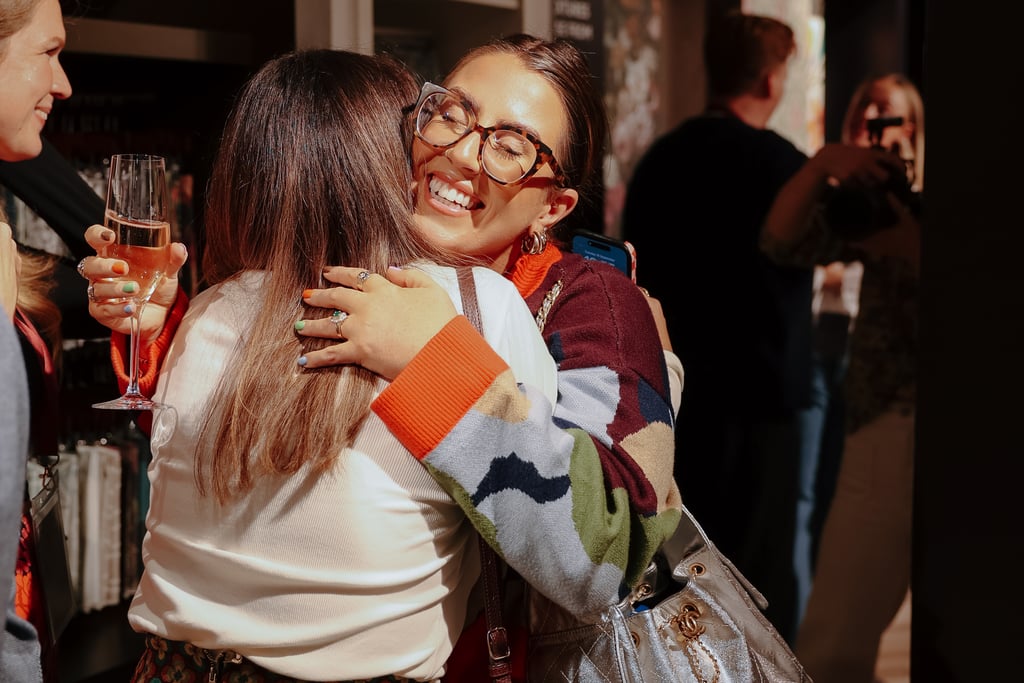
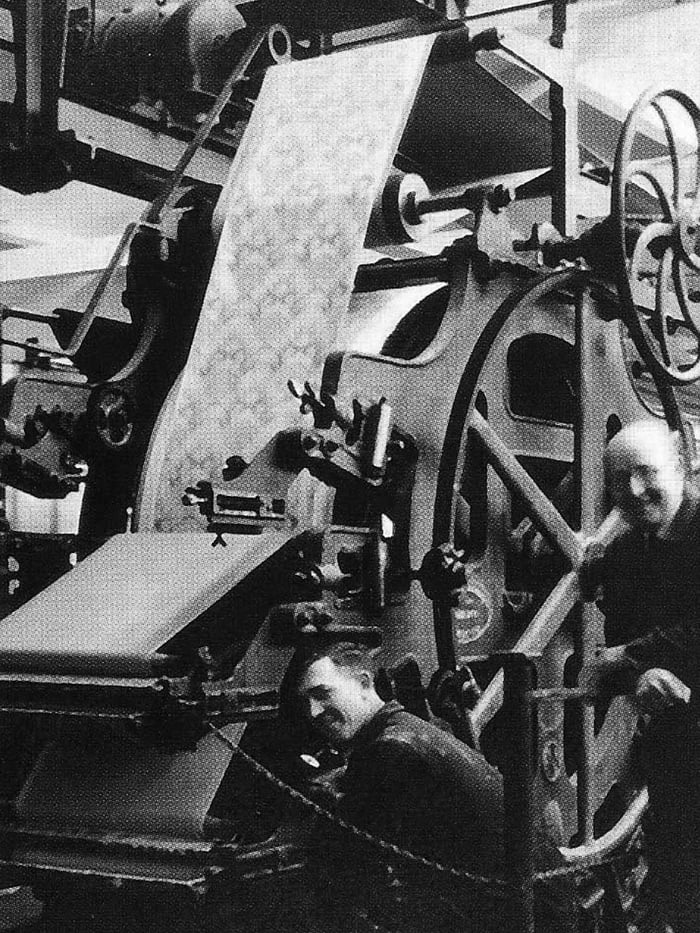
At Graham & Brown, every design is a testament to our enduring devotion — eighty years of crafting inspiration and comfort for homes around the world. Discover the story behind our thoughtfulness and generations of creative passion.
Photography by @clairebingham_design
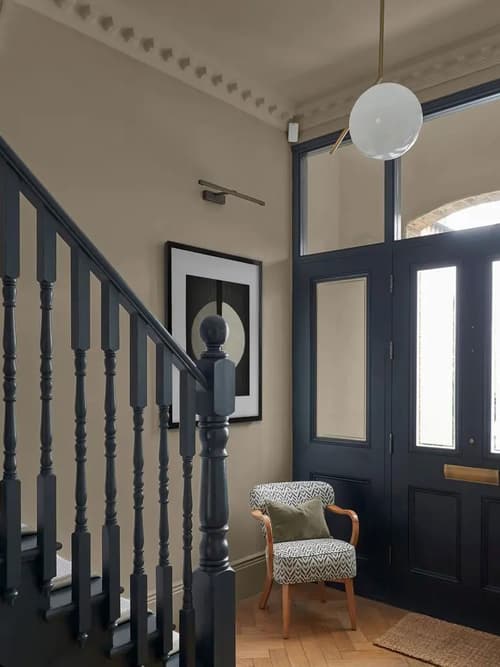
Welcome to Graham & Brown
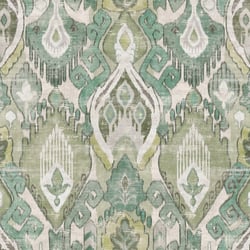
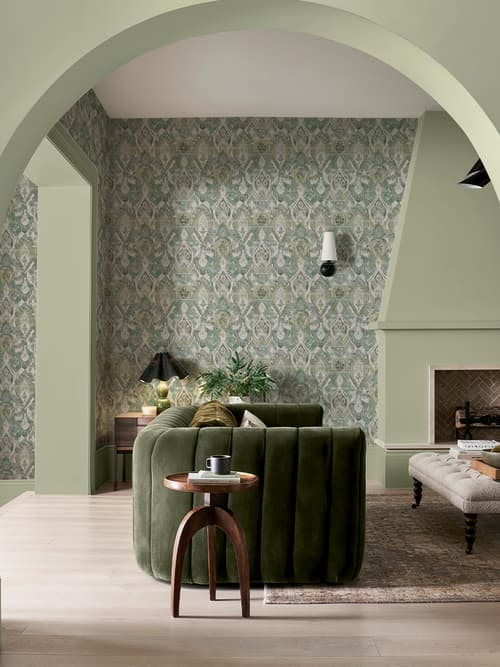
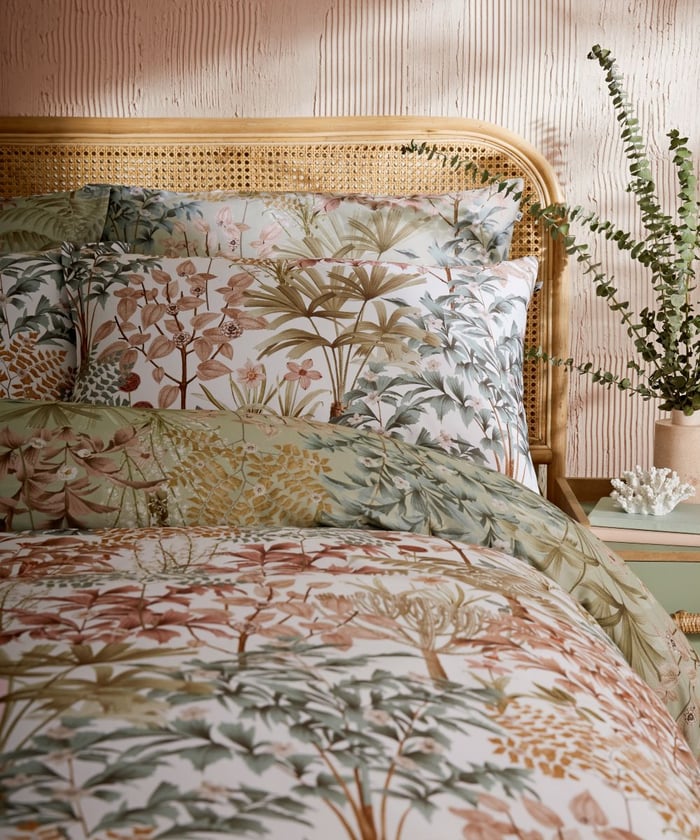
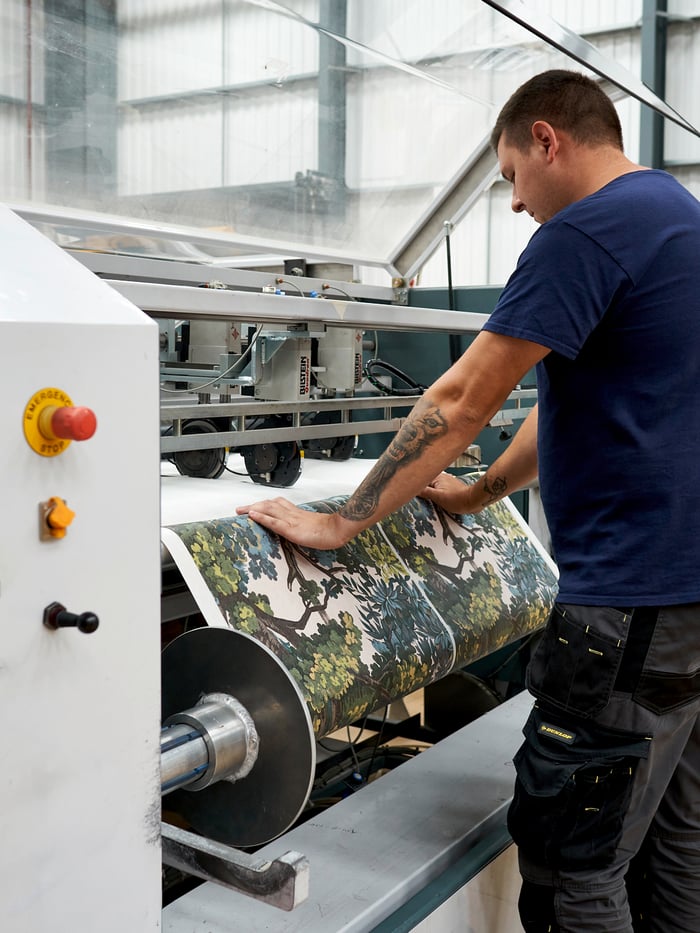
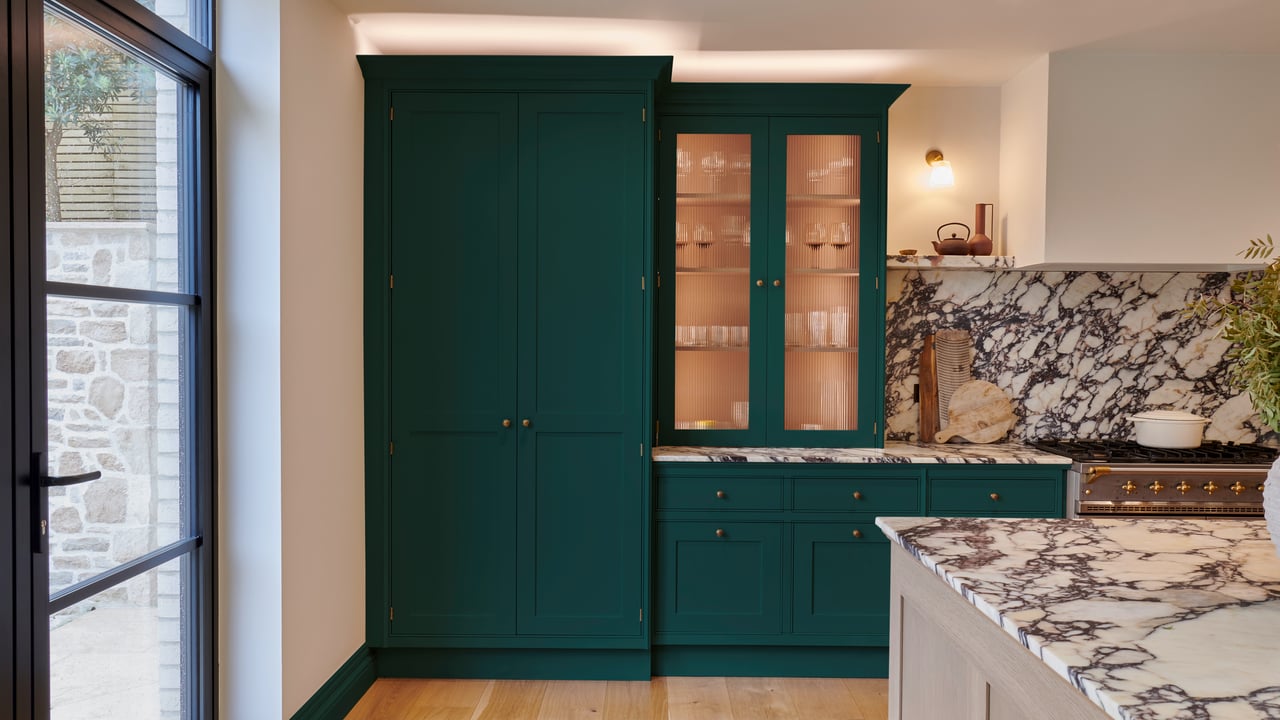
Our wallpaper collections are shaped by decades of experience and an instinct for originality. With hundreds of designs to explore, each one is created to bring depth, character and personality into your space.
From confident statement prints to softer, considered patterns, every wallpaper is crafted with quality at its heart. Our paste the wall technology makes hanging simpler, so you can focus on the joy of transforming your home.
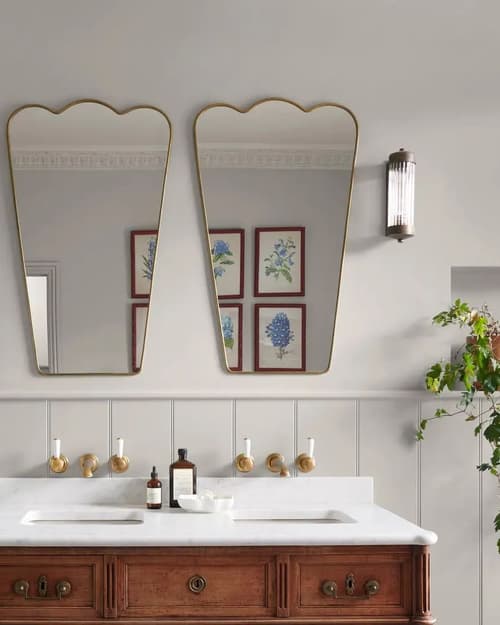
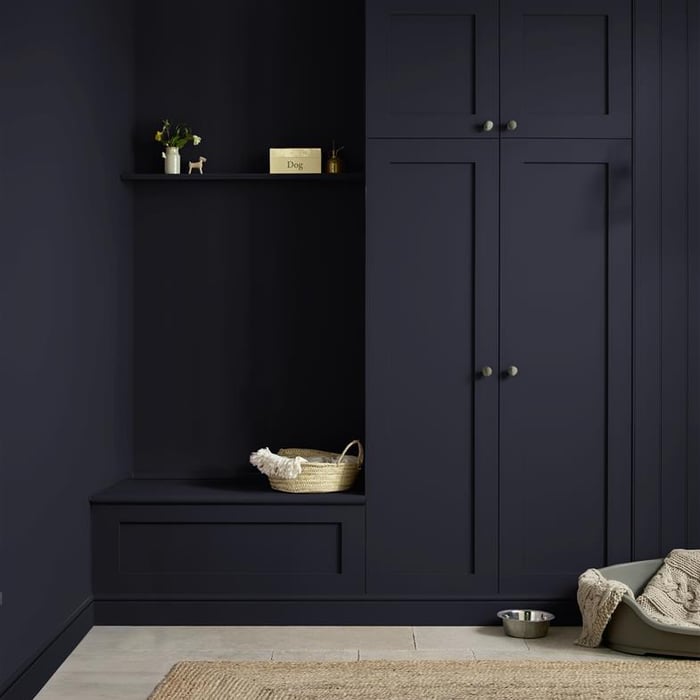
Paint
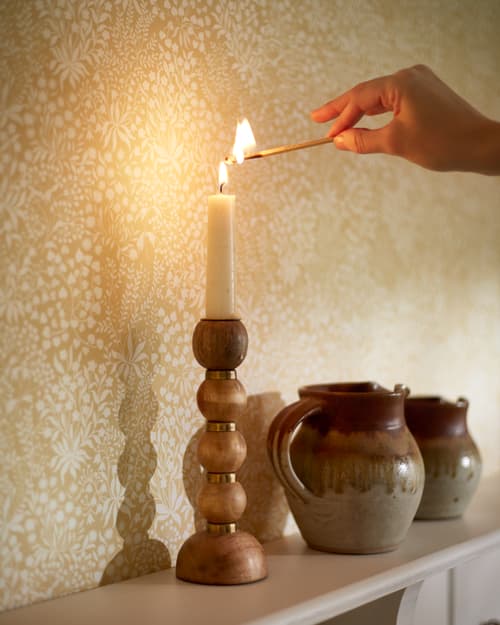
Colour has the power to change how a room feels. Our paint collection has been created to partner seamlessly with our wallpaper and bespoke murals, offering carefully balanced tones that bring spaces together with ease.
Water-based and low odour, our paints are quick drying and easy to live with. Whether you are choosing by colour family or exploring room by room inspiration, our expert guidance is always close at hand.
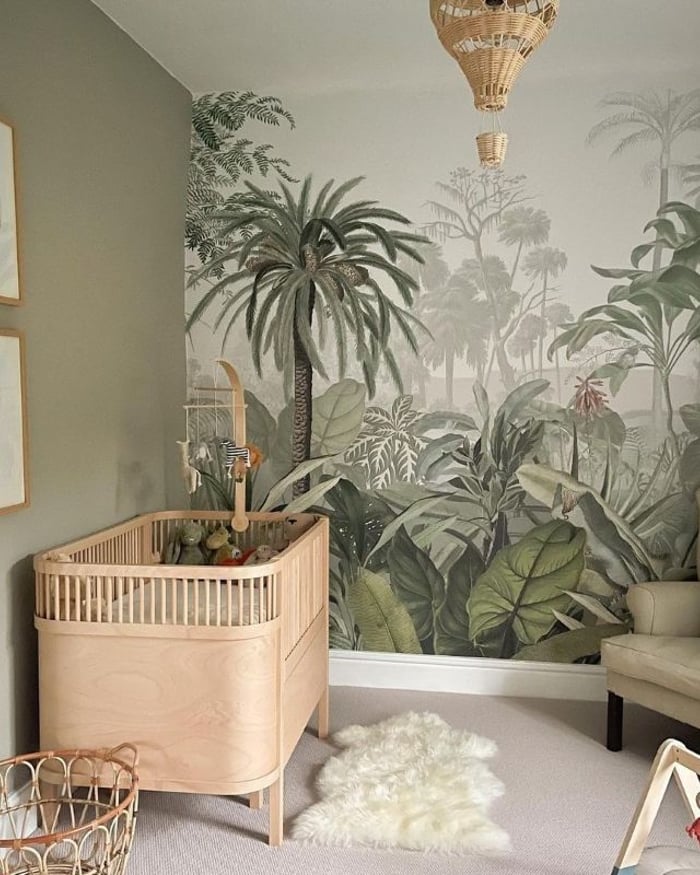
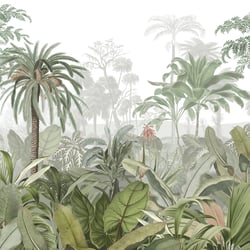
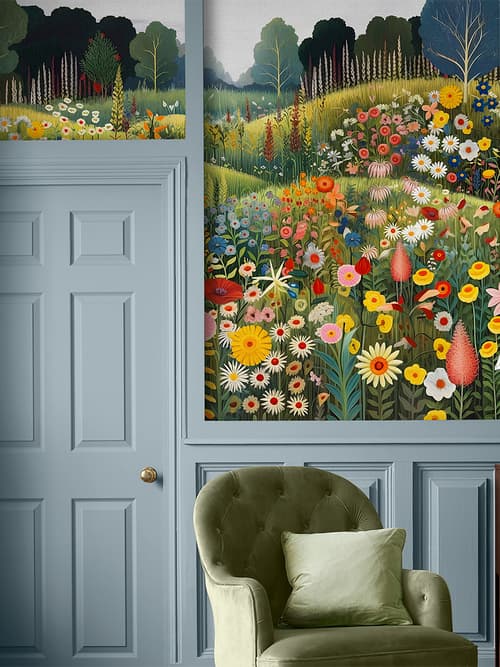
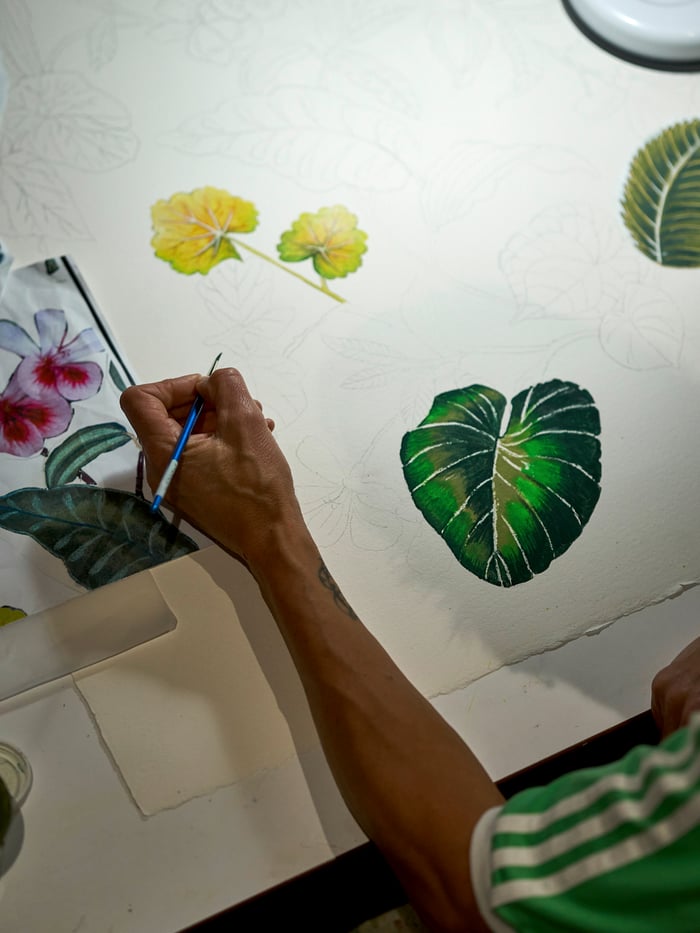
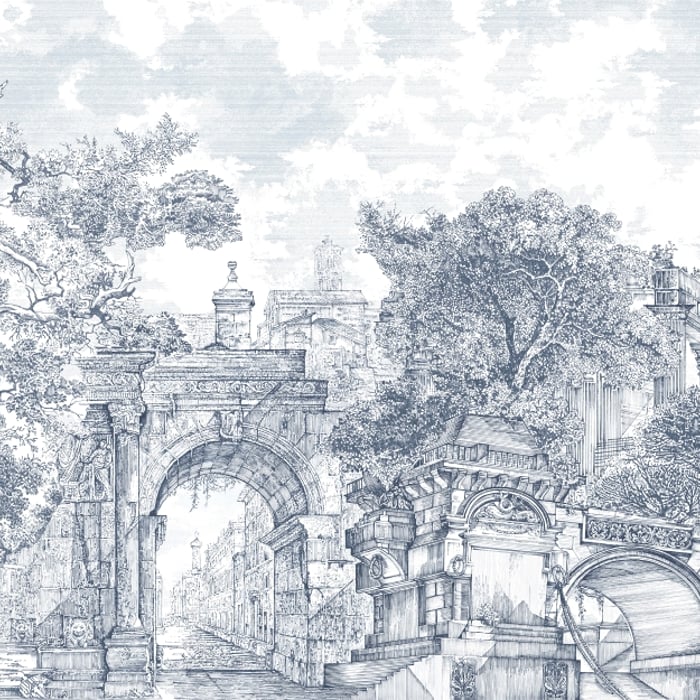
Murals
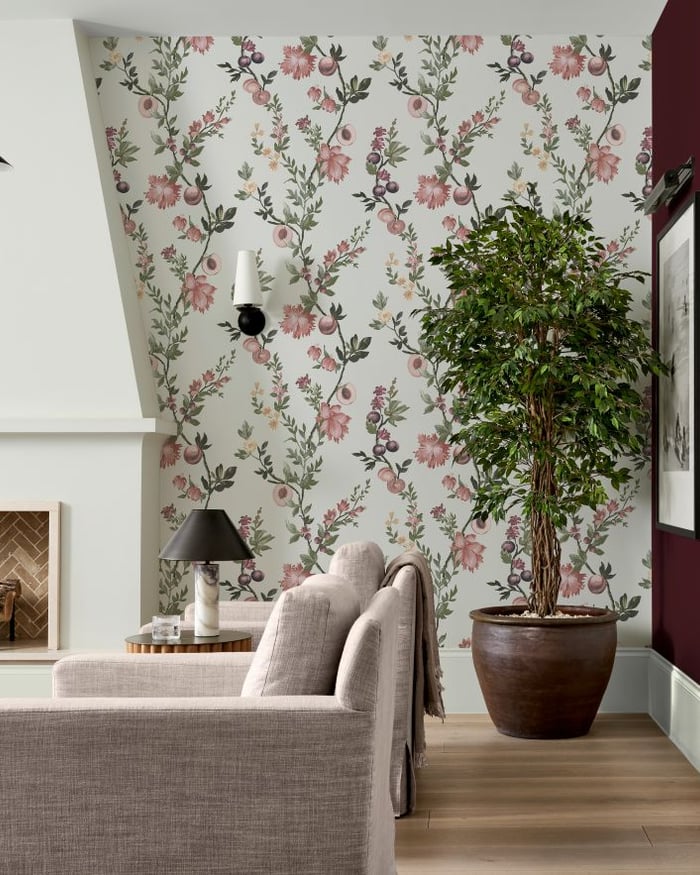
Our bespoke wall murals are designed to make a statement that feels personal. Printed especially for you, each mural is fully customisable, allowing you to tailor scale, layout and finish to suit your room.
Inspired by nature, architecture and artistry, these designs bring immersive storytelling to your walls. Our intuitive online tools help you visualise your mural, ensuring the final piece feels perfectly at home.
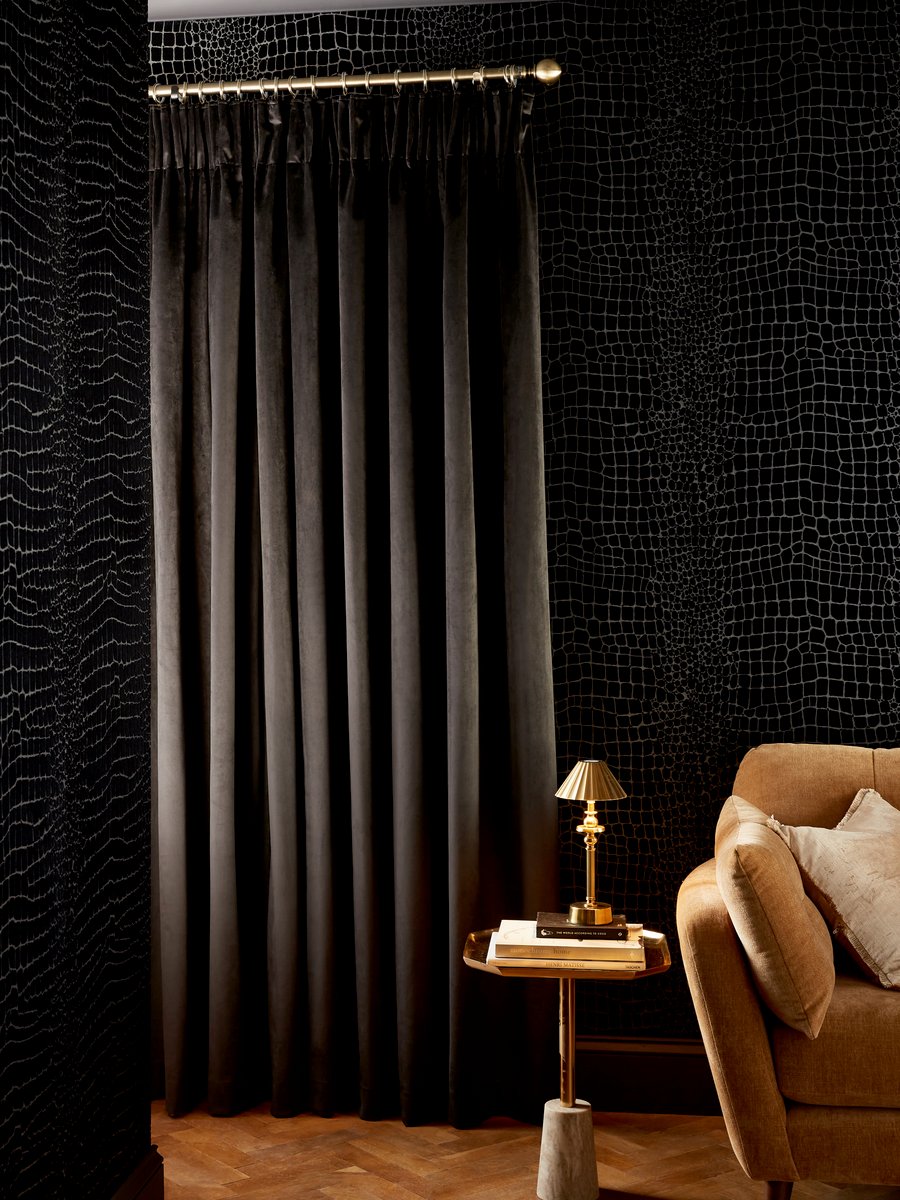
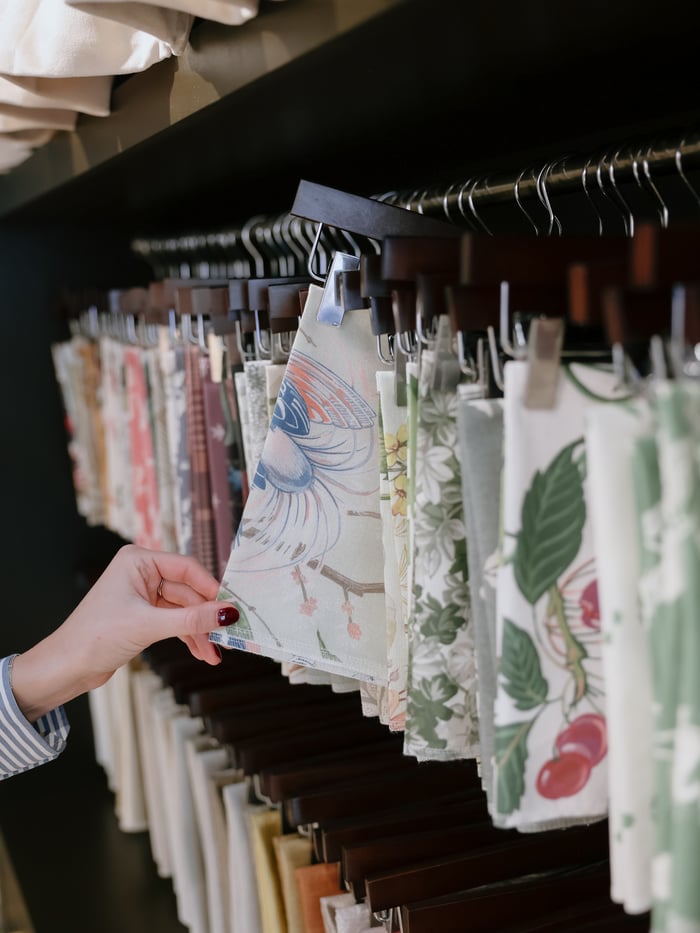
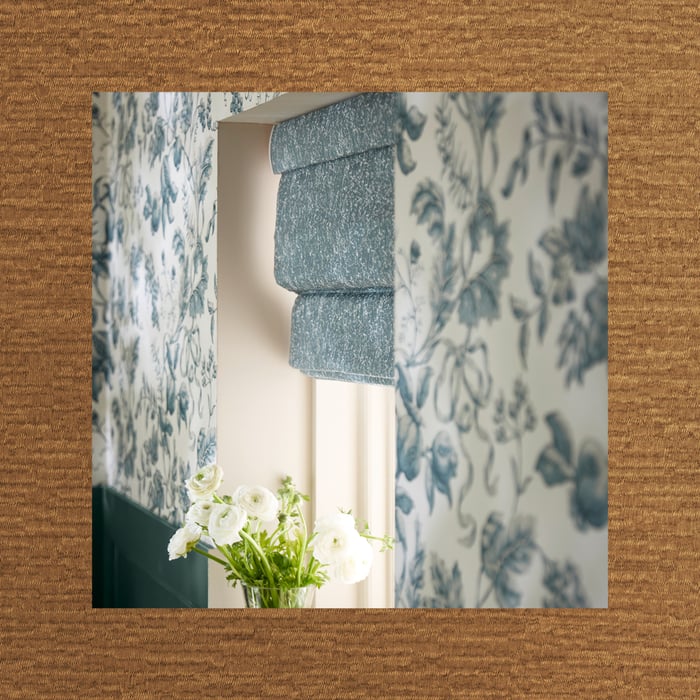
Curtains and Blinds
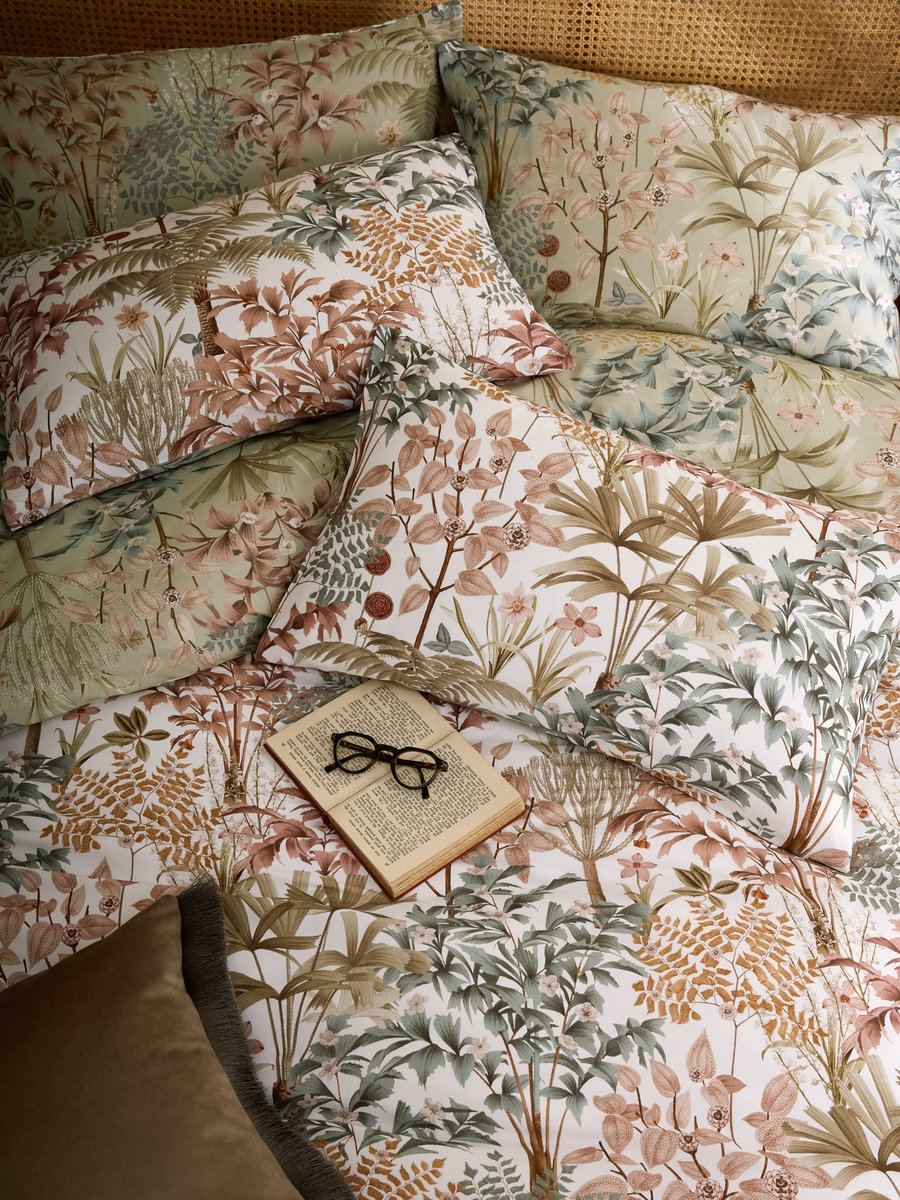
It is often the details that bring a room to life. Our curtains and blinds are thoughtfully designed to echo elements from across our collections, creating a sense of flow and connection throughout your home.
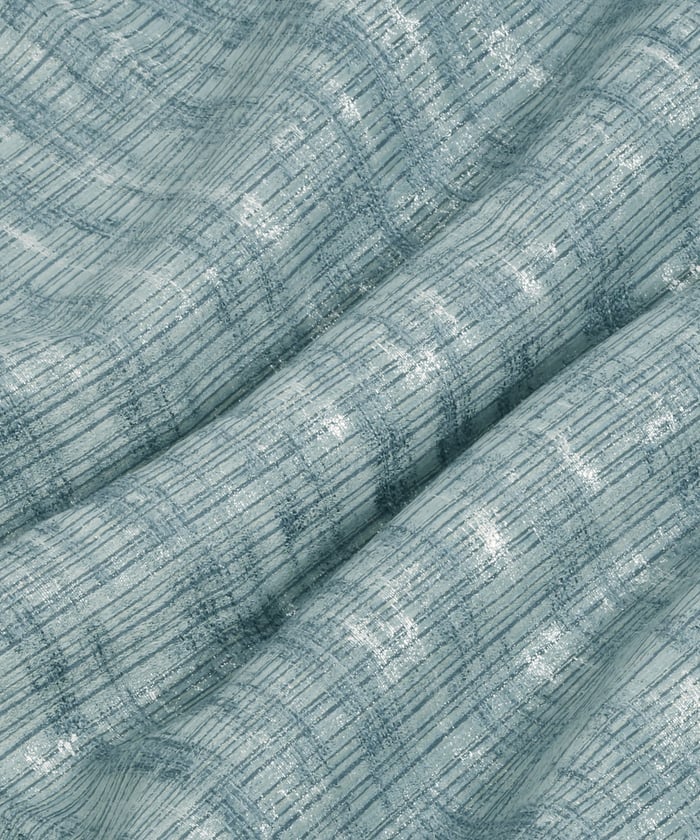
Choose from beautifully made curtains or tailored blinds that frame your windows with care, adding texture, softness and a considered finishing touch.


.jpg?crop=3:4&width=900&quality=85&auto=webp)