Ensuring you achieve that professional result!
When it comes to painting a room, one of the best ways to ensure a great finish is by prepping. Preparing walls for painting adds extra time to the job but will be completely worth it when you achieve that professional result.
Read on to find out how best to prepare your walls.
The first thing you need to do when it comes to preparing your wall, is to take everything off it! This might include picture frames, mirrors, stickers and photographs. Once they’re down, there’s a chance that some amount of adhesive will still be attached to the wall. If this is the case, use your sponge and sugar soap to solution to gently loosen and remove it.
For particularly stubborn patches, you can use your putty knife to work them free
Once your walls are clear, you’ll be able to inspect them for imperfections such as holes, cracks or dents. If you find any, first clean them out with your sugar soap solution and then apply your filler. When this dries, sand down the area for a smooth finish.
Even if you can’t find any imperfections on your wall, it’s a good idea to lightly sand the entire area with fine sandpaper. This texturises the surface in a way that allows your paint to adhere to it.
After sanding, you’ll probably need to dust or hoover the wall to get rid of any debris. Afterwards, get your sponge and sugar soap solution back out and give the whole wall a wipe down, just to make sure there’s nothing stuck on the surface that will cause the paint job to be bumpy or uneven.
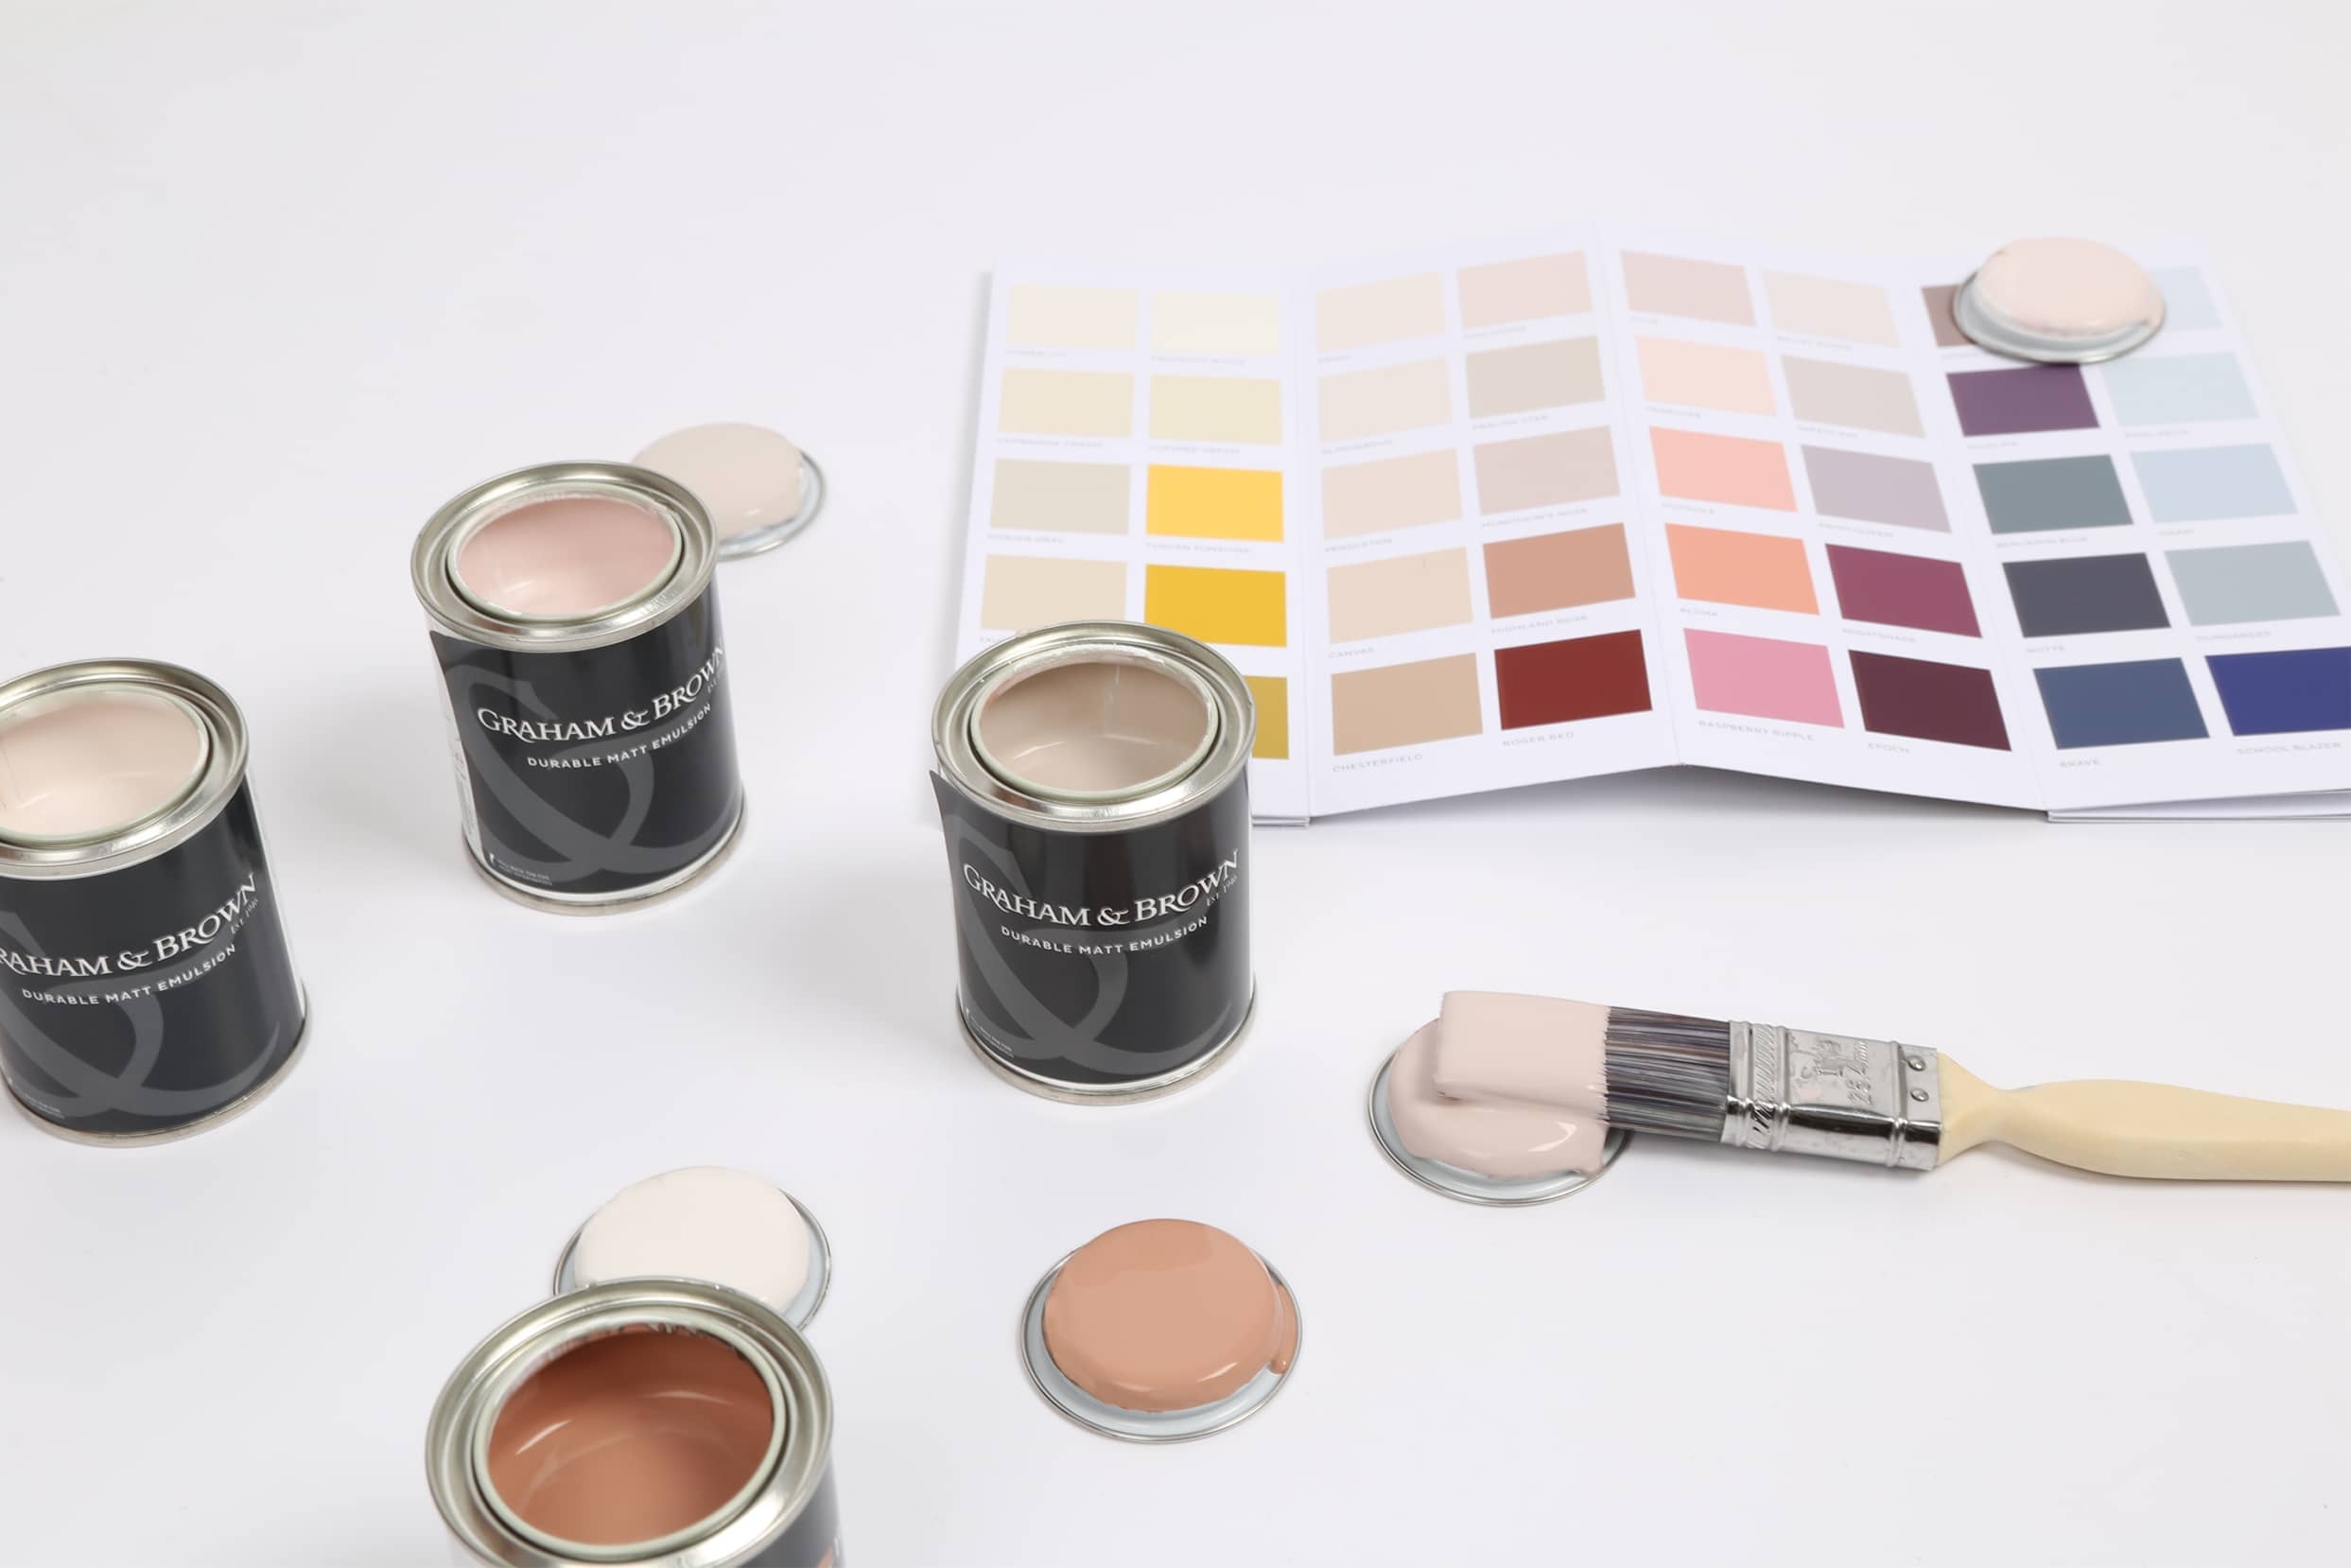
Before going any further in your wall-painting venture, it’s a good idea to check that you have absolutely picked the right paint colour. To do this, simply paint a sheet of paper with your chosen colour and hold it up against the wall. Do this on different parts of the wall to see how the colour changes depending on the light. If you are happy with your paint, move on to step 6!
To keep things neat when painting a wall, use masking tape to section off the edges of your wall. If there are any lighting fixtures, plug sockets or switches, outline these as well to help you avoid getting paint on them.
The final step when it comes to preparing a wall for painting is to apply a primer or undercoat. This might be a purpose-made product, such as one that we sell here at Graham & Brown, or it could be a mist coat that you have made yourself by watering down a paint. To create your own mist coat, you need a 50% water and 50% emulsion mix, with the emulsion being as close to your main paint colour as possible.
Apply the primer using a paint brush for the edges and a roller for the main sections.
After completing these seven steps, your wall should be ready for painting! Just make sure you wait for the primer to dry first.
Keep decorating with our blogs on how to paint a room and how to paint a ceiling.


