


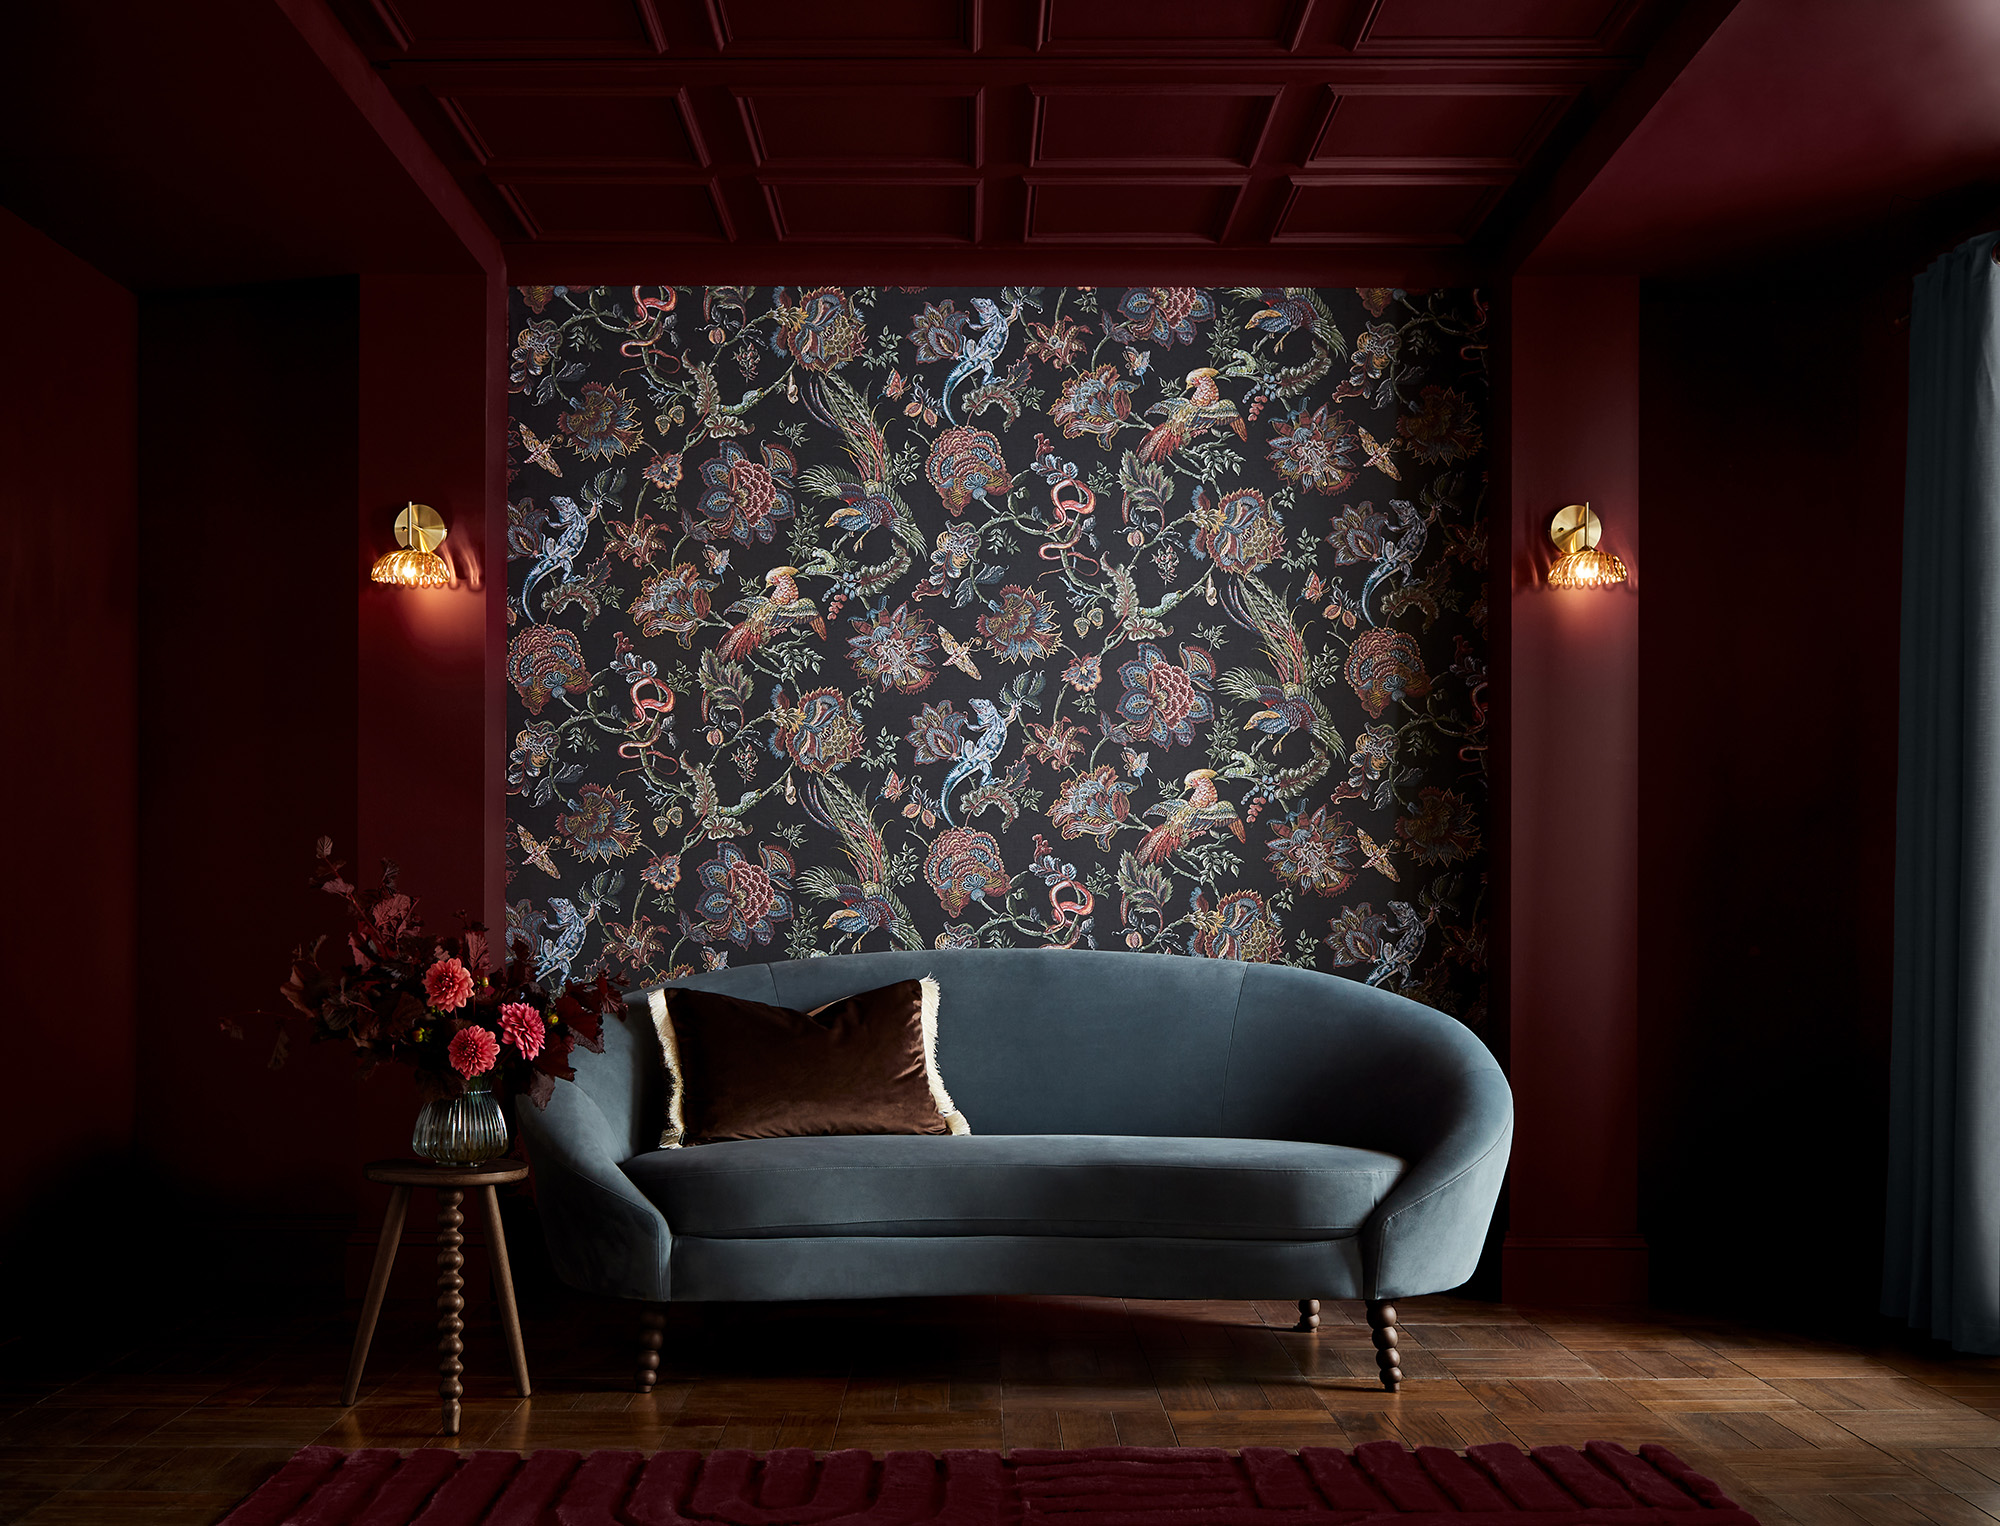
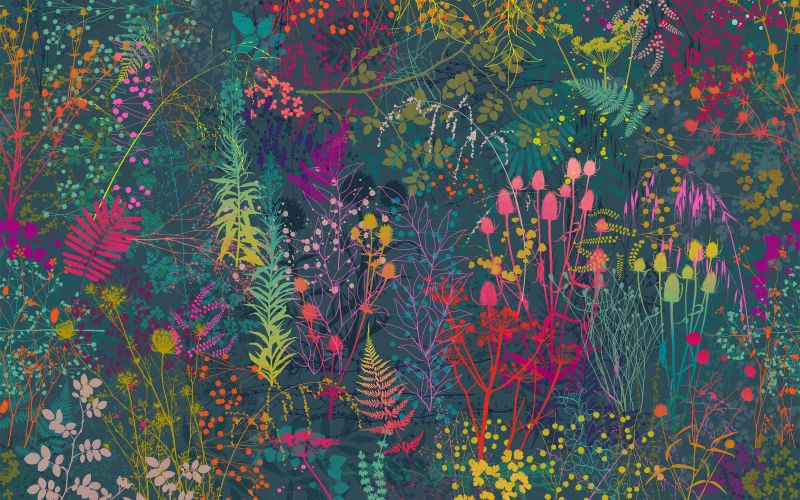
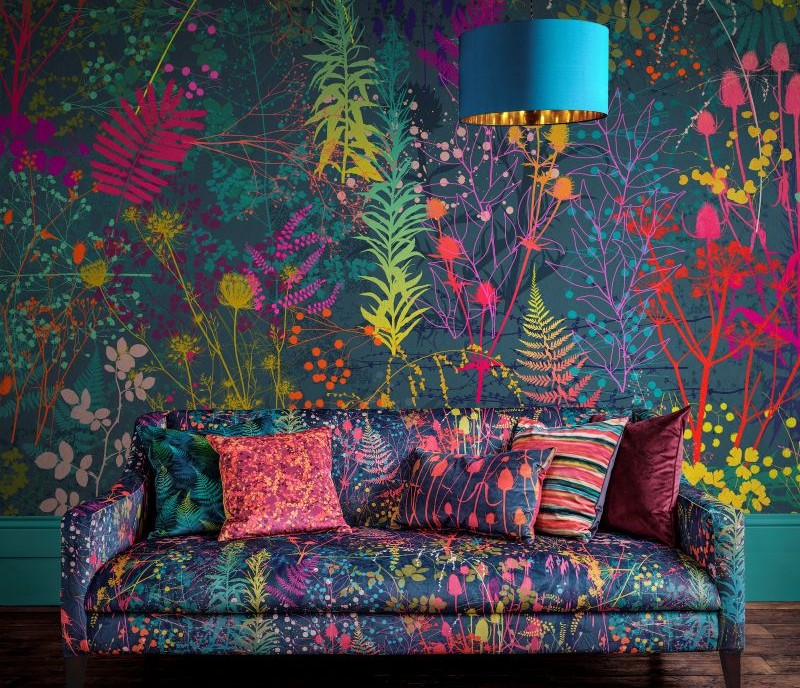
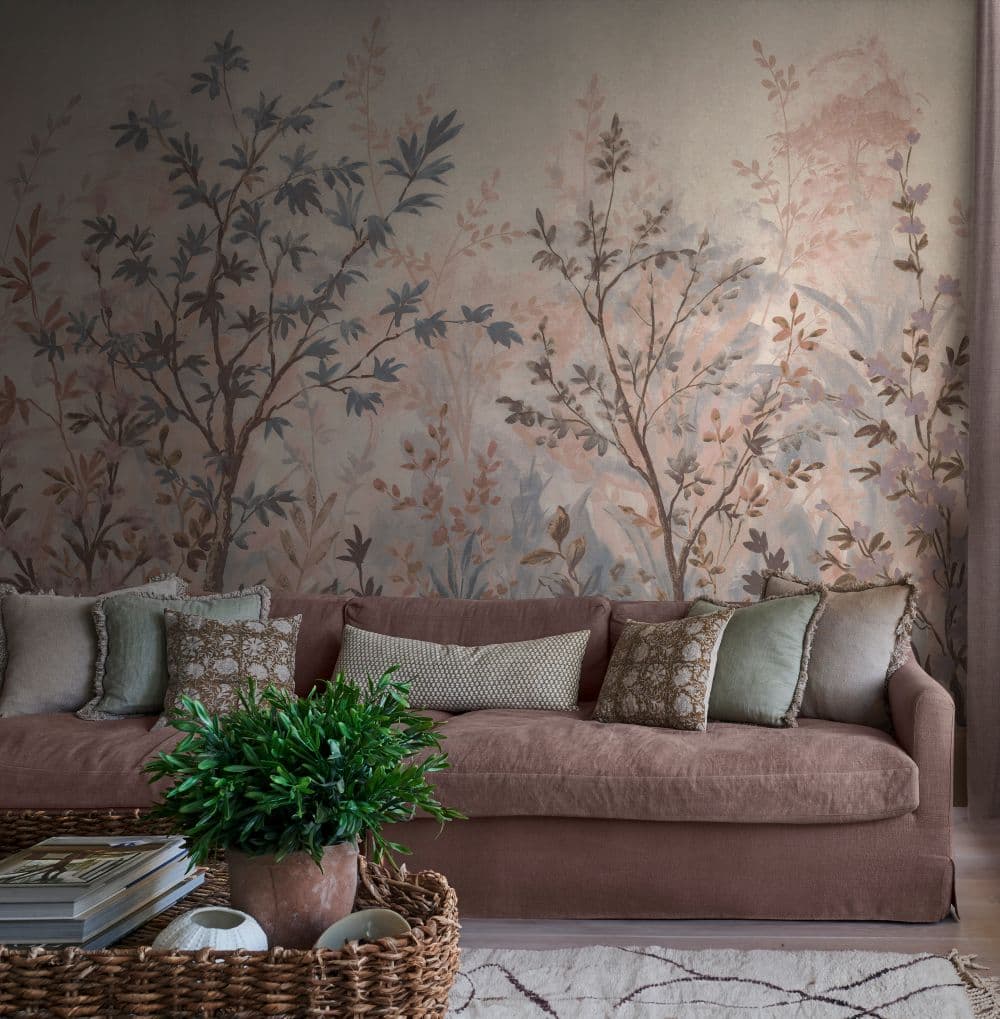
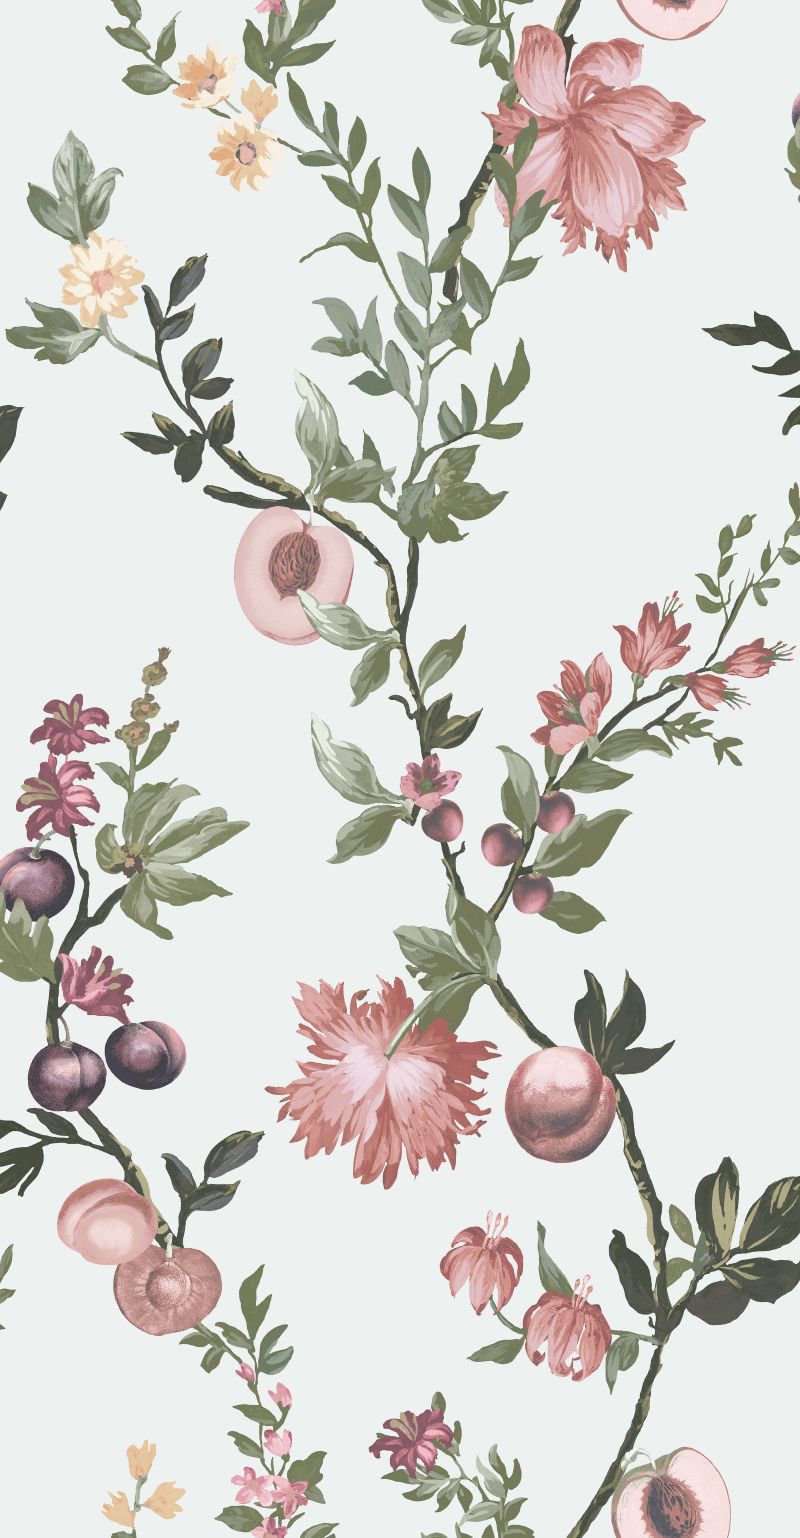
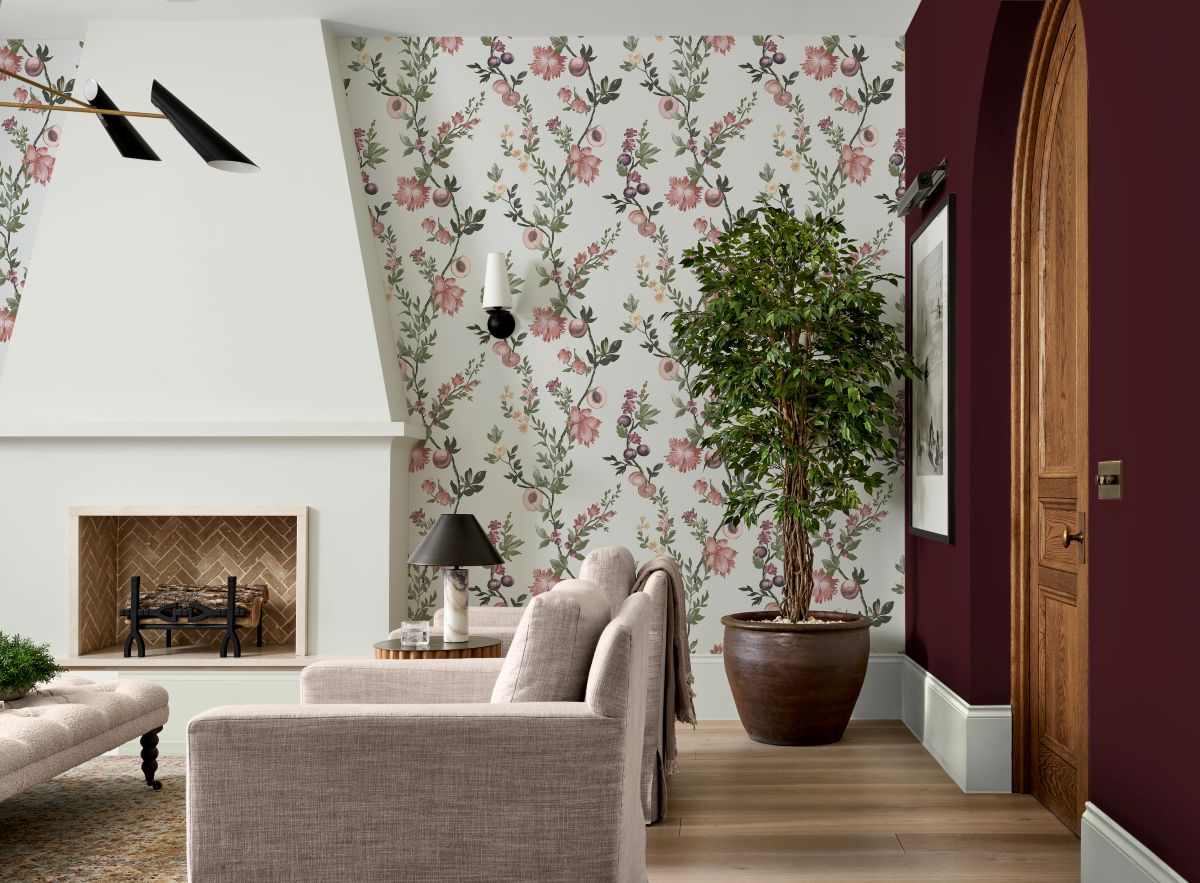
Shop our collection of Wall Murals. All made to size for your walls, the perfect fit for a statement wall. Available in four luxury paper types.
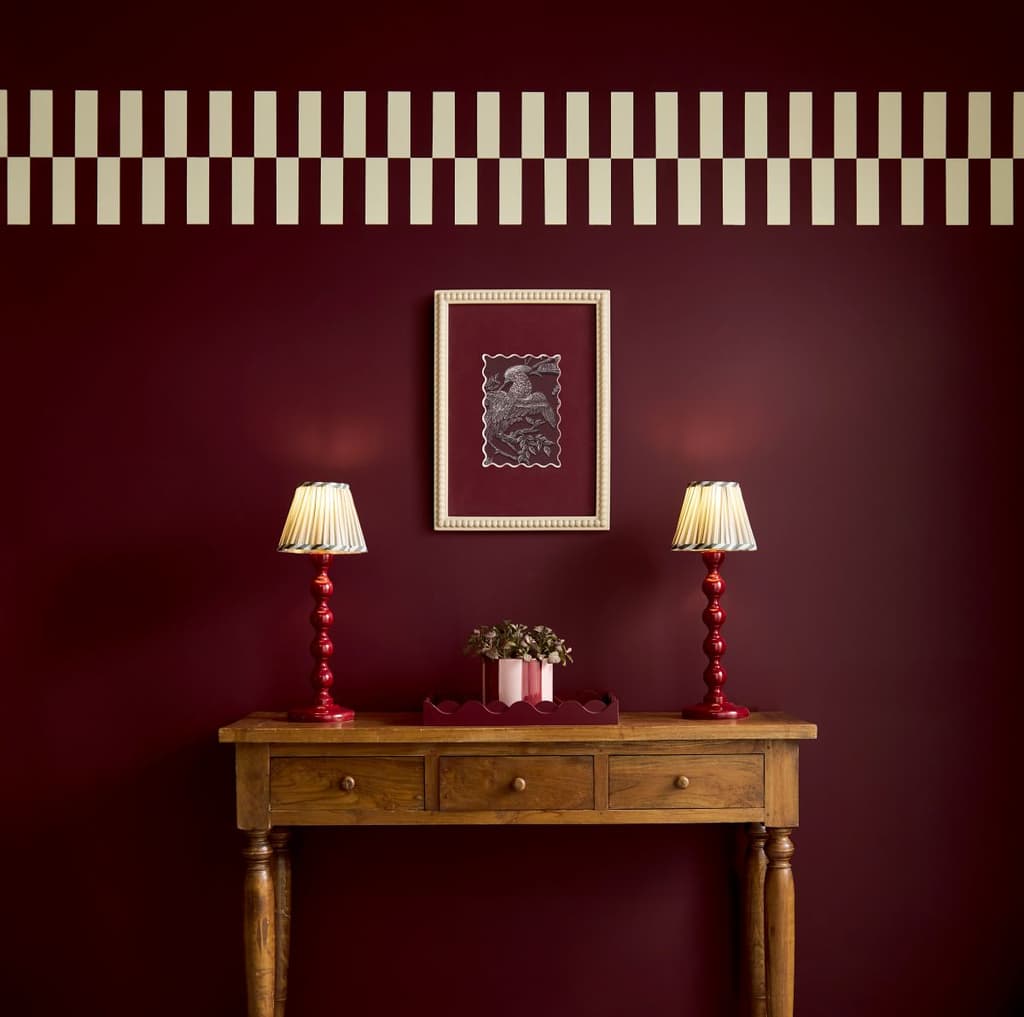
Who’s the mattest of them all? Our Resistance paint is ultra matt with a market leading sheen of just 1%, along with being scrub-resistant, it's the perfect partner for busy homes.
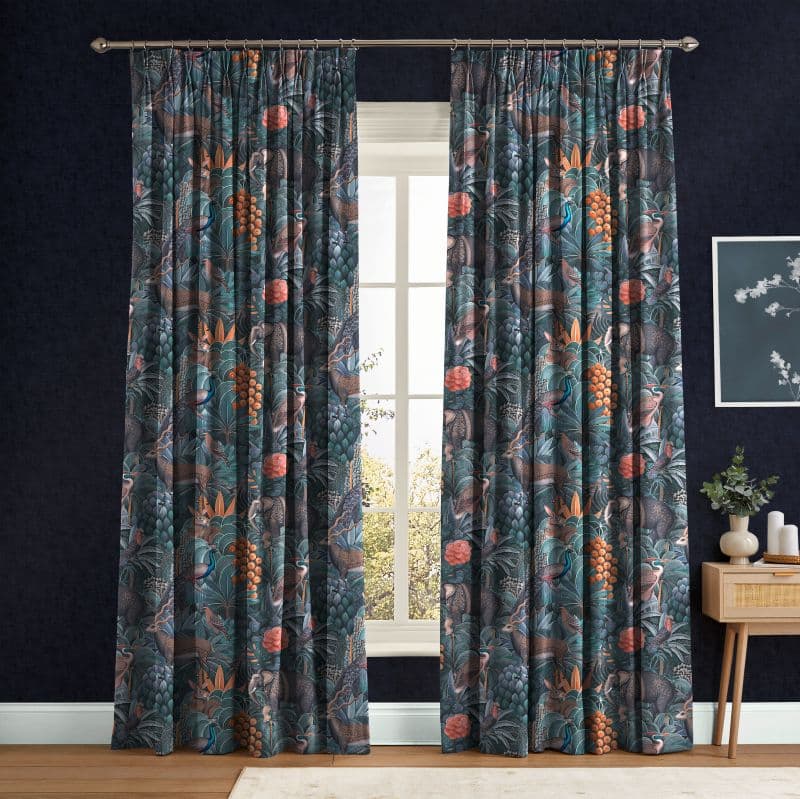
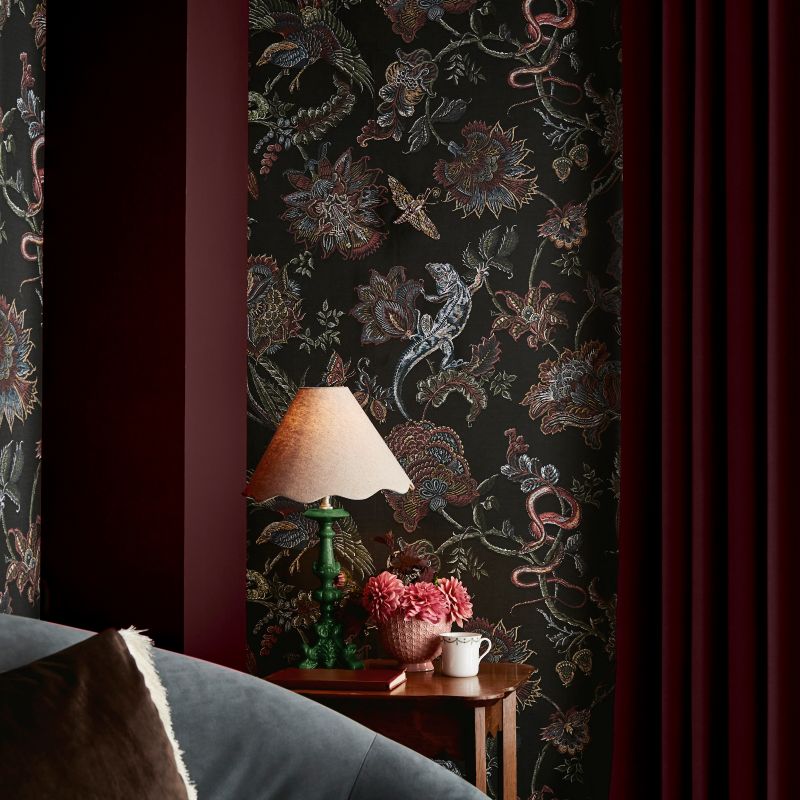
Step into the new season with the best dressed windows. With hundreds of designs to choose from! Our Curtains & Blinds are made to measure for your home.
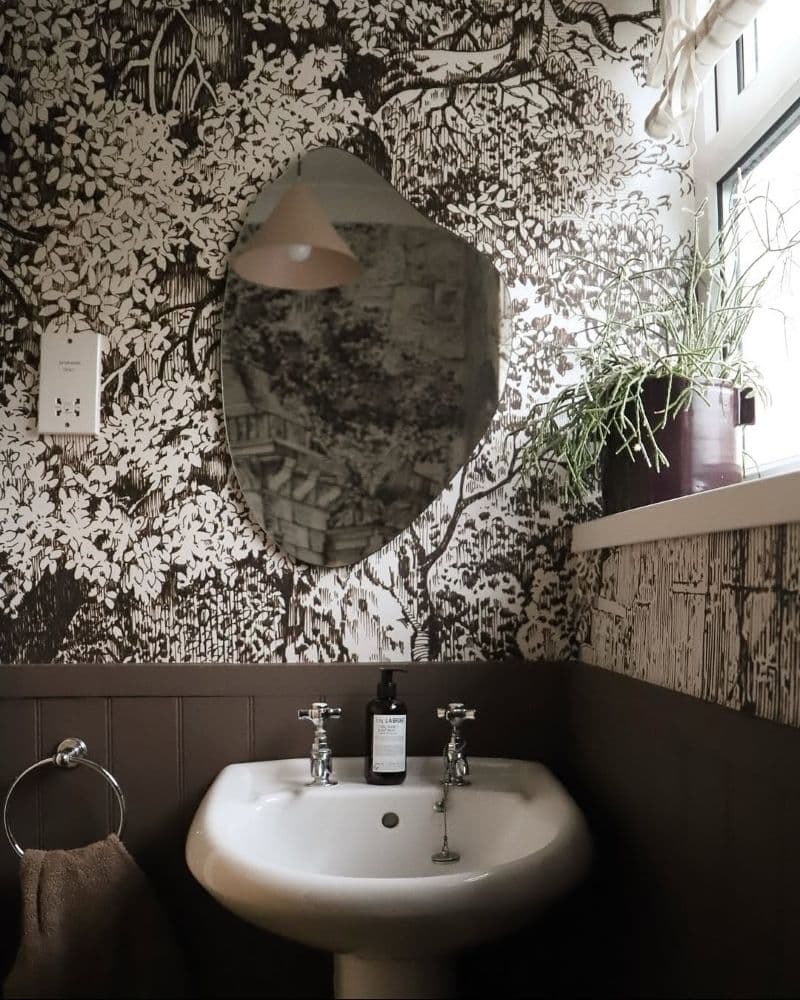
Shop our favourite Instagram looks and share your style to become part of the Graham & Brown community! #grahamandbrown
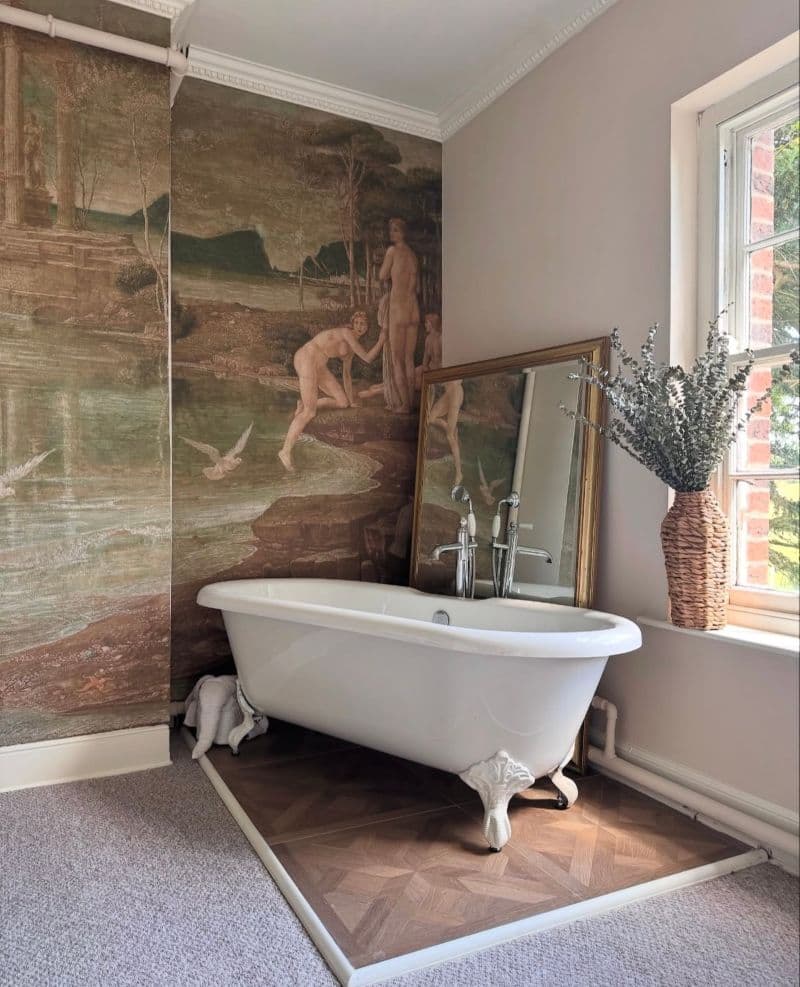
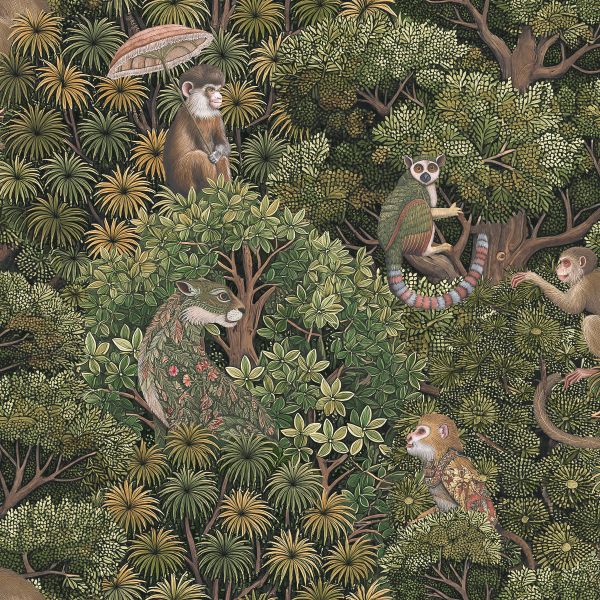
In collaboration with Tate, explore our curated collection of custom murals — bringing iconic masterpieces into your home.
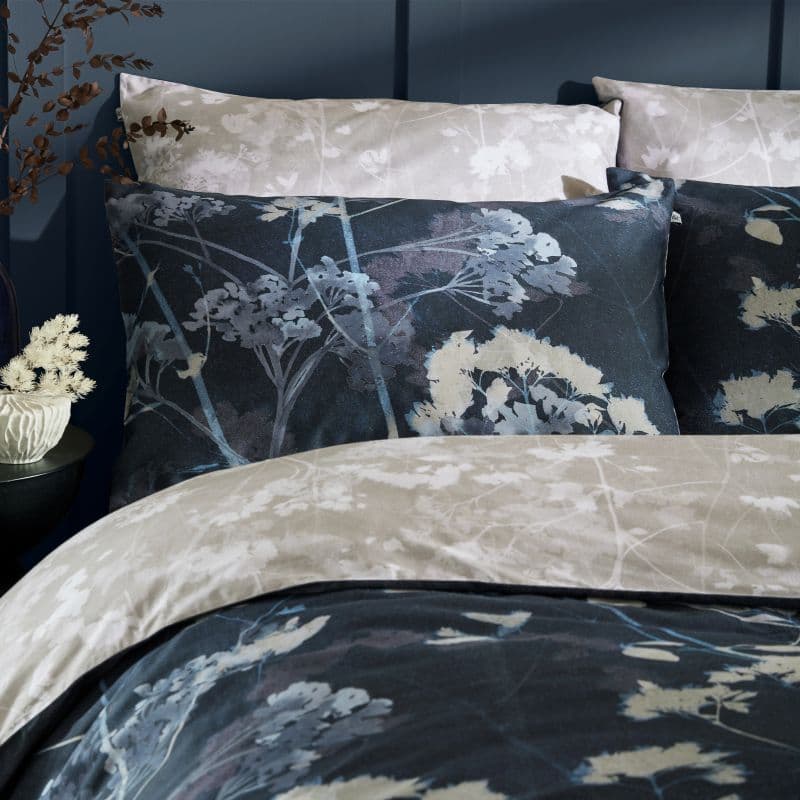
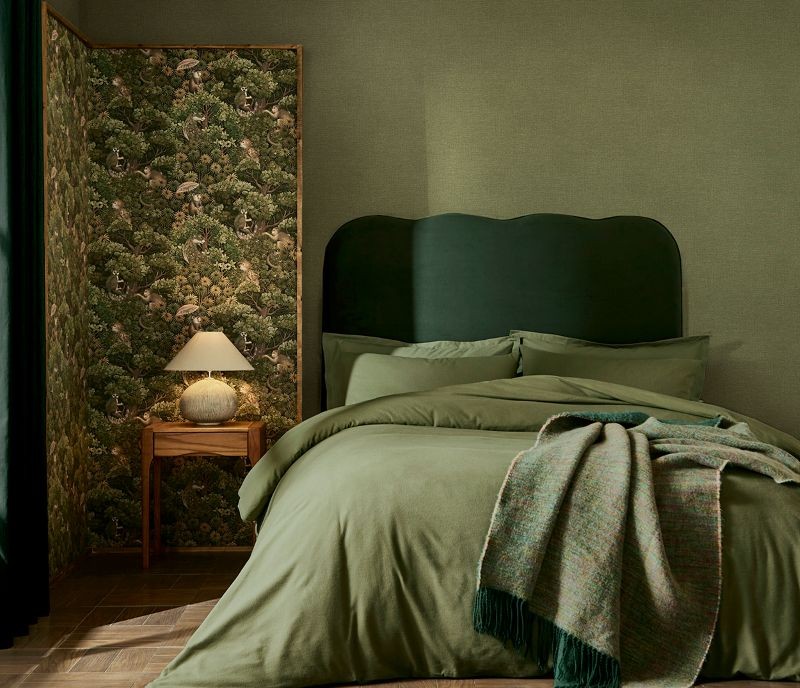
Welcome the beauty of nature into your home this Spring with our stunning new bedding collection, featuring some of our favourite designs.
SHOP WITH CONFIDENCE


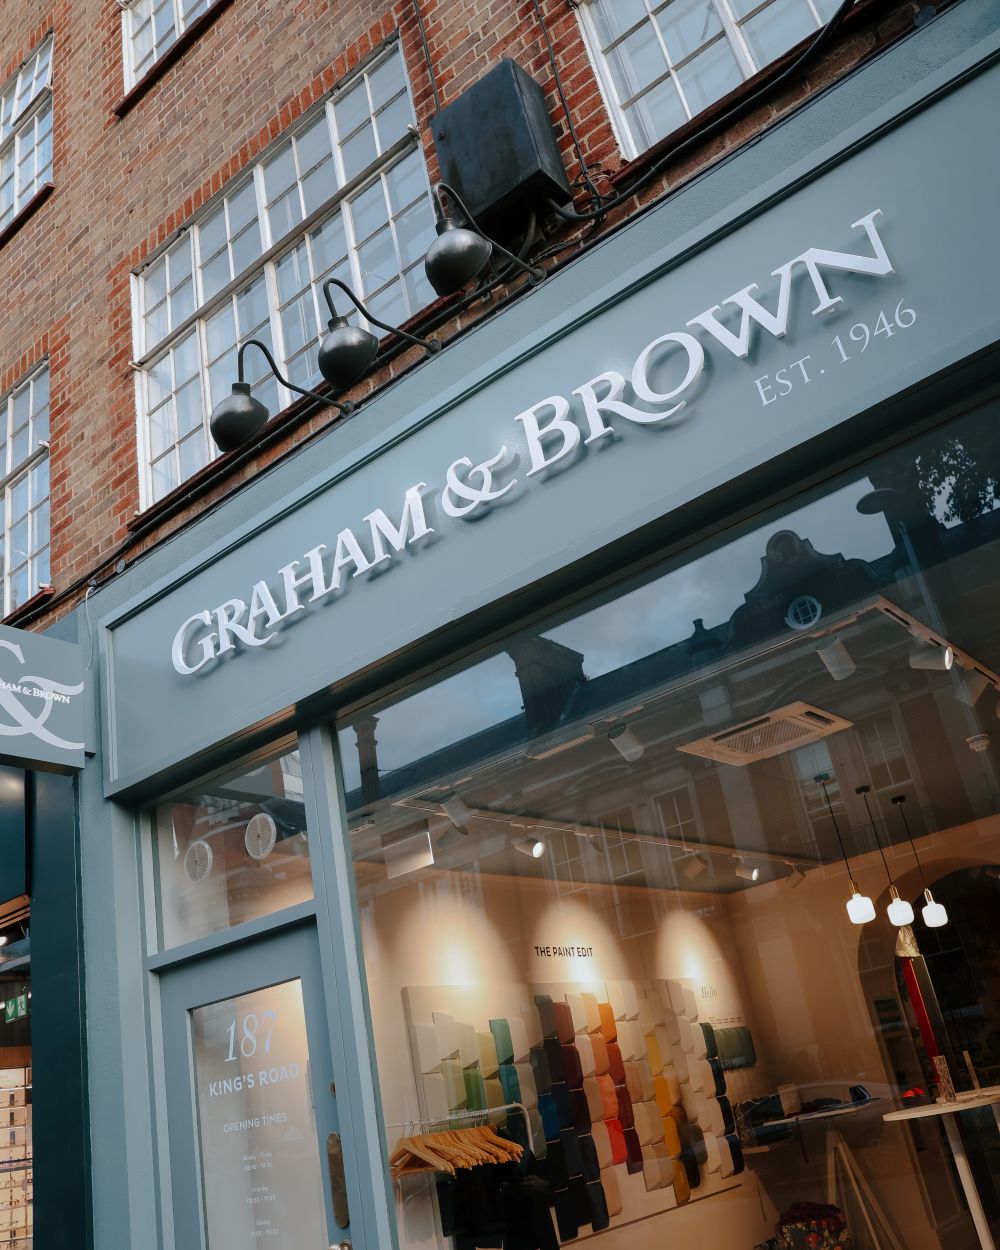
Welcome to Graham & Brown
Welcome to the beautiful world of Graham & Brown, one of the UK's oldest and most respected wallpaper and home décor creators. Our family-run business has been developing innovative and beautiful wallpapers since 1946, bringing a vast range of bespoke designs and reviving heritage patterns to the public. We also push the boundaries of interior design with new and exciting patterns every year. Working on vibrant colour palettes, adding exquisite elements, and expanding into soft furnishings and textiles, Graham & Brown brings you the finest quality collections for every taste, every room, and every style.
Wonderful Wallpaper
You may need a little extra time to choose your dream wallpaper from our collection because there are over 700 designs on offer - with more added all the time. From bold florals to delicate botanicals, vintage or retro, our wallpaper is always stylish and never compromises on quality. We've made it easier for you to hang your Graham & Brown wallpaper, too, as our stunning patterns are printed onto Paste The Wall wallpaper.Perfectly Partnered Paint
At Graham & Brown, we understand the importance of finding the right tones that perfectly partner with our wallpapers. Our paints are water-based, low-odour, quick drying, and easy to apply. You can shop for your paints by colour, or why not look at our suggestions for each room? Discover our Colour of the Year and explore new and exciting combinations that bring a sense of tranquillity and peace to your home.Marvellous Murals
Bold, dramatic, and ideal for creating a focal point in your décor, our customised wall murals are real design showstoppers. Choose from a lush jungle, a mystical garden, a dramatic cityscape or a secret forest. We also have online tools to help you create your bespoke mural to enlarge or reduce the size without losing the scale. You can also crop a mural to create your unique look.Captivating Curtains and Blinds
With interior design, it's all about the details. Our curtains and blinds, including Roman and roller blinds, pick up on elements within our bestselling wallpaper to create individual works of art for your windows. Or choose exquisitely made quality curtains to add that final flourish.Home Furnishings
At Graham & Brown, we continually seek new and exciting ways to expand our range. Our new home furnishings include luxury bed linen made from sustainable and ethically sourced cotton. Our cushions are plump and add a cosy, stylish flourish to your sofa or bed. And complete the picture with our stunning selection of wall art. From tips and handy hints to the latest news in interior design trends, premium quality products and a world of colour, Graham & Brown is your online bespoke décor shop.