Create Your Own Fabulous Ombre Effect Wall.
There's something innately calming and satisfying about a subtle transition of one colour into another - perhaps that's why we've seen the ombre trend pop up into all areas of design. From wall art and cushions to hair styles and fashion, we just can't get enough! Here we'll explain how to use different tones of paint to create your own fabulous ombre effect wall so you too can create this dreamy colour melt.
We also have an even simpler way than the below to achieve a flawless ombre finish. Our Ombre Wall Murals are easy to hang and come in Blush Pink
Find more details on prepping your surface in our How To Paint a Room blog here.
It's important that the surface is prepped properly, this includes repairing any damages and ensuring the wall is fully clean and dry.
After your wall is ready to go, section it off from the other walls with decorating tape. If you're painting over a dark wall, we would also recommend doing one full coat of the lightest colour as a base at this stage.
Measure the wall and divide into 3 even sections horizontally by marking with a pencil or chalk. Don't worry if the line isn't neat, it's simply a guide to show you where to stop with each paint colour.
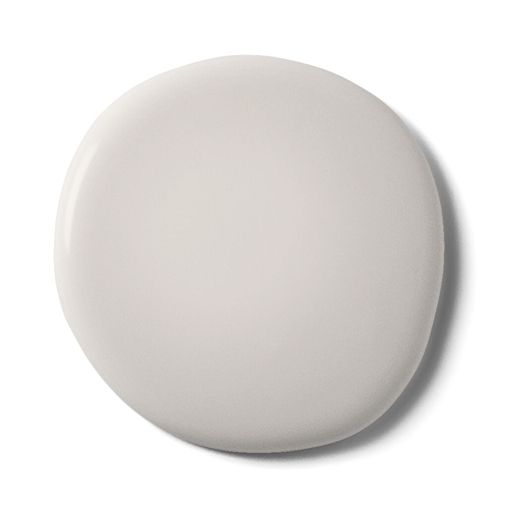
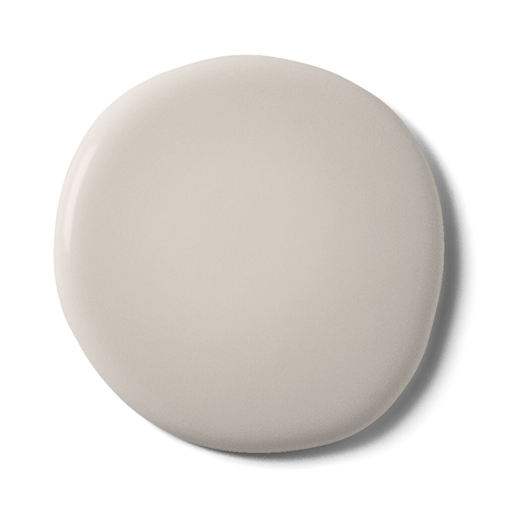
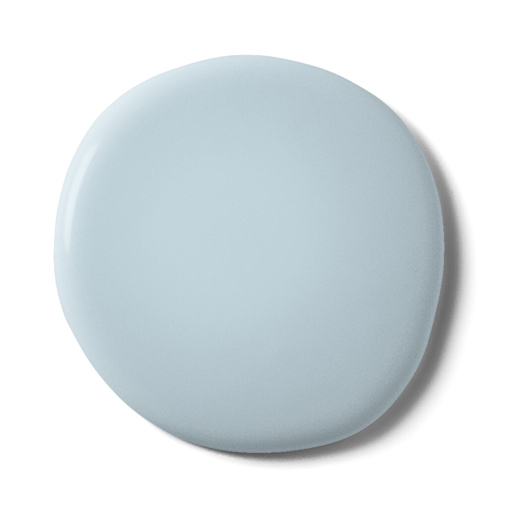
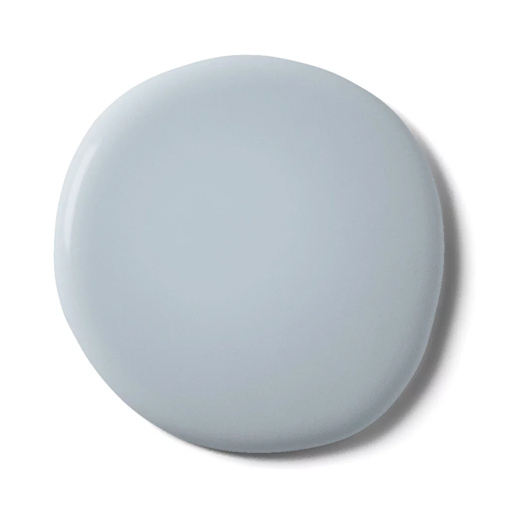
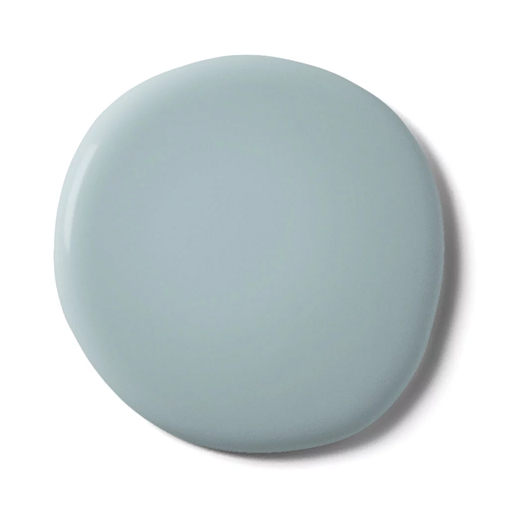
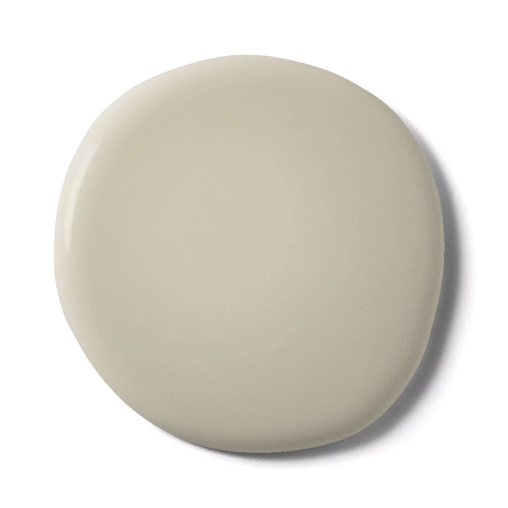
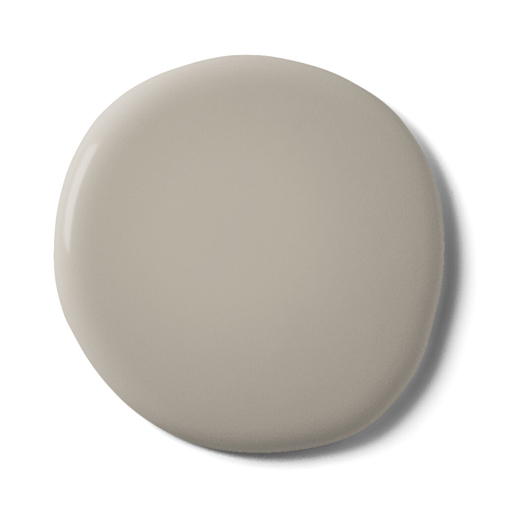
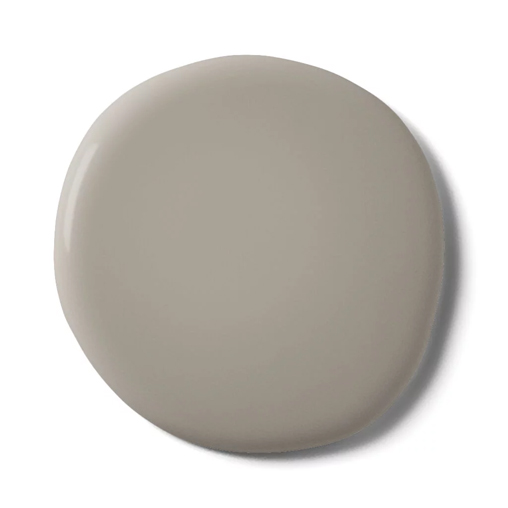
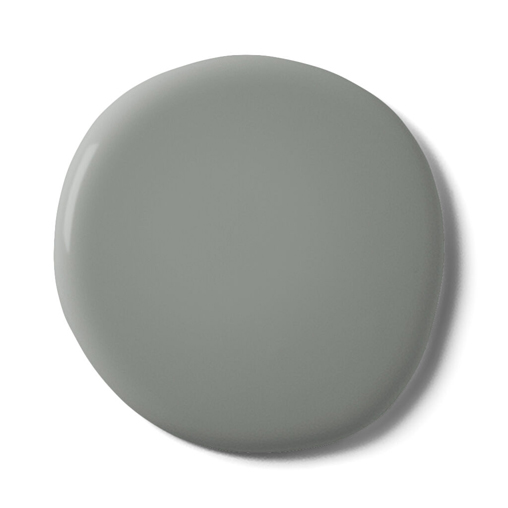
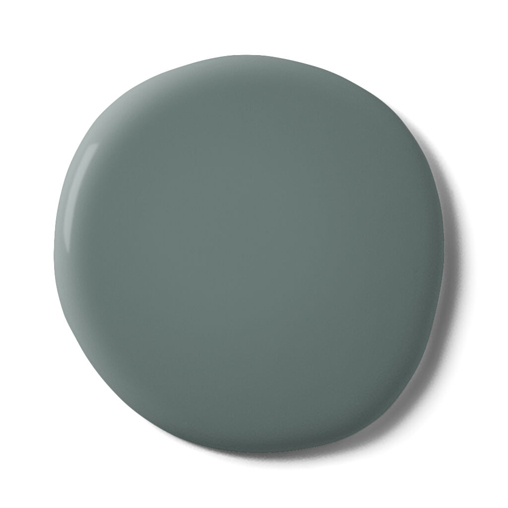
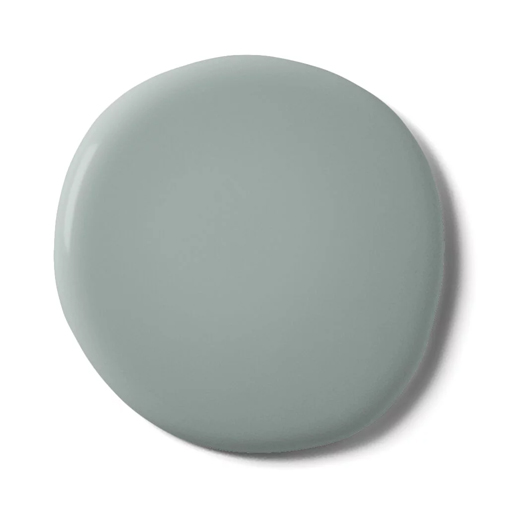
Pour out the 3 colours into separate paint trays and with a wide emulsion brush or roller apply your first colour. To create the most seamless colour transition, we’d recommend keeping the 3 shades as close to each other as possible.
To create height in the room we recommend using the lighter colour at the top and gradually transitioning darker towards the bottom however this is completely up to you!
Paint your lightest colour from the top of the wall, cutting in the edges of the wall with a wide emulsion brush first and then working downwards with your roller until you get to approximately an inch away from your pencil line.
Repeat this process for the middle section with your in between shade of paint, starting at the top of the section and again working down until you’re approximately one inch away from the second pencil line.
For the darkest colour, start at the bottom of the wall and work upwards until you reach your middle section. Don’t worry about leaving another gap if you’ve left one already in the section above.
If you feel that the sections aren't blending well, add some water to your sponges before picking up the paint - this will especially help with the lighter two shades.
Mix a little of the light and medium shades together and now take the sponge, it's time to blend!
Cut the large sponge in half, use one half to add your light/medium mixed paint to the unpainted section of your wall. Then pick up more of your light paint with the other half of the sponge and blend the top section down into light/medium mixed paint.
Go back to your first sponge and pick up the blending where you've finished above, lightly blending down into the medium paint section. Be careful not to load the sponge up too much with paint, it'll be easier to blend with a moderate amount of paint and a light touch. You can build up the colour if needed.
Repeat the above process for the other transition but with your medium and dark shades, again using a light touch and refraining from loading up the sponge too much.
Throughout the above stages we recommend to occasionally take a step back to view the whole wall - this will help identify if any areas need blending more.
Remove your decorating tape and leave your masterpiece to dry!