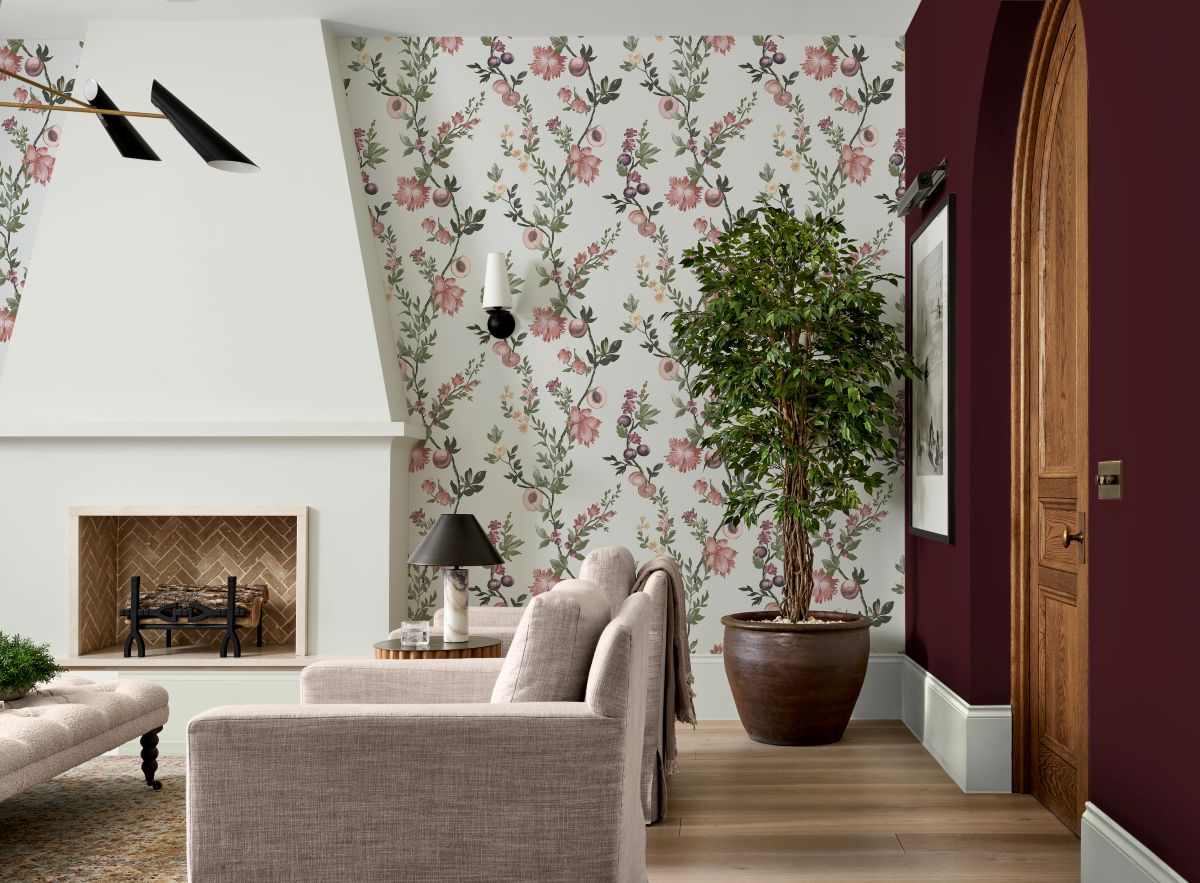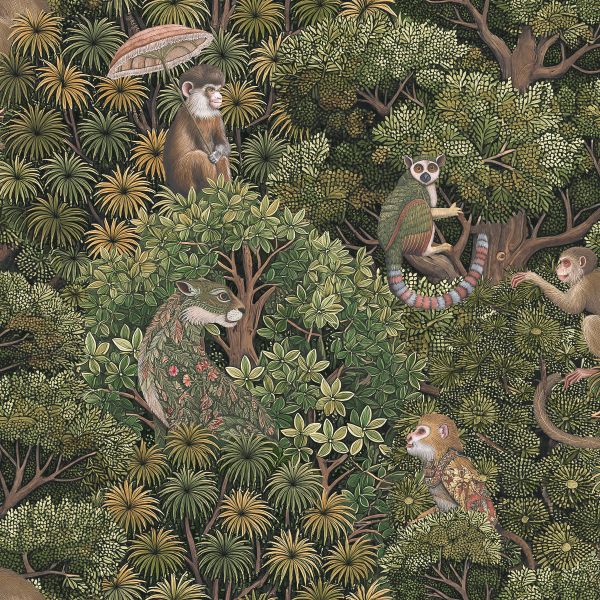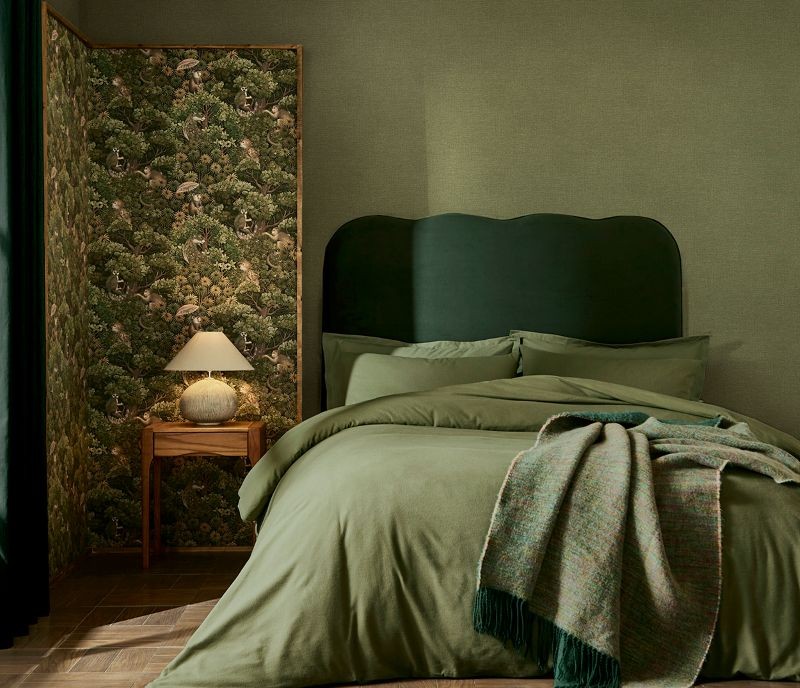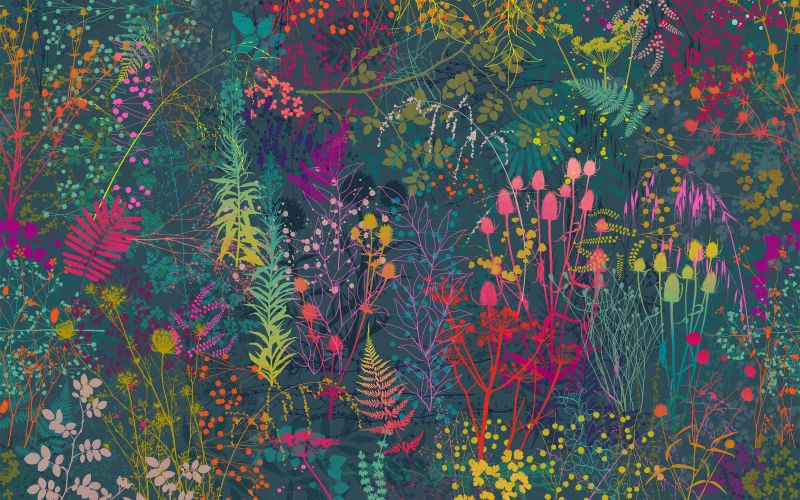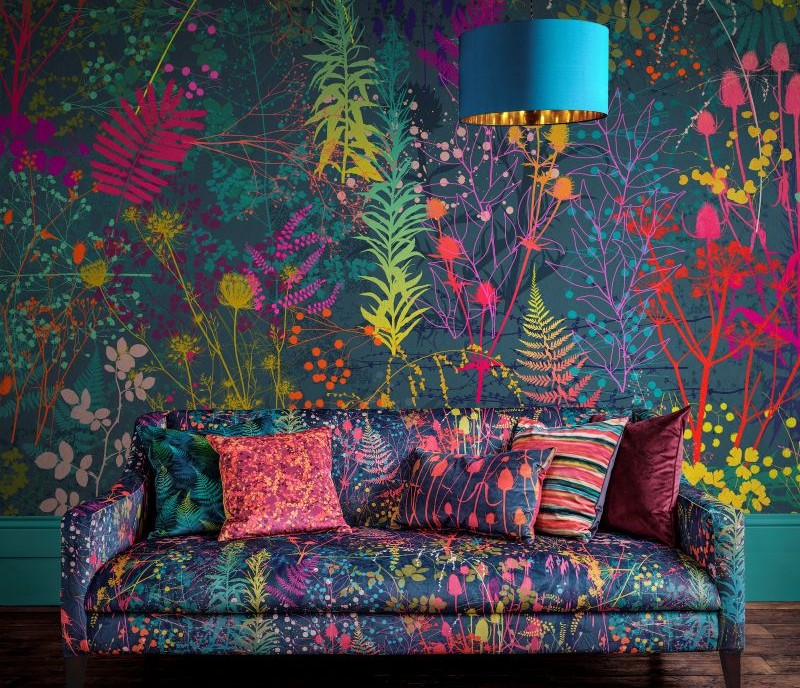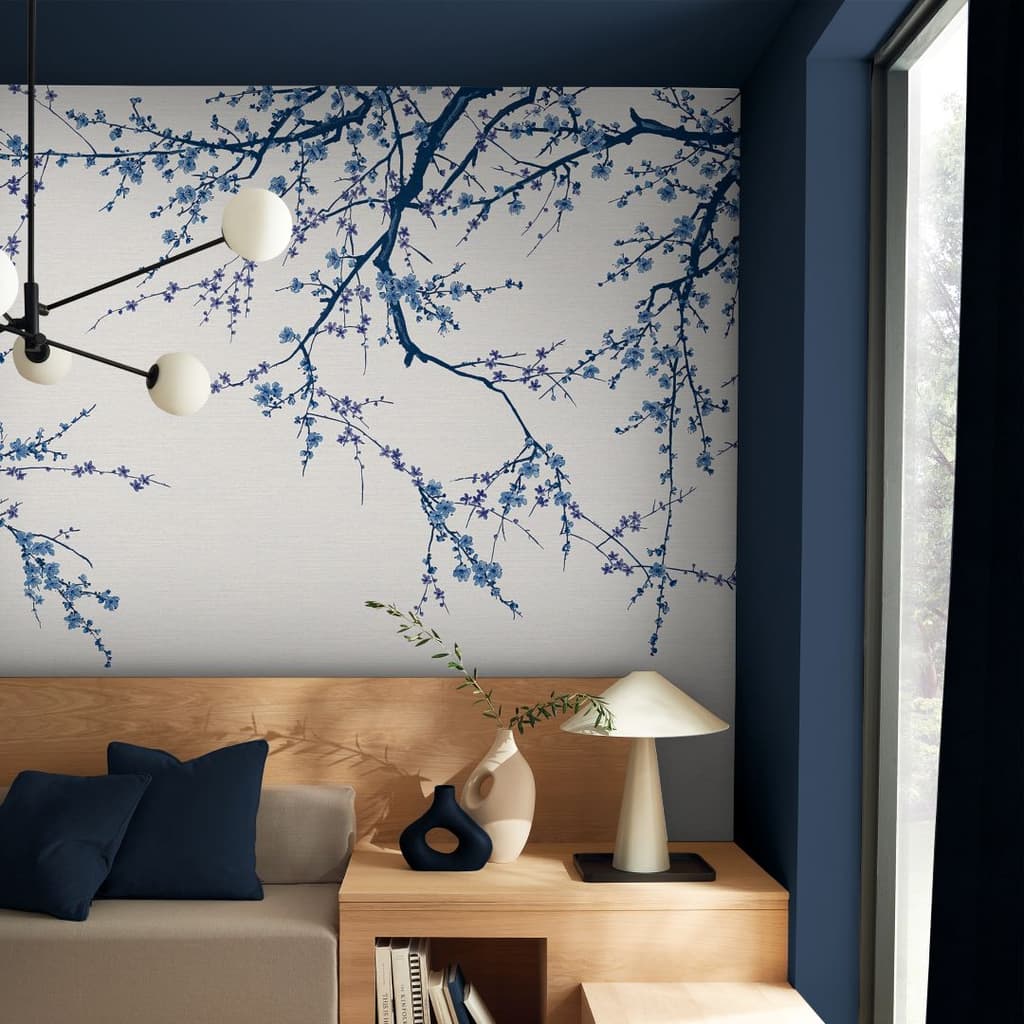
Shop our collection of Wall Murals. All made to size for your walls, the perfect fit for a statement wall. Available in four luxury paper types.
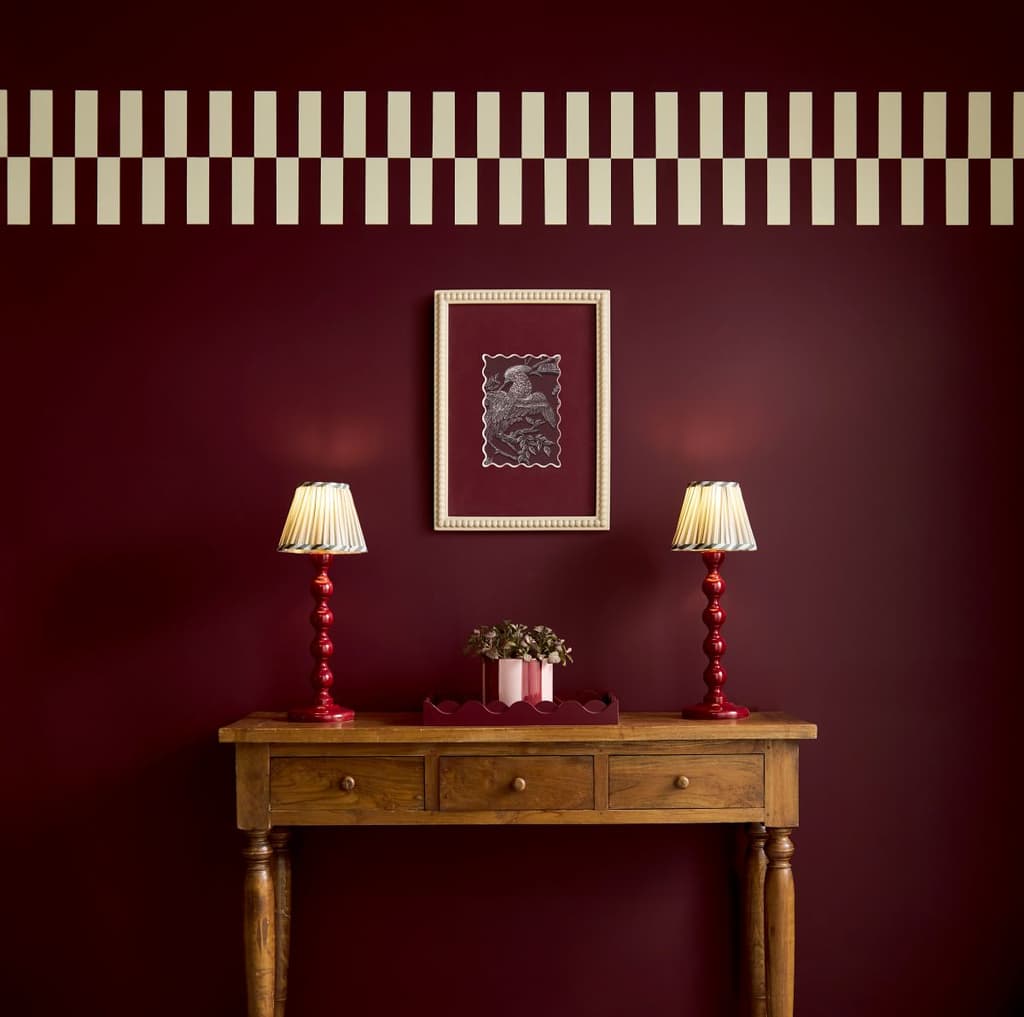
Who’s the mattest of them all? Our Resistance paint is ultra matt with a market leading sheen of just 1%, along with being scrub-resistant, it's the perfect partner for busy homes.
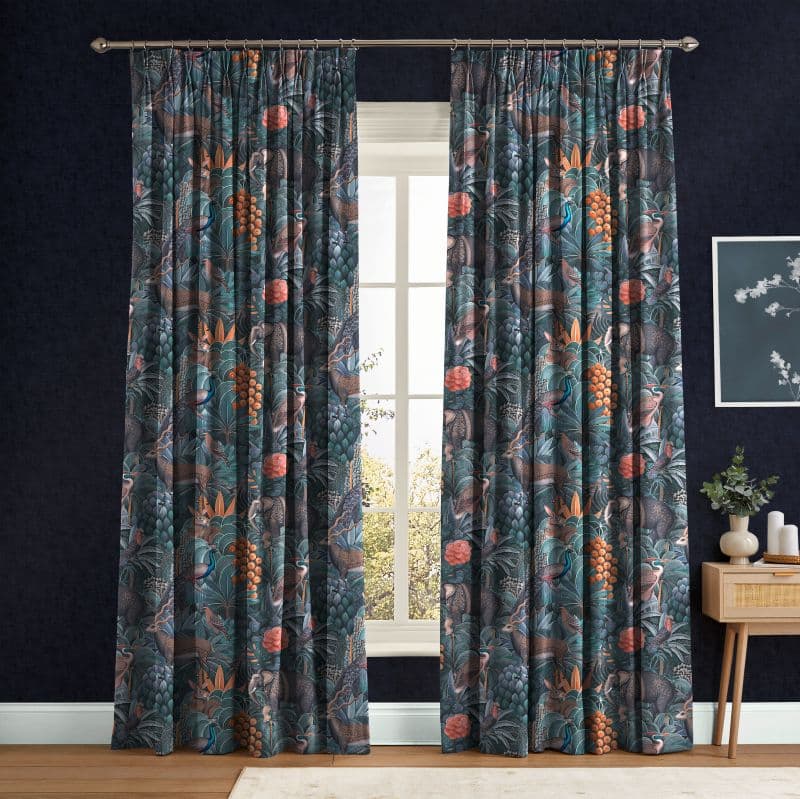
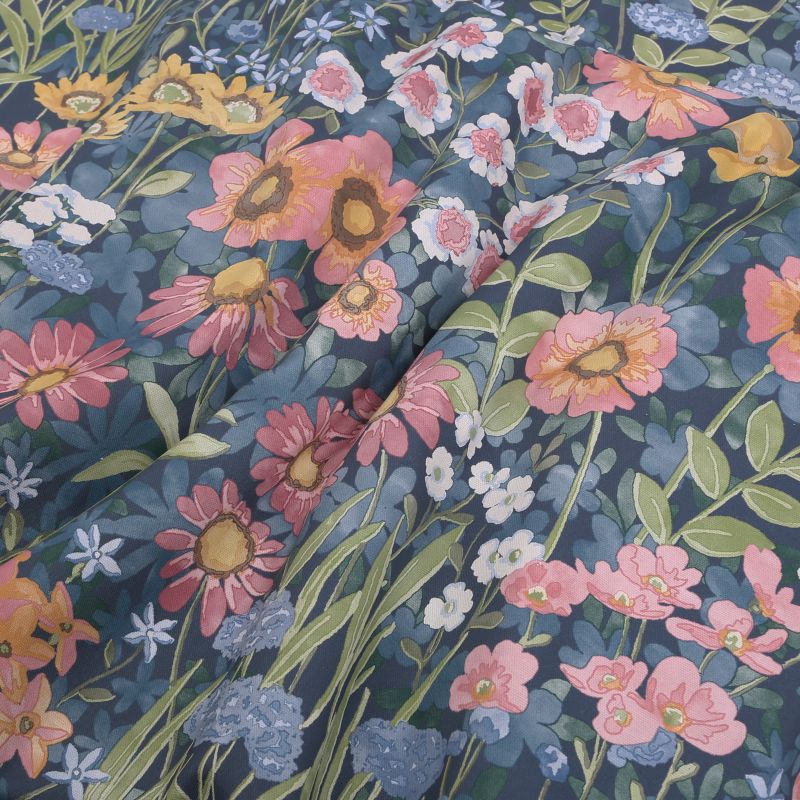
Step into the new season with the best dressed windows. With hundreds of designs to choose from! Our Curtains & Blinds are made to measure for your home.

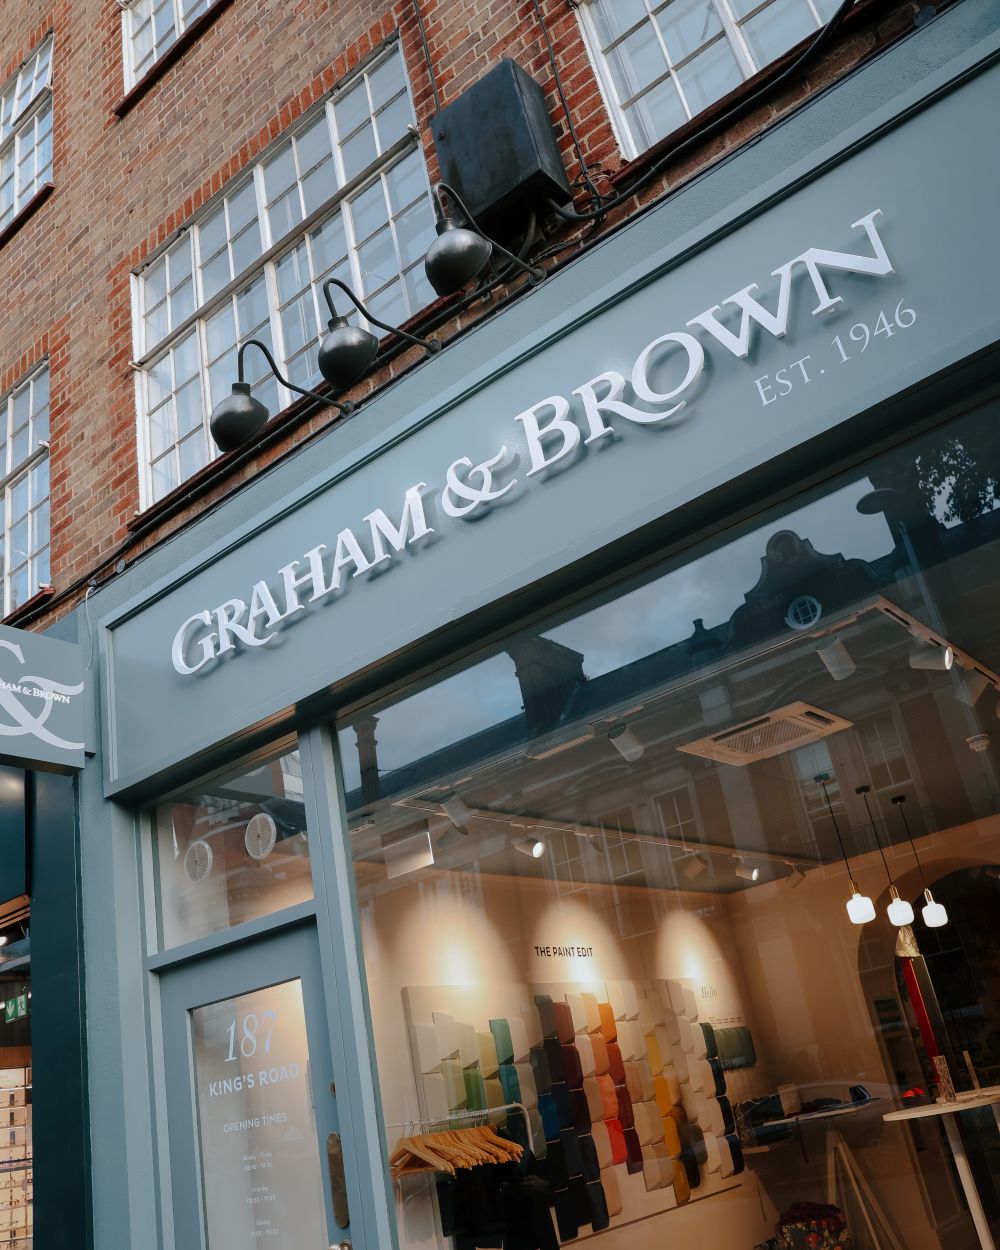
Shop our favourite Instagram looks and share your style to become part of the Graham & Brown community! #grahamandbrown
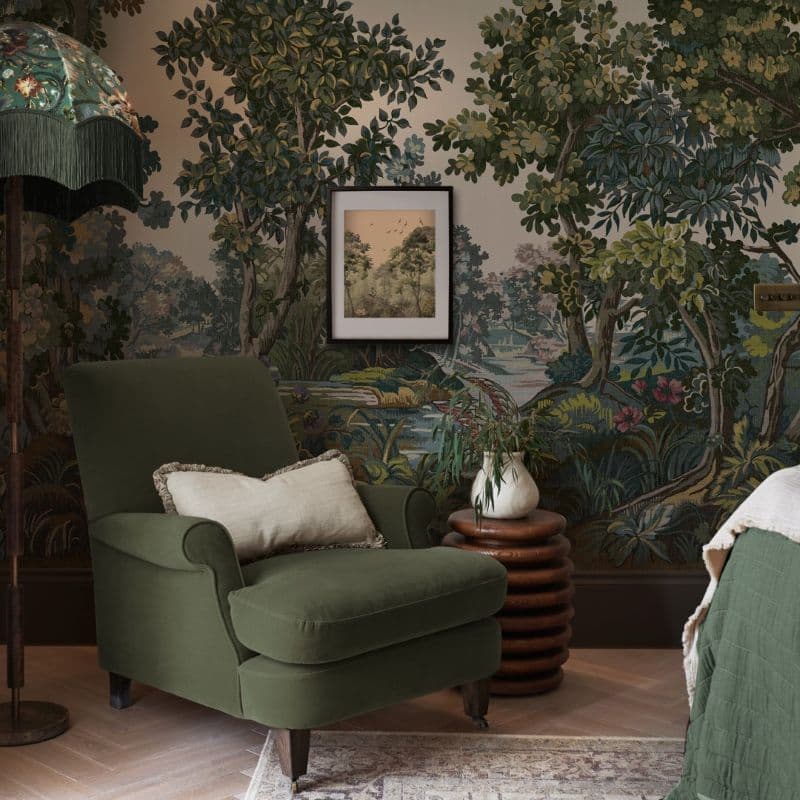
This winter, make your home feel truly special with a complementary wall art print of your choice when you shop our bespoke mural collection.

The perfect gift this Christmas - give that special someone the joy of missing out with the treat of staying in!