Every surface of your home deserves special attention
gBecause every surface of your home deserves special attention
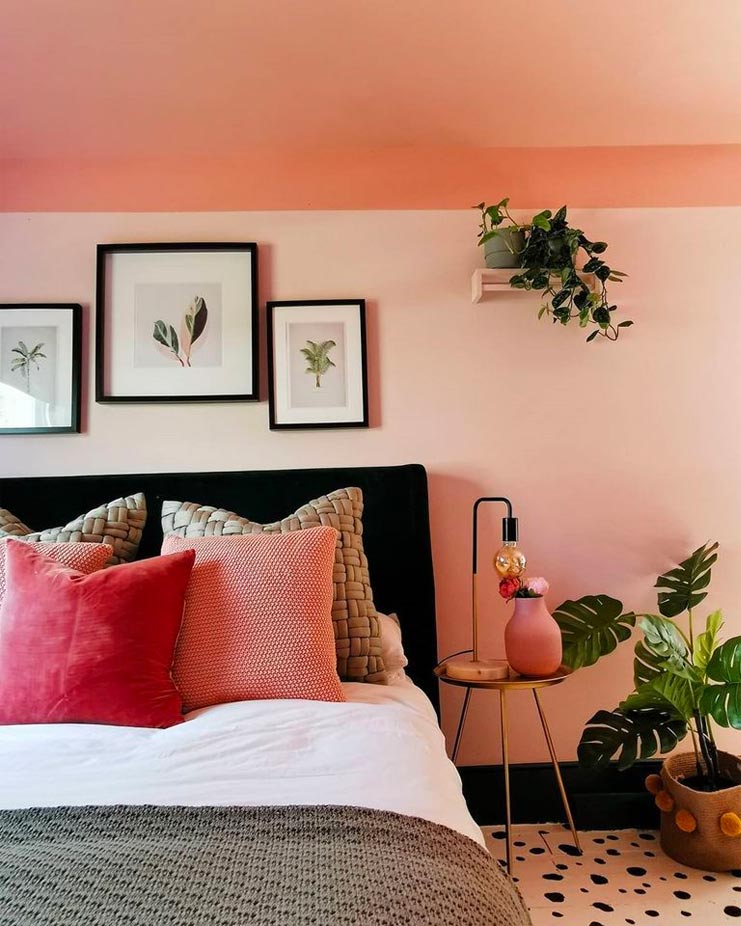
Ceilings don't always get as much love as they should when it comes to redecorating - not because painted ceilings don't look good or because they aren't important, but because...well, it's hard to reach up there! Even when the colour's starting to fade and you've got watermarks from when you overran the bath upstairs, it's tempting to just leave things as they are.
But we know how good it feels to finish painting a room top to bottom. That's why we're going to show you how to paint a ceiling with ease, so every surface of your home gets the special attention it deserves.
When it comes to painting your ceiling, we recommend using a durable or ultra-durable matt emulsion. This will give your ceiling a typically flat and smooth look. For a traditional white ceiling, check out shades such as Baby Powder.
If your ceiling is already painted with a water-based emulsion, it shouldn't need priming. Otherwise, why not keep things simple and opt for an undercoat in G&B White?
If you need more help choosing the right colours, you can find interior design inspiration on our blog and answers to your questions in our Paint FAQ.
Once you've chosen your paints, you're ready for step 1.
Ceiling painting can get messy, so the first thing you'll want to do is clear as much from the room as possible. Anything that can't be covered with a dust cloth and that you don't want getting dripped on probably needs to go. A floor protector is also advised to avoid any carpet stains.
Always paint your ceilings before any other part of the room - that way you won't spill paint on a freshly decorated surface.
If you have cracks in your ceiling, now's a good time to add some filler. Once it has dried, give the whole ceiling a quick, light sanding down to make sure everything is even and flat. If there is loose paint, you can use your paint scraper to dislodge it. Then, vacuum and dust the area before moving on to the cleaning.
First of all, we promise this sounds more daunting than it is.
To clean your ceiling, all you need is a kitchen broom (preferably one with soft bristles). Apply your sugar soap solution to the broom head and scrub away. It's best to keep reapplying solution, rather than add too much at the start - that way you can avoid most of the dripping and spillage.
Wait for this to dry before moving on to step 4.
Got a spare shower cap? Stick it on to protect the top of your head from stray sugar solution drips
Keep your edges neat by applying masking tape to the walls where they meet your ceiling. It's also a good idea to put masking tape around your ceiling lights.
If your ceiling already has a coat of water-based paint, feel free to skip this step.
A mist coat is a watered-down paint that primes and seals your surface before you apply a top layer. Including this step in your ceiling painting process will help to prevent any peeling or flaking later on.
To create a mist coat, you need a 50% emulsion and 50% water mix, and the emulsion should be as close a match to your main paint colour as possible. Pour the paint and water into a paint kettle and mix thoroughly.
Once your mist coat is ready, pour it into a paint tray and attach the extension handle to your paint roller. Then, load your roller and start applying paint to your ceiling. We recommend working in sections of about 5 feet squared. It is best if you paint quickly, and move to the next section while the last one is still wet - this helps to hide any overlapping layers.
Wait for your mist coat to dry before starting the next step.
Use your paintbrush to smooth over any lumps or dripping paint and wait until everything is dry before removing the masking tape so you don't accidentally lift any of the paintwork. Then, once you're happy, it's time to get rid of the dust sheets and move all your furniture back in!
Finding other parts of your home tricky to paint? Learn how to paint skirting boards and how to paint furniture on our blog.