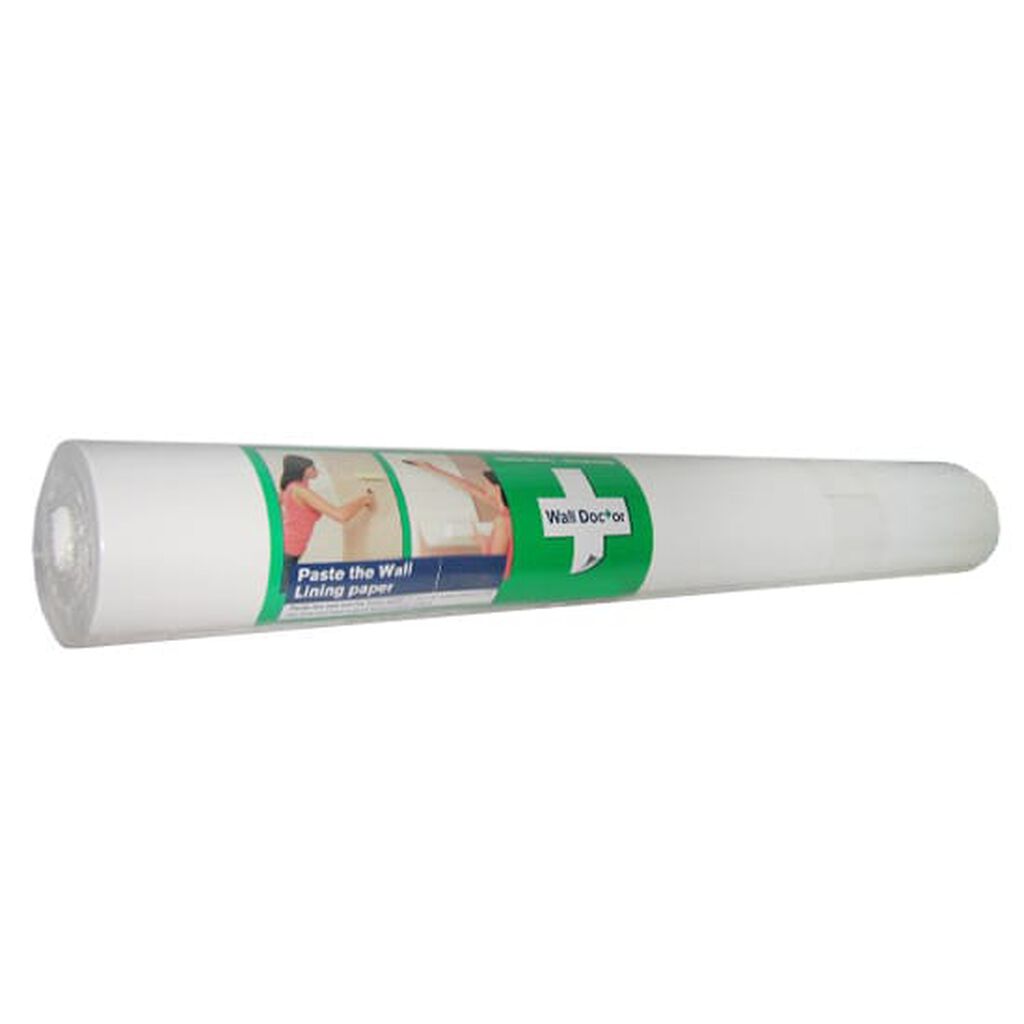
How To

Lining Paper: How and Why You Should Use It

All Graham & Brown wallpapers are easy to handle and install and will cover minor imperfections in the wall. But for the perfect finish, we would always recommend lining the wall first with a high-quality lining paper such as our Wall Doctor Lining Paper.

All Graham & Brown wallpapers are easy to handle and install and will cover minor imperfections in the wall. But for the perfect finish, we would always recommend lining the wall first with a high-quality lining paper such as our Wall Doctor Lining Paper.

As lining papers provide such a good finish, they are the perfect ‘canvas’ upon which to paint. Minor imperfections that can be glaring after being painted with matt colours are lost, giving a much more consistent and aesthetically pleasing finish.

Lining papers come in various grades, such as 1000 Grade. This relates to the thickness of the paper (1,000 gm/square metre). The bigger the number, the thicker the paper. Lining papers are available in 10m, 20m and 40m rolls – but at Graham & Brown, we keep it simple with a good thickness lining paper in 10m lengths that should be suitable for most applications. The rolls tend to be wider than regular wallpaper.

Wall Doctor Lining Paper will also make traditional wallpapers hung on top fully removable and cut decorating time in half.

Hallway scene using lining paper on the walls

HOW TO HANG LINING PAPER

The process of hanging lining paper follows the same instructions as hanging wallpaper. Either follow the simple "paste the wall" instructions for products such as Wall Doctor or use traditional paper hanging instructions using a pasting table.

Hanging lining paper is a DIY task that you can tackle yourself as long as you spend a little time preparing. Make sure that the wall is clean and dry before you start. Take a step back and look for obvious signs of damage, making sure you fill, sand and smooth down any blemishes before you start. The smoother your wall, the better the results.

Size the wall ready for hanging your lining paper. Sizing is simply applying a layer of paste that’s thinner than your normal paste consistency. Let it dry so that it’s absorbed into the plaster.

Make sure you’ve measured carefully so that you have enough lining paper to do the job. Fortunately, you don’t have to worry about lining up patterns with lining paper, so there’ll be minimum wastage.

If you're using Wall Doctor, you can now apply your adhesive layer straight to the wall. It's easier to do it with a roller, so it goes on faster. Apply the paper, smoothing it from the top down to the bottom with a smoothing brush to prevent any air bubbles. Then let it dry thoroughly before you hang your wallpaper.

If you're using traditional lining paper, you will need to paste the paper and not the wall. This is a slightly more complex process, so we recommend using our Wall Doctor lining paper for an easier, faster result. To find out more, take a look at our informative guide on How to hang wallpaper for further details and some FAQs.

lining paper

1. GATHER THE TOOLS YOU’LL NEED FOR THE JOB

While preparation time is essential to get the job done properly, you’ll also need the right tools. Without these, you won’t get the finish you want, and you could end up with peeling paper and ugly blemishes that ruin the overall look of your décor.

ESSENTIALS FOR HANGING THE LINING PAPER:

  • Wall Filler
  • Sandpaper

These are used for preparing the surface of the wall and making sure it’s completely smooth and even to get the best results.

ESSENTIALS FOR INSTALLING THE WALLPAPER:

  • Stanley Knife and or
  • Wallpaper Scissors – to cut the paper
  • Graham & Brown Wallpaper Paste
  • Bucket – to mix the paste in.
  • Plumb Line or Spirit level
  • Tape Measure
  • Paint Brush or Roller and Roller tray– for applying the paste
  • Wallpaper brush or Smoother – for ensuring the paper is stuck down
  • Seam Roller – to ensure seams are level
  • Clean damp cloth – to clean off any paste on wallpaper surface and smooth seams

2. PASTE THE WALL OR THE PAPER

If you’re pasting the wall, start at the top and be careful not to overload your roller or brush. It’s best to make sure furniture is covered to prevent any splashes from marking textiles. Roll on a layer of paste that’s not too thick. Work methodically so that you don’t miss any areas.

If you’re using traditional lining paper, cut a length to size to measure from the top of the wall to the bottom. Lay it on a trestle table and apply the paste to one side of the paper with a paste brush. Again, work methodically so that the entire surface of the paper is covered in paste. Don’t be tempted to layer it on too thickly – it will adhere more effectively if the paste is thin but evenly spread on either the wall or the back of the paper.

3. HANG THE LINING PAPER

It's now time to hang the lining paper. It's important to take your time getting this right, as the final finish will affect the look of the wallpaper that you position on top of the lining paper. If you want to achieve a truly professional finish, you could crossline the walls so that the seams between sections don't potentially line up with the seams on your wallpaper layer. Have a look below for more information about crosslining.

4. LEAVE THE LINING PAPER TO DRY

Always ensure that the lining paper is fully dry before applying either paint or wallpaper on top.

You will find that when adding paint or wallpaper paste to the dry lining paper that the surface may bubble. This is common and is due to the expansion of the lining paper and isn’t permanent. The paper should return to its smooth state once the paper or paint applied to it has completely dried out.

HOW TO CROSSLINE THE WALLS

Most professional decorators will crossline the walls when hanging lining paper. This means hanging the lining paper horizontally rather than vertically. The reason for doing this is that the seams won’t be in the same place as the wallpaper joins when your top layer is positioned over the lining paper. This creates a better finish and means there's less likelihood of the wallpaper peeling. The lattice effect of the lining paper seams positioned horizontally and the wallpaper seams placed vertically gives a better effect. However, this is a tricky technique to learn and may best be left to a professional decorator rather than a first-time DIY’er.

However, you can achieve a similar effect without worrying about cross lining. All lining papers are wider than standard wallpapers. This means that it can be hung vertically like regular wallpaper, and the seams of the lining paper and the wallpaper on top will not be at the same point. So you get the same perfect finish as you would with cross lining. Take a little time to ensure that when you hang your wallpaper, you're not accidentally lining the seams up with the lining paper joins, and you should achieve a professional finish.

WHY YOU SHOULD USE LINING PAPER

Lining paper ensures that your finished wall looks flawless. It's an integral part of the decorating process for several reasons:

  • It creates a smooth surface to work on, making sure that your wallpaper hangs correctly
  • It smooths out and covers any blemishes in the plaster or wall
  • It provides a stable surface to apply paste and a top layer of wallpaper to
  • It insulates the room, adding a thin but surprisingly effective layer against draughts
  • It cushions the wallpaper, giving it a softer and smoother feel
  • If properly applied, it can be reused and repapered over several times before needing to be replaced