How to Paint Kitchen Cabinets
Learn How to Paint Kitchen Cabinets for a Bold and Creative Solution
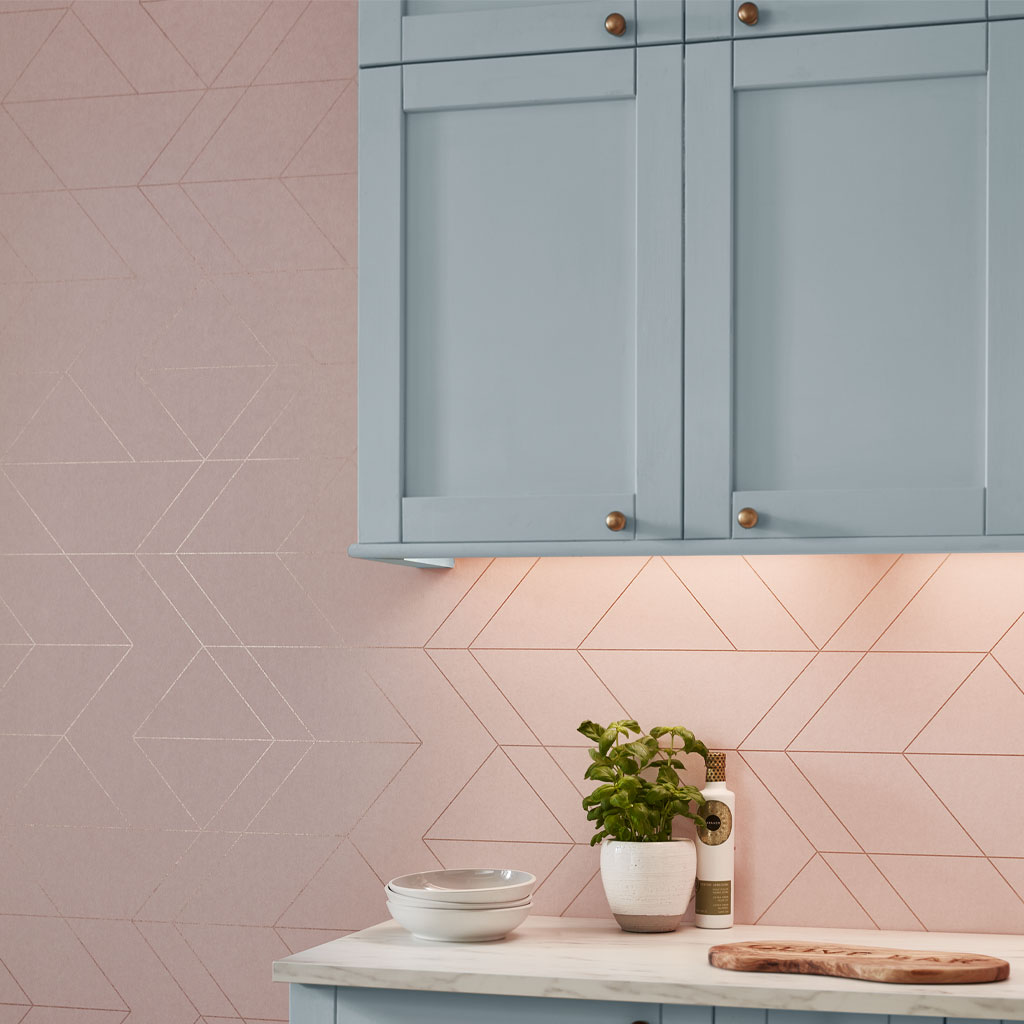
Redecorating your kitchen doesn’t have to be a daunting - or expensive - task. Avoid pricey refits and achieve a fresh look simply by painting your kitchen cabinets. This guide will show you how to professionally revamp wooden cabinets, leaving you with gorgeous colour accents and a whole new feel to your room.
WHAT YOU WILL NEED:
- Dust sheet
- Screwdriver
- Sugar soap solution/grease remover
- Wood filler
- Masking tape
- Vaccum/duster
- Sandpaper
- Paint Primer
- Wood Paint
- Paintbrush
- Paint roller & tray
1.) DISASSEMBLE YOUR KITCHEN CABINETS
Before starting to paint, it’s important to remove all doors and drawers from your cabinets using an appropriate screwdriver. You should also unscrew any handles, hinges and knobs so you’re left with just the wood to work with. At the end of your project, you will need to reattach (or upgrade!) these elements.
TOP TIP
Use masking tape to label the different parts of your cabinets, so you know how to put everything back together at the end!
2.) CLEAN YOUR CABINETS
Using your sugar soap solution or a good degreasing product, thoroughly wash your cabinets. Getting rid of any grease or residue will allow your paint to adhere better to the woodwork and help to give you a clean, smooth finish. Wait for them to dry before moving to step 3.
3.) SAND DOWN YOUR CABINETS
Use sandpaper to even out the surface of your cabinets, focusing on any bumps or particularly rough spots. At this stage, you should use wood filler to fill in any gaps or imperfections, and then sand again to ensure the whole area is even.
Make sure to dust or vacuum the cabinets afterwards. If there is still grit on the surface, this will show up when you start painting and leave you with a visibly rough texture.

4.) APPLY PAINT PRIMER TO YOUR CABINETS
Before applying your main paint to the cabinets, prime them with a good wood paint primer, such as our Primer & Undercoat. This will save you from worrying about knots and stains in the wood showing through a few weeks after you finish your paint job.
We recommend using a small paint roller rather than a paint brush to avoid any streaks or brush marks. If needed, use a brush to finish off corners and raised edges. Wait for the primer to dry before the next step.
TOP TIP
If your cabinets are made of laminate, we recommend using a bonding primer for difficult surfaces, widely available in DIY stores and online. The topcoat needs a little extra help with this kind of substrate!
5.) APPLY TWO COATS OF YOUR MAIN PAINT TO THE CABINETS
As with the primer, paint either our Eggshell or Gloss Paint onto your cabinets using a small roller. Once the first coat has dried, lightly sand it to create a smooth surface for your final coat.
TOP TIP
Paint the back of the cabinet’s surface first so that if anything gets smudged when you’re turning the parts over, you’re sparing the visible outer surface.
6.) REASSEMBLE YOUR KITCHEN CABINETS
Once your cabinets have dried completely, it’s time to reaffix any knobs and hinges. This is a great opportunity to change up any features that you’re tired with - why not combine your new colours with some new handles?
The main thing to remember when repainting your kitchen cabinets is that it’s okay to take your time! The perfect finish requires patience, especially as there are so many different sides and parts to your cabinets that need to dry in between coats. But the end results are more than worth it, especially if you’re working with a budget.
If there are other parts of your home that could do with a splash of colour, why not take a look at our guide to painting your radiator?