Ontwerp je volgende
Droomkamer
Meld je aan of maak een Graham & Brown account aan om producten toe te voegen aan je verlanglijstje en begin met het transformeren van je ruimte.


.jpg?crop=3:4&width=900&quality=85&auto=webp)

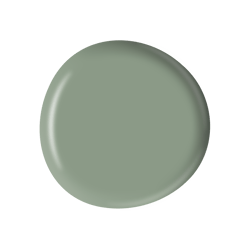
Maak kennis met 'Create', het vijfde kleurverhaal in onze samenwerking met The Sensory Home®. Ontdek een warme, aardse palet van vier energieke verftinten: Pimento, Hot Mocha, Elderton en Chesterfield, ontworpen om creativiteit thuis te ondersteunen.
De manier waarop we in onze huizen leven, evolueert voortdurend. Ze zijn niet langer alleen plekken om te rusten en samen te komen – het zijn ook plekken waar we denken, maken en verbeelden. Deze verschuiving inspireerde het nieuwste hoofdstuk in onze samenwerking met The Sensory Home®: een vijfde kleurverhaal genaamd 'Create', een warme, aardse palet ontworpen om energie en creativiteit in de ruimtes waarin we leven te brengen.

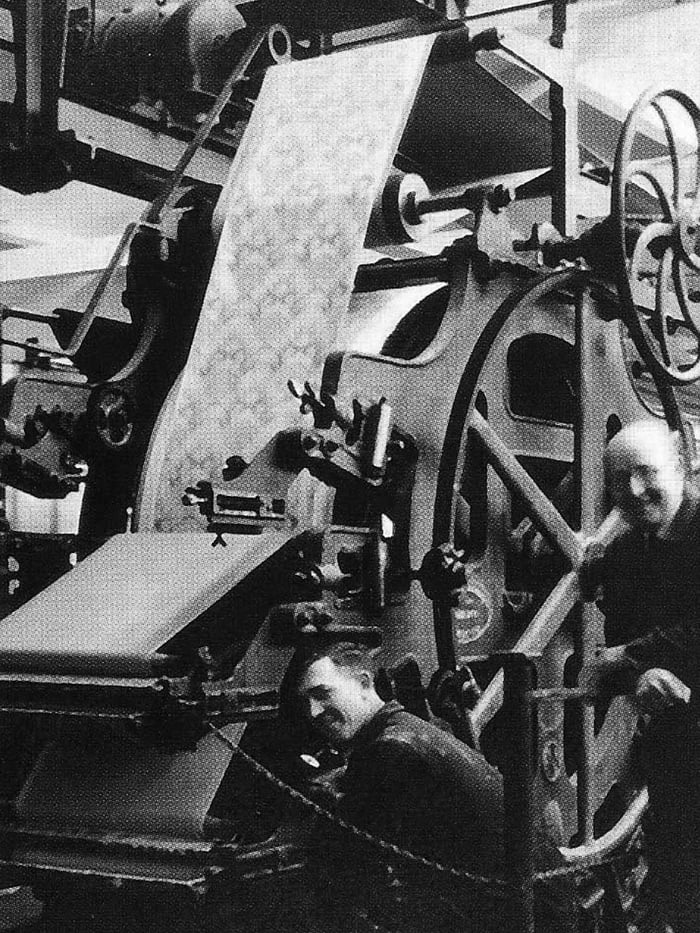
Graham & Brown is een verhaal van pioniersgeest, verfijnd door generaties heen, aangewakkerd door een tijdloze passie voor creativiteit.
We begrijpen het belang van thuis – een plek om samen te komen, comfort te vinden, geïnspireerd te raken. Daarom hebben we acht decennia gewijd aan het ontwerpen van woondecoratie voor het dagelijks leven; ruimtes definiëren van duurzame kwaliteit die jouw verhaal vertellen.
Graham & Brown
Thuis sinds 1946

Een plek om samen te komen, comfort te vinden, geïnspireerd te raken. Daarom hebben we acht decennia gewijd aan het ontwerpen van woondecoratie voor het dagelijks leven; ruimtes definiëren van blijvende kwaliteit die jouw verhaal vertellen.
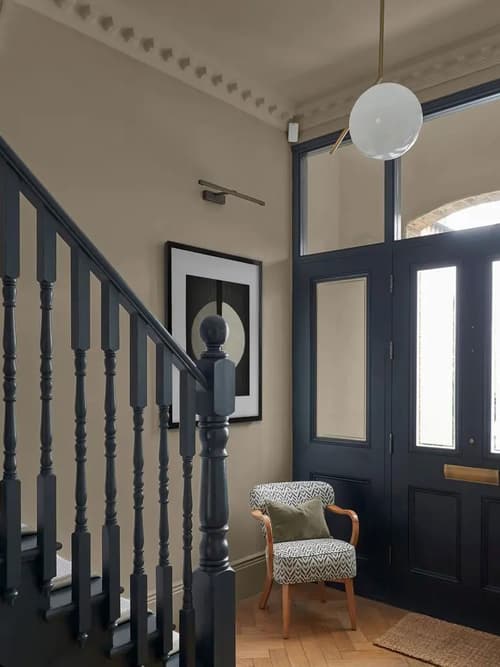

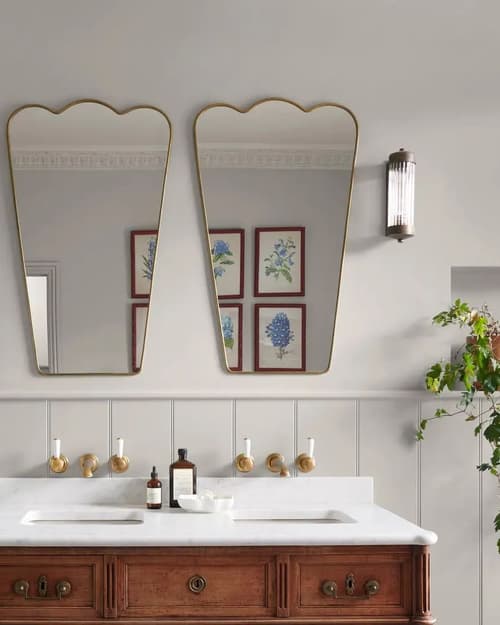
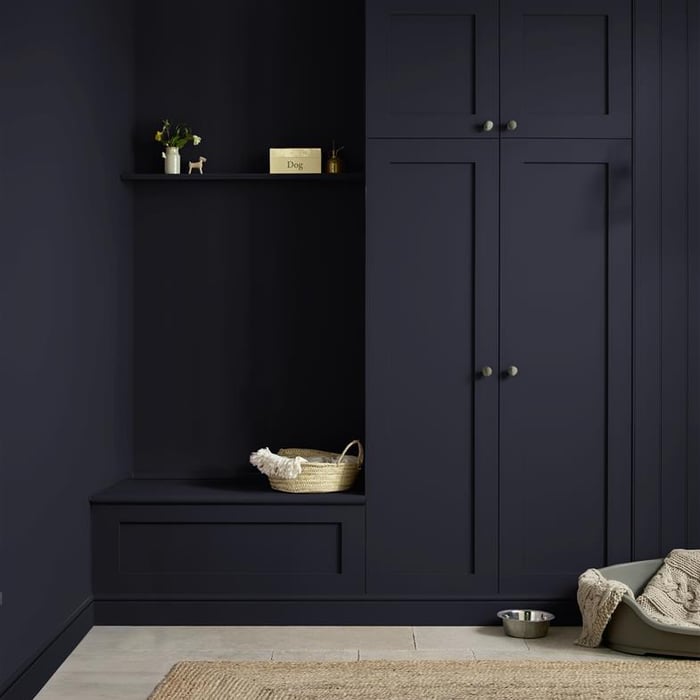
Verf
Bij Graham & Brown hebben we een enorme selectie verf voor u om uit te kiezen. Bekijk ons volledige assortiment om inspiratie op te doen of winkel hieronder op kleur.
Verf
Bij Graham & Brown hebben we een enorme selectie verf voor u om uit te kiezen. Bekijk ons volledige assortiment om inspiratie op te doen of winkel hieronder op kleur.
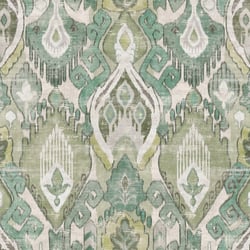
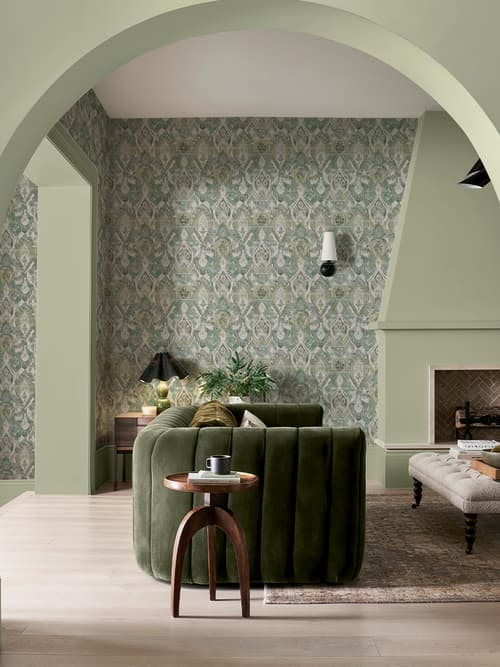
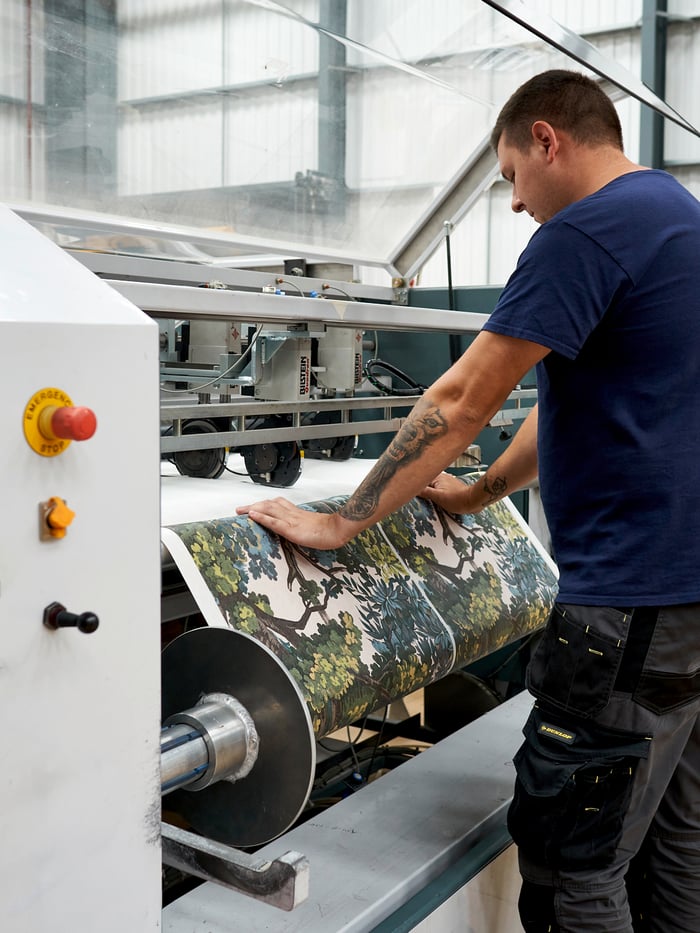
Behang
Bij Graham & Brown hebben we een enorme selectie van meer dan 700 behangsoorten waaruit je kunt kiezen. Bekijk ons volledige assortiment om inspiratie op te doen of winkel hieronder op kleur.
Behang
Bij Graham & Brown hebben we een enorme selectie van meer dan 700 behangsoorten waaruit je kunt kiezen. Bekijk ons volledige assortiment om inspiratie op te doen of winkel hieronder op kleur.
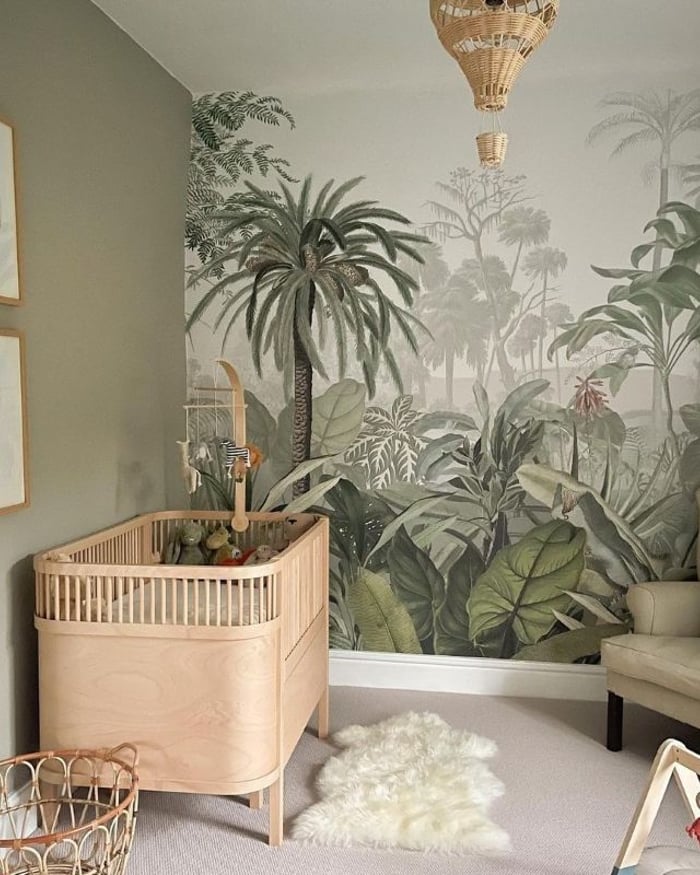
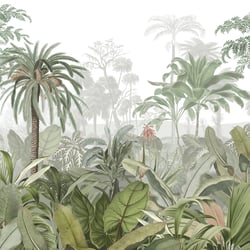
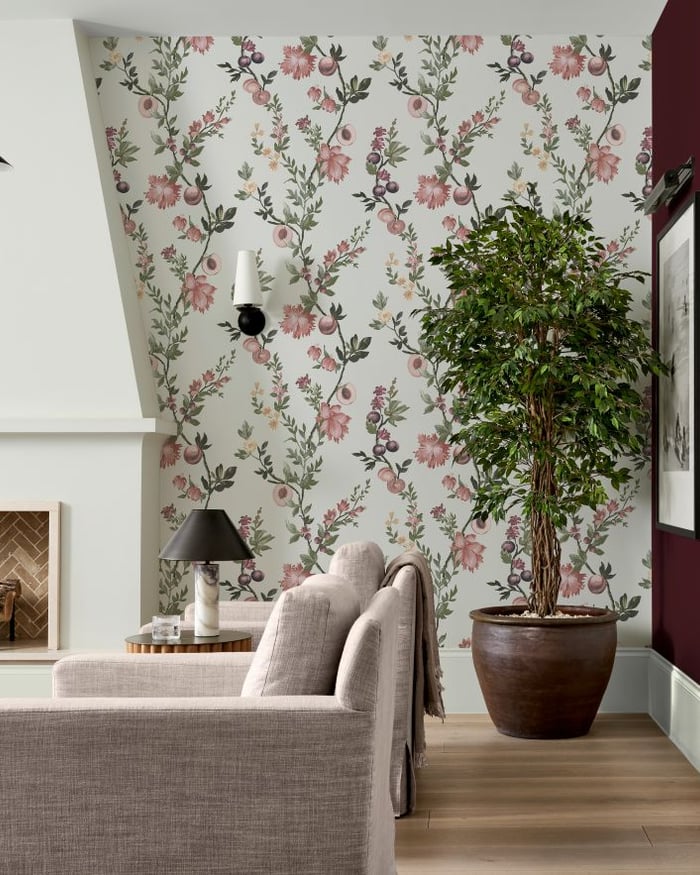
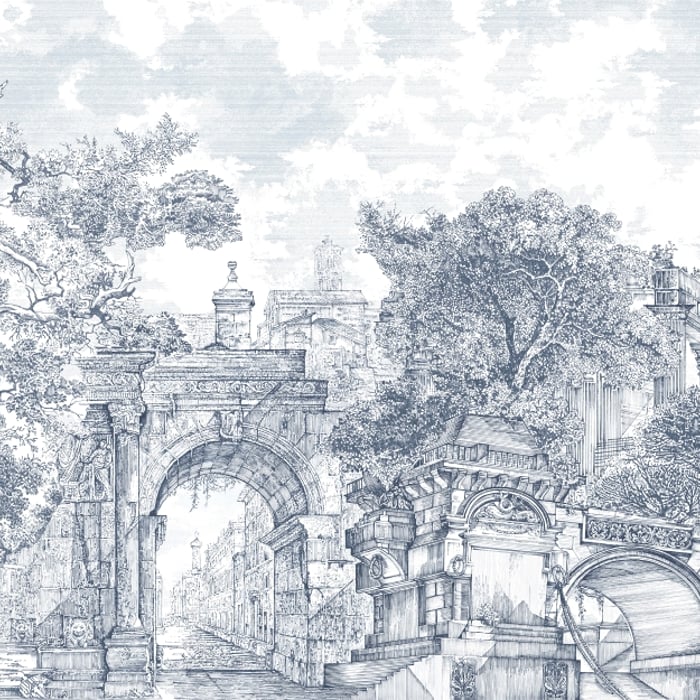
FOTOBEHANG OP MAAT
Op bestelling gedrukt op onze beste kwaliteit duurzame papieren en binnen 3 dagen verzonden. Onze op maat fotobehang is aangepast aan uw muur. Kies eenvoudig de schaal, uitsnede en positie van het ontwerp.
FOTOBEHANG OP MAAT
Op bestelling gedrukt op onze beste kwaliteit duurzame papieren en binnen 3 dagen verzonden. Onze op maat fotobehang is aangepast aan uw muur. Kies eenvoudig de schaal, uitsnede en positie van het ontwerp.
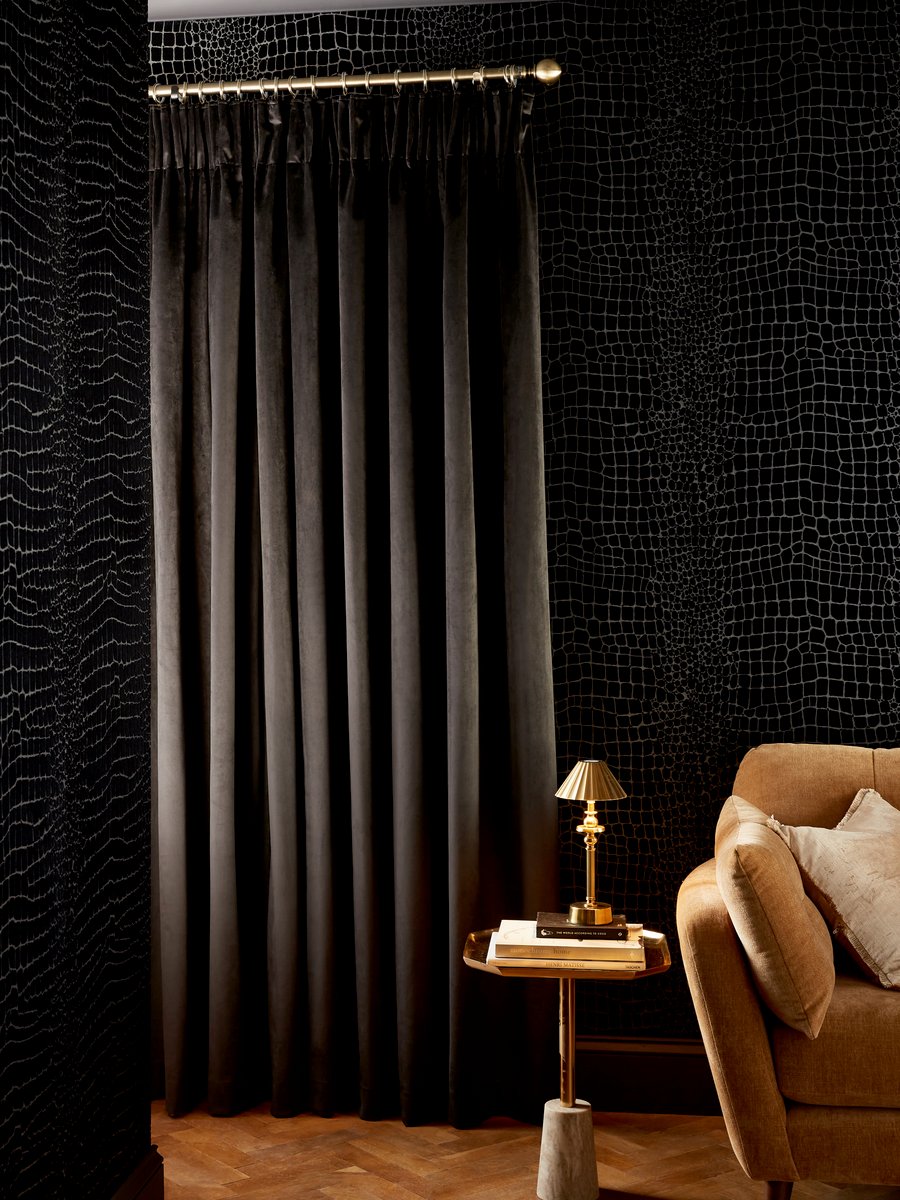
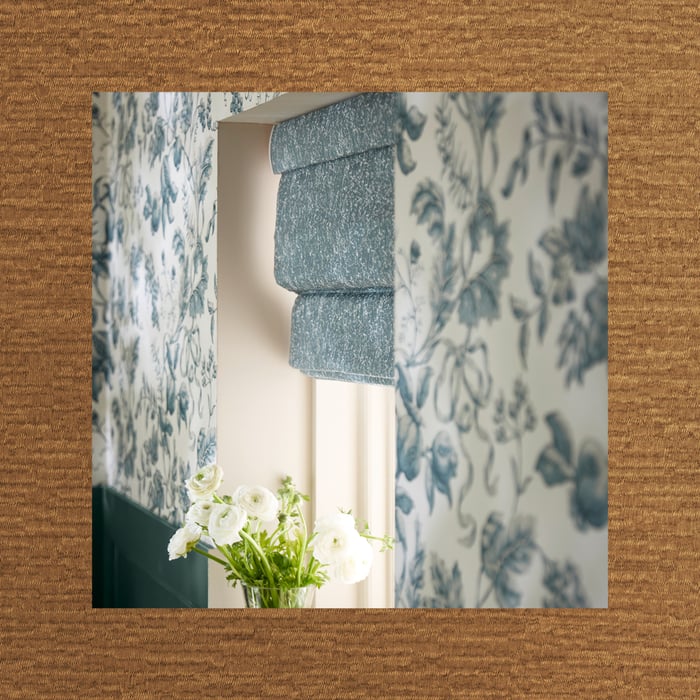
Onze uitgebreide collectie van rolgordijnen en jaloezieën is perfect afgestemd op ons behang en onze verf.
Ons Verhaal
Een Creatieve Erfenis
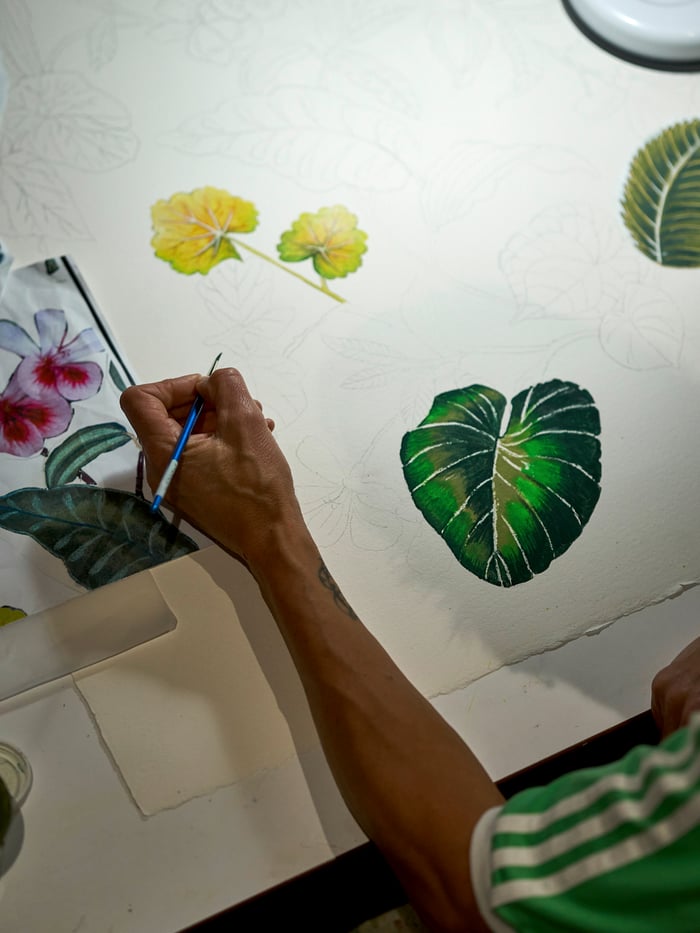
Een toewijding aan vakmanschap
Een Ambitieuze Mindset
Een Toegewijde Service
Bij Graham & Brown is elk ontwerp een bewijs van onze blijvende toewijding — tachtig jaar inspiratie en comfort creëren voor huizen wereldwijd. Ontdek het verhaal achter onze bedachtzaamheid en generaties van creatieve passie. Fotografie door @clairebingham_design
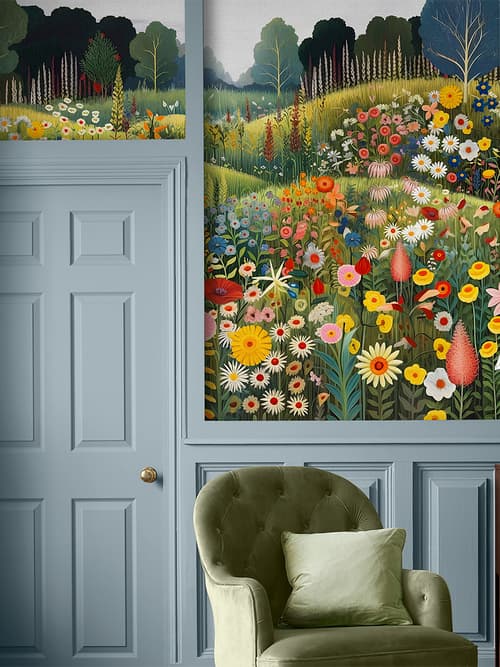
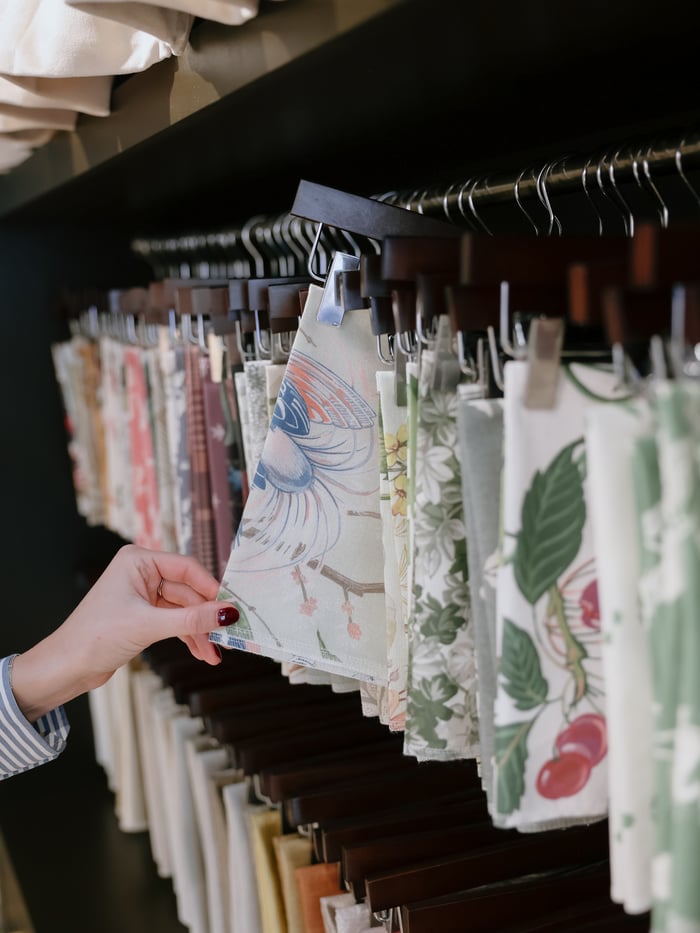
Laten we je visie tot leven brengen met zorgvuldig samengestelde inspiratie moodboards. De perfecte methode om je droomruimte te creëren en te visualiseren, waarbij kleuren, texturen en ontwerpen worden samengevoegd die passen bij jouw unieke stijl.
Stap 1

Het startpunt om de toon van het kleurenpalet van de kamer te zetten.
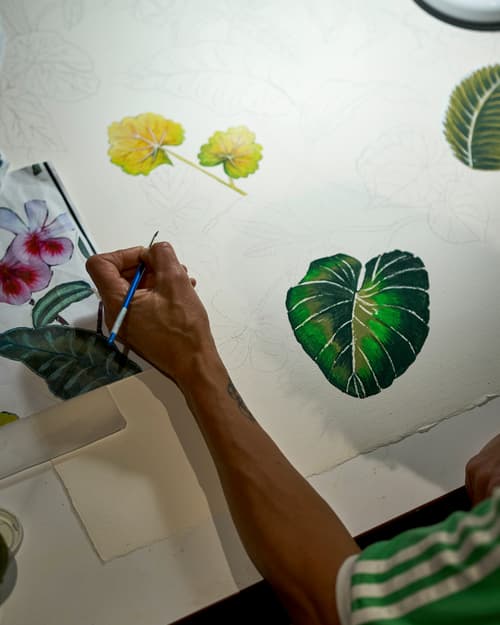
Maak het je eigen
Maak je eigen moodboard, net zoals wij in onze designstudio doen
Stap 2

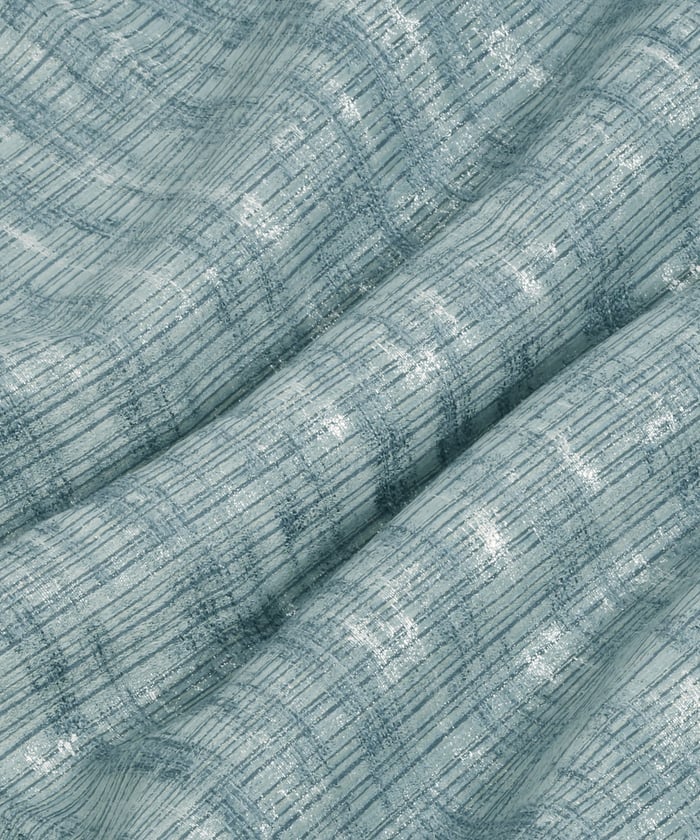
Vind patronen en materialen die bij jouw persoonlijke stijl passen en combineer ze perfect met onze verfopties.
Stap 3

Maak uw kamer compleet met een op maat fotobehang, met de hand ontworpen muurschildering, die uw kamer tot leven brengt.